

Before you begin
You need:- Admin access to your Default workspace.
- A test page with the form you want to connect.
- Access to the page’s shared layout or tag manager.
- Synthetic visitor data for testing.
Connect your domain
1
Add your domain
Open Signals. Select Add Domain, then enter the domain that hosts your form.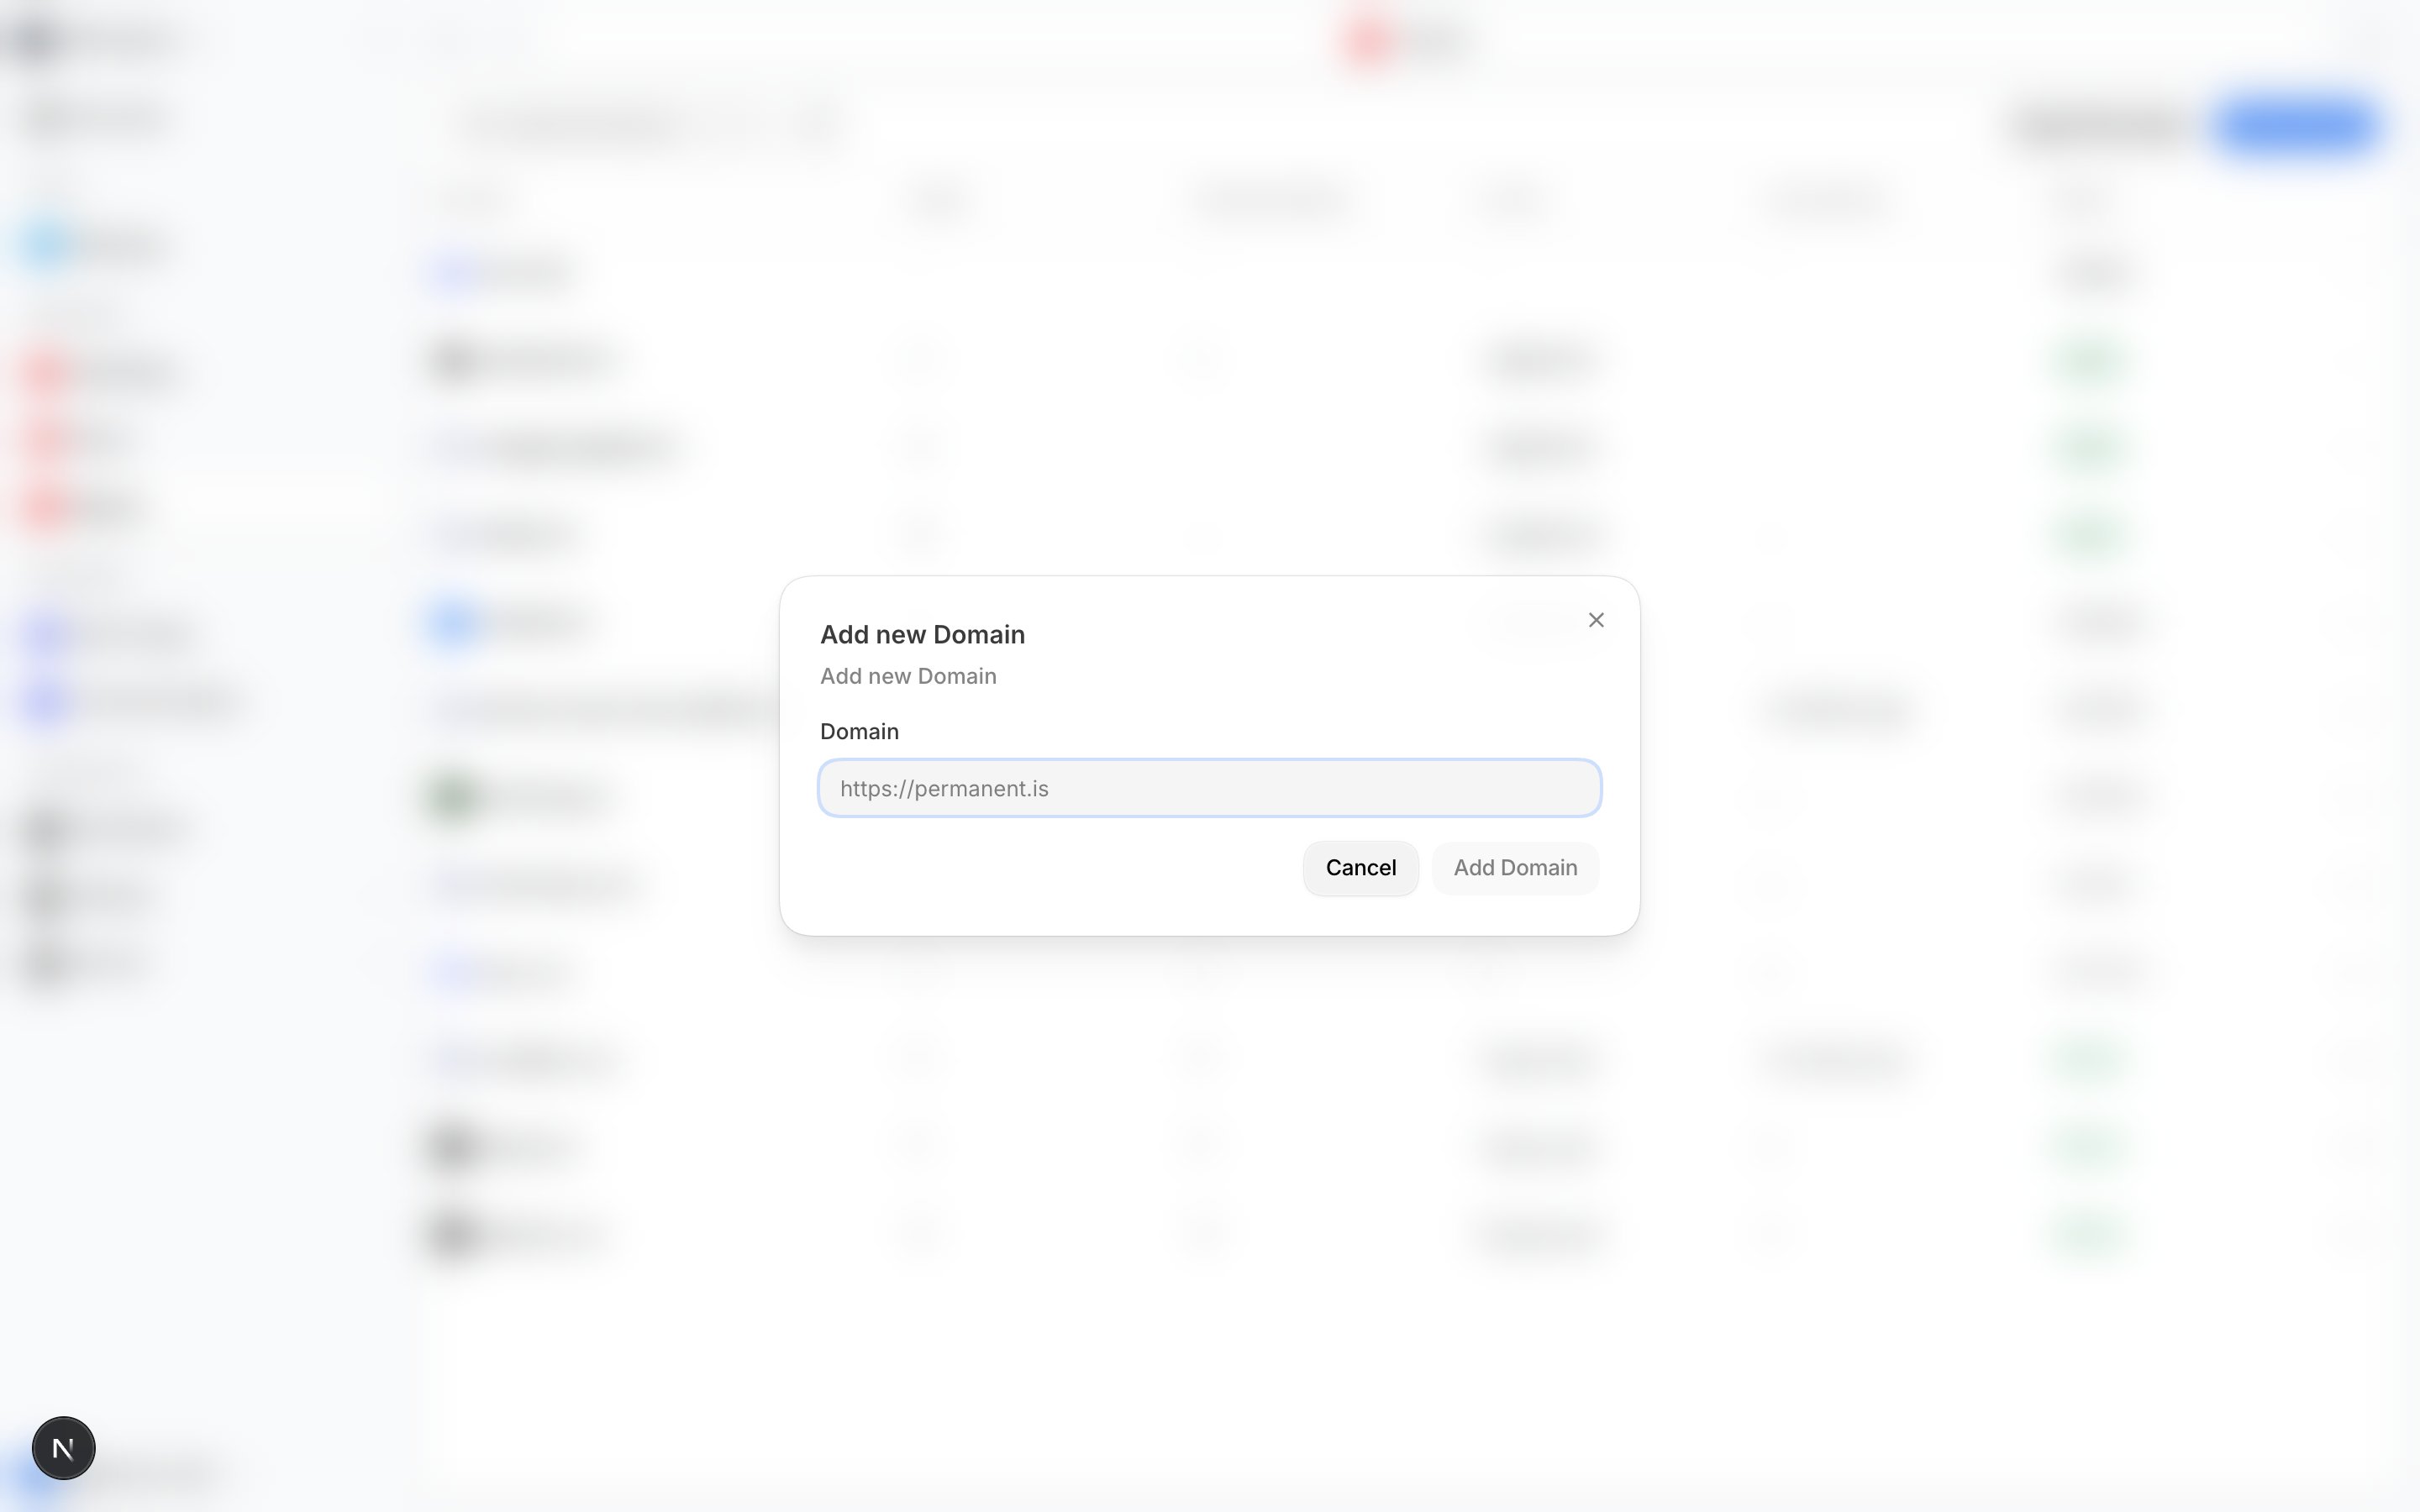
2
Copy the Pixel install snippet
Copy the generated snippet. Default includes your public key in the snippet.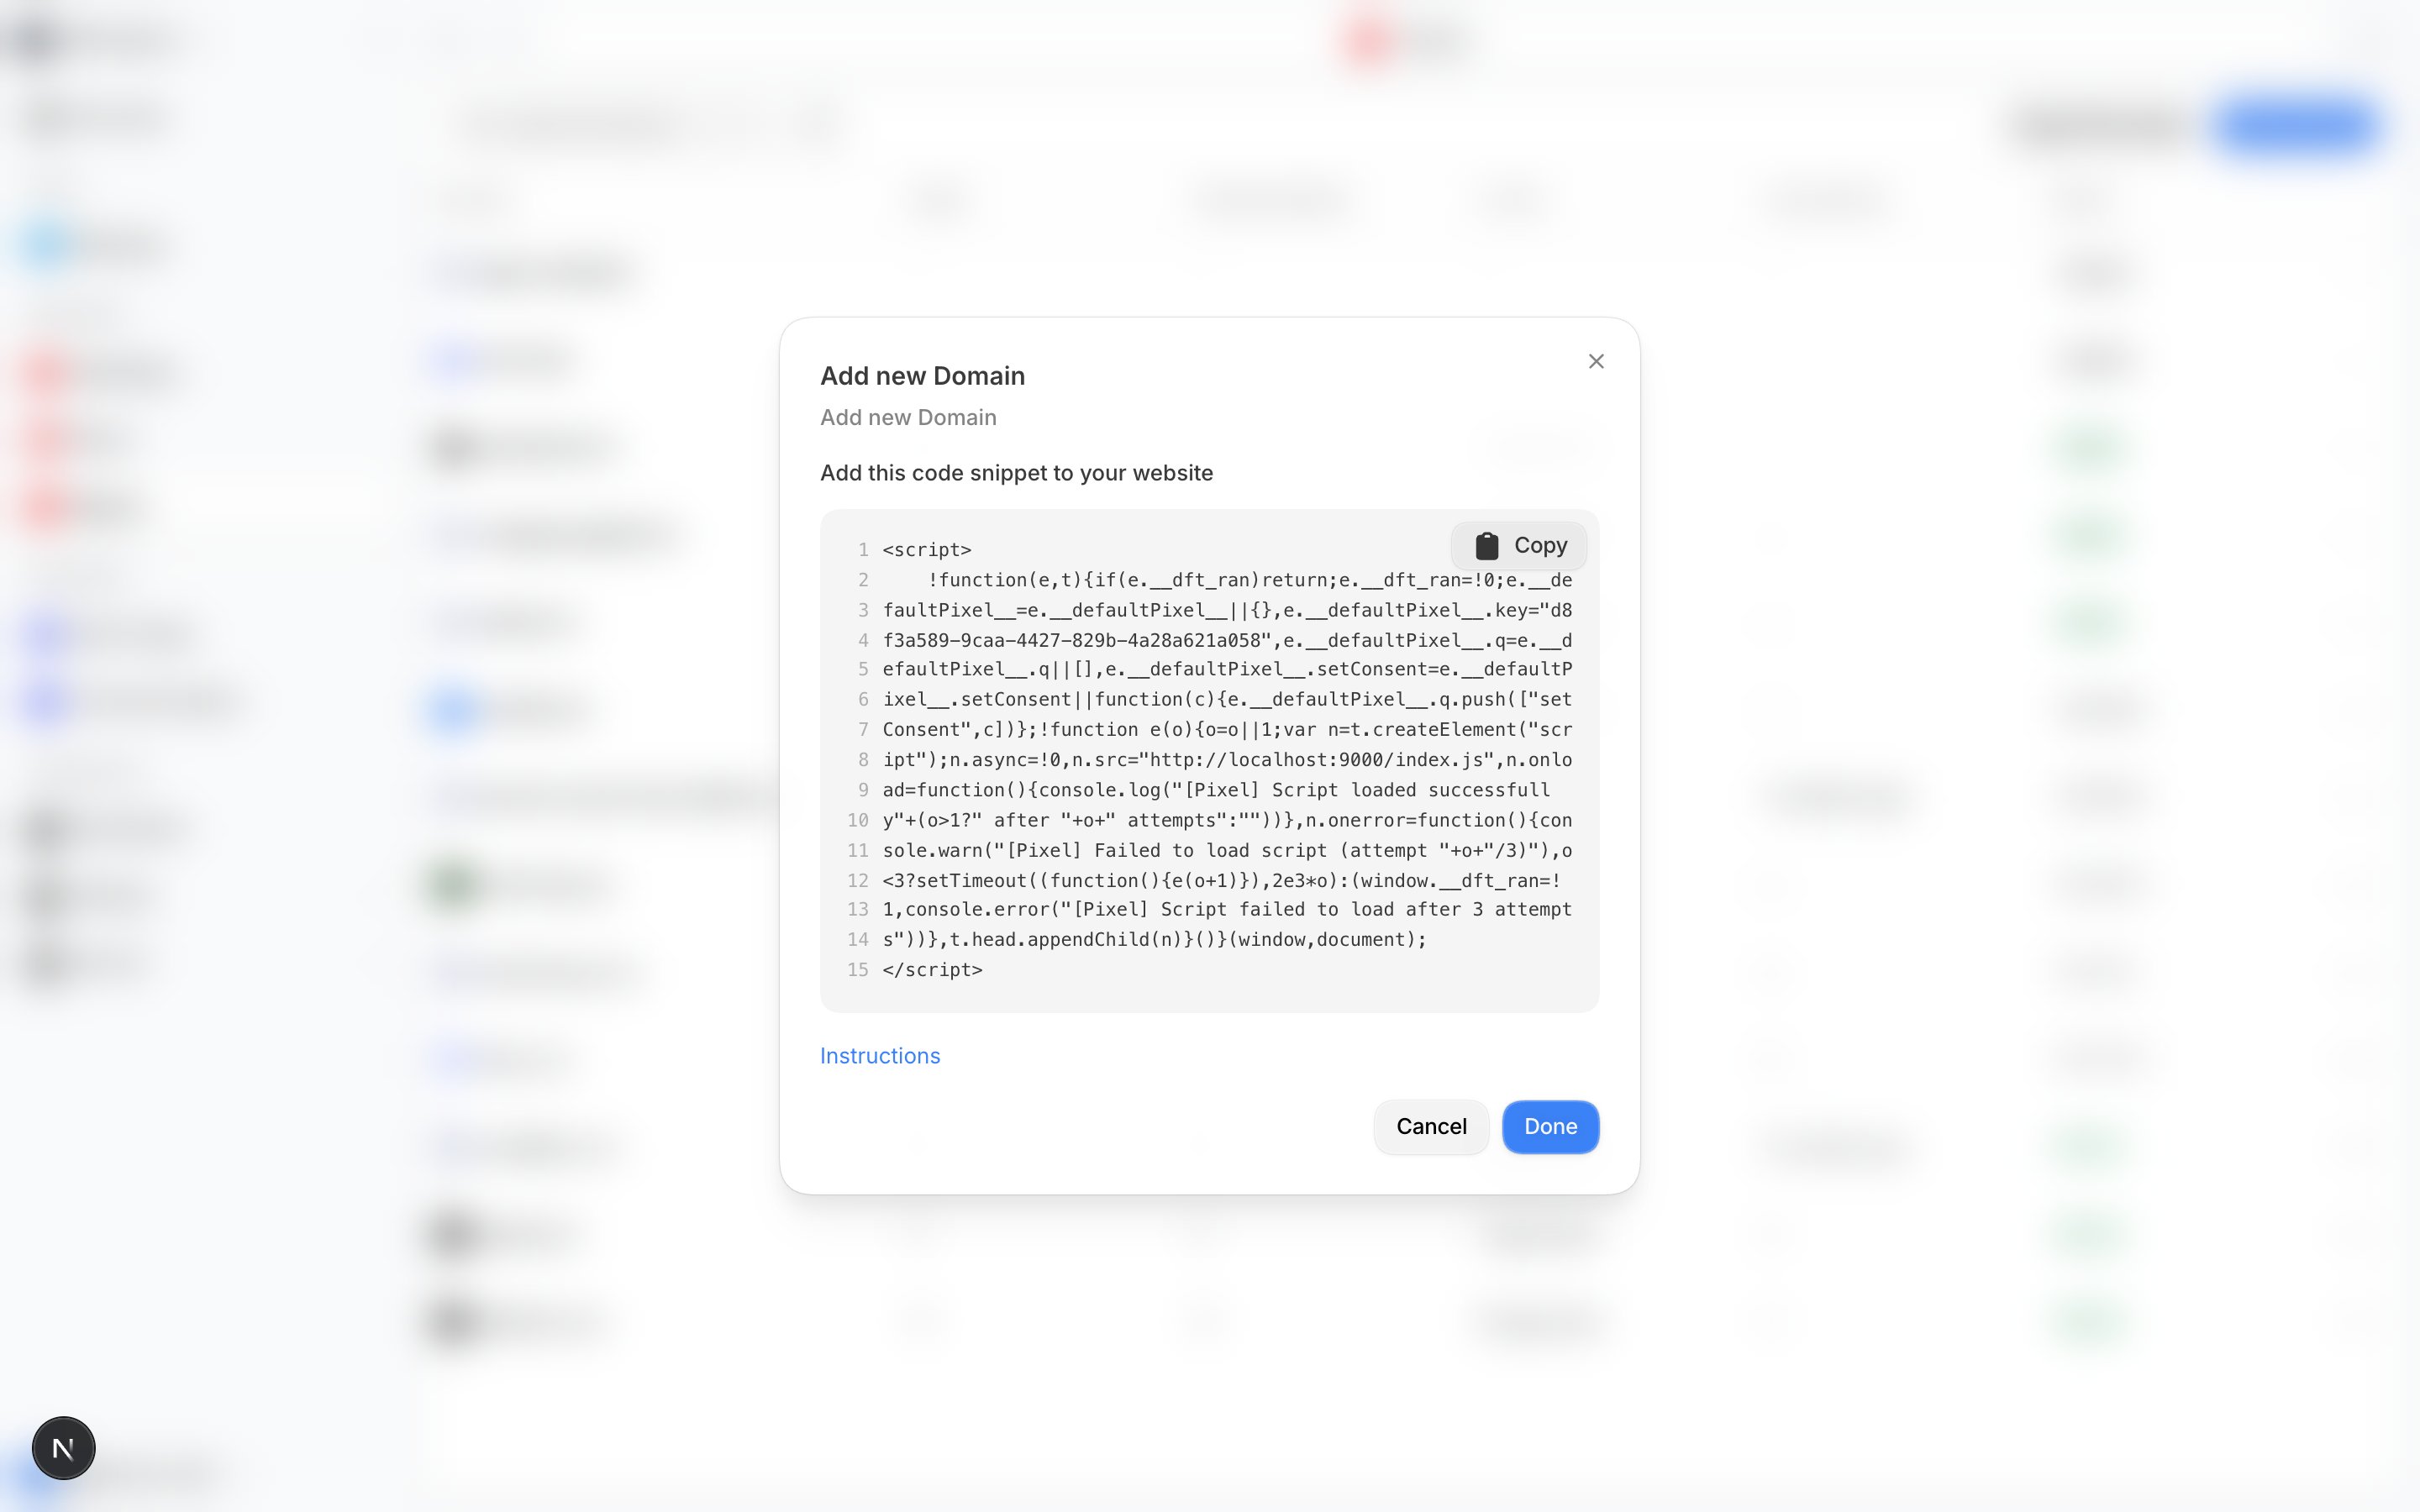
3
Install the Pixel on every tracked page
Put the configuration block before the script. Install both in your shared layout or site-wide tag
manager.Open the test page after you publish this change. The domain turns Active when Default
receives traffic.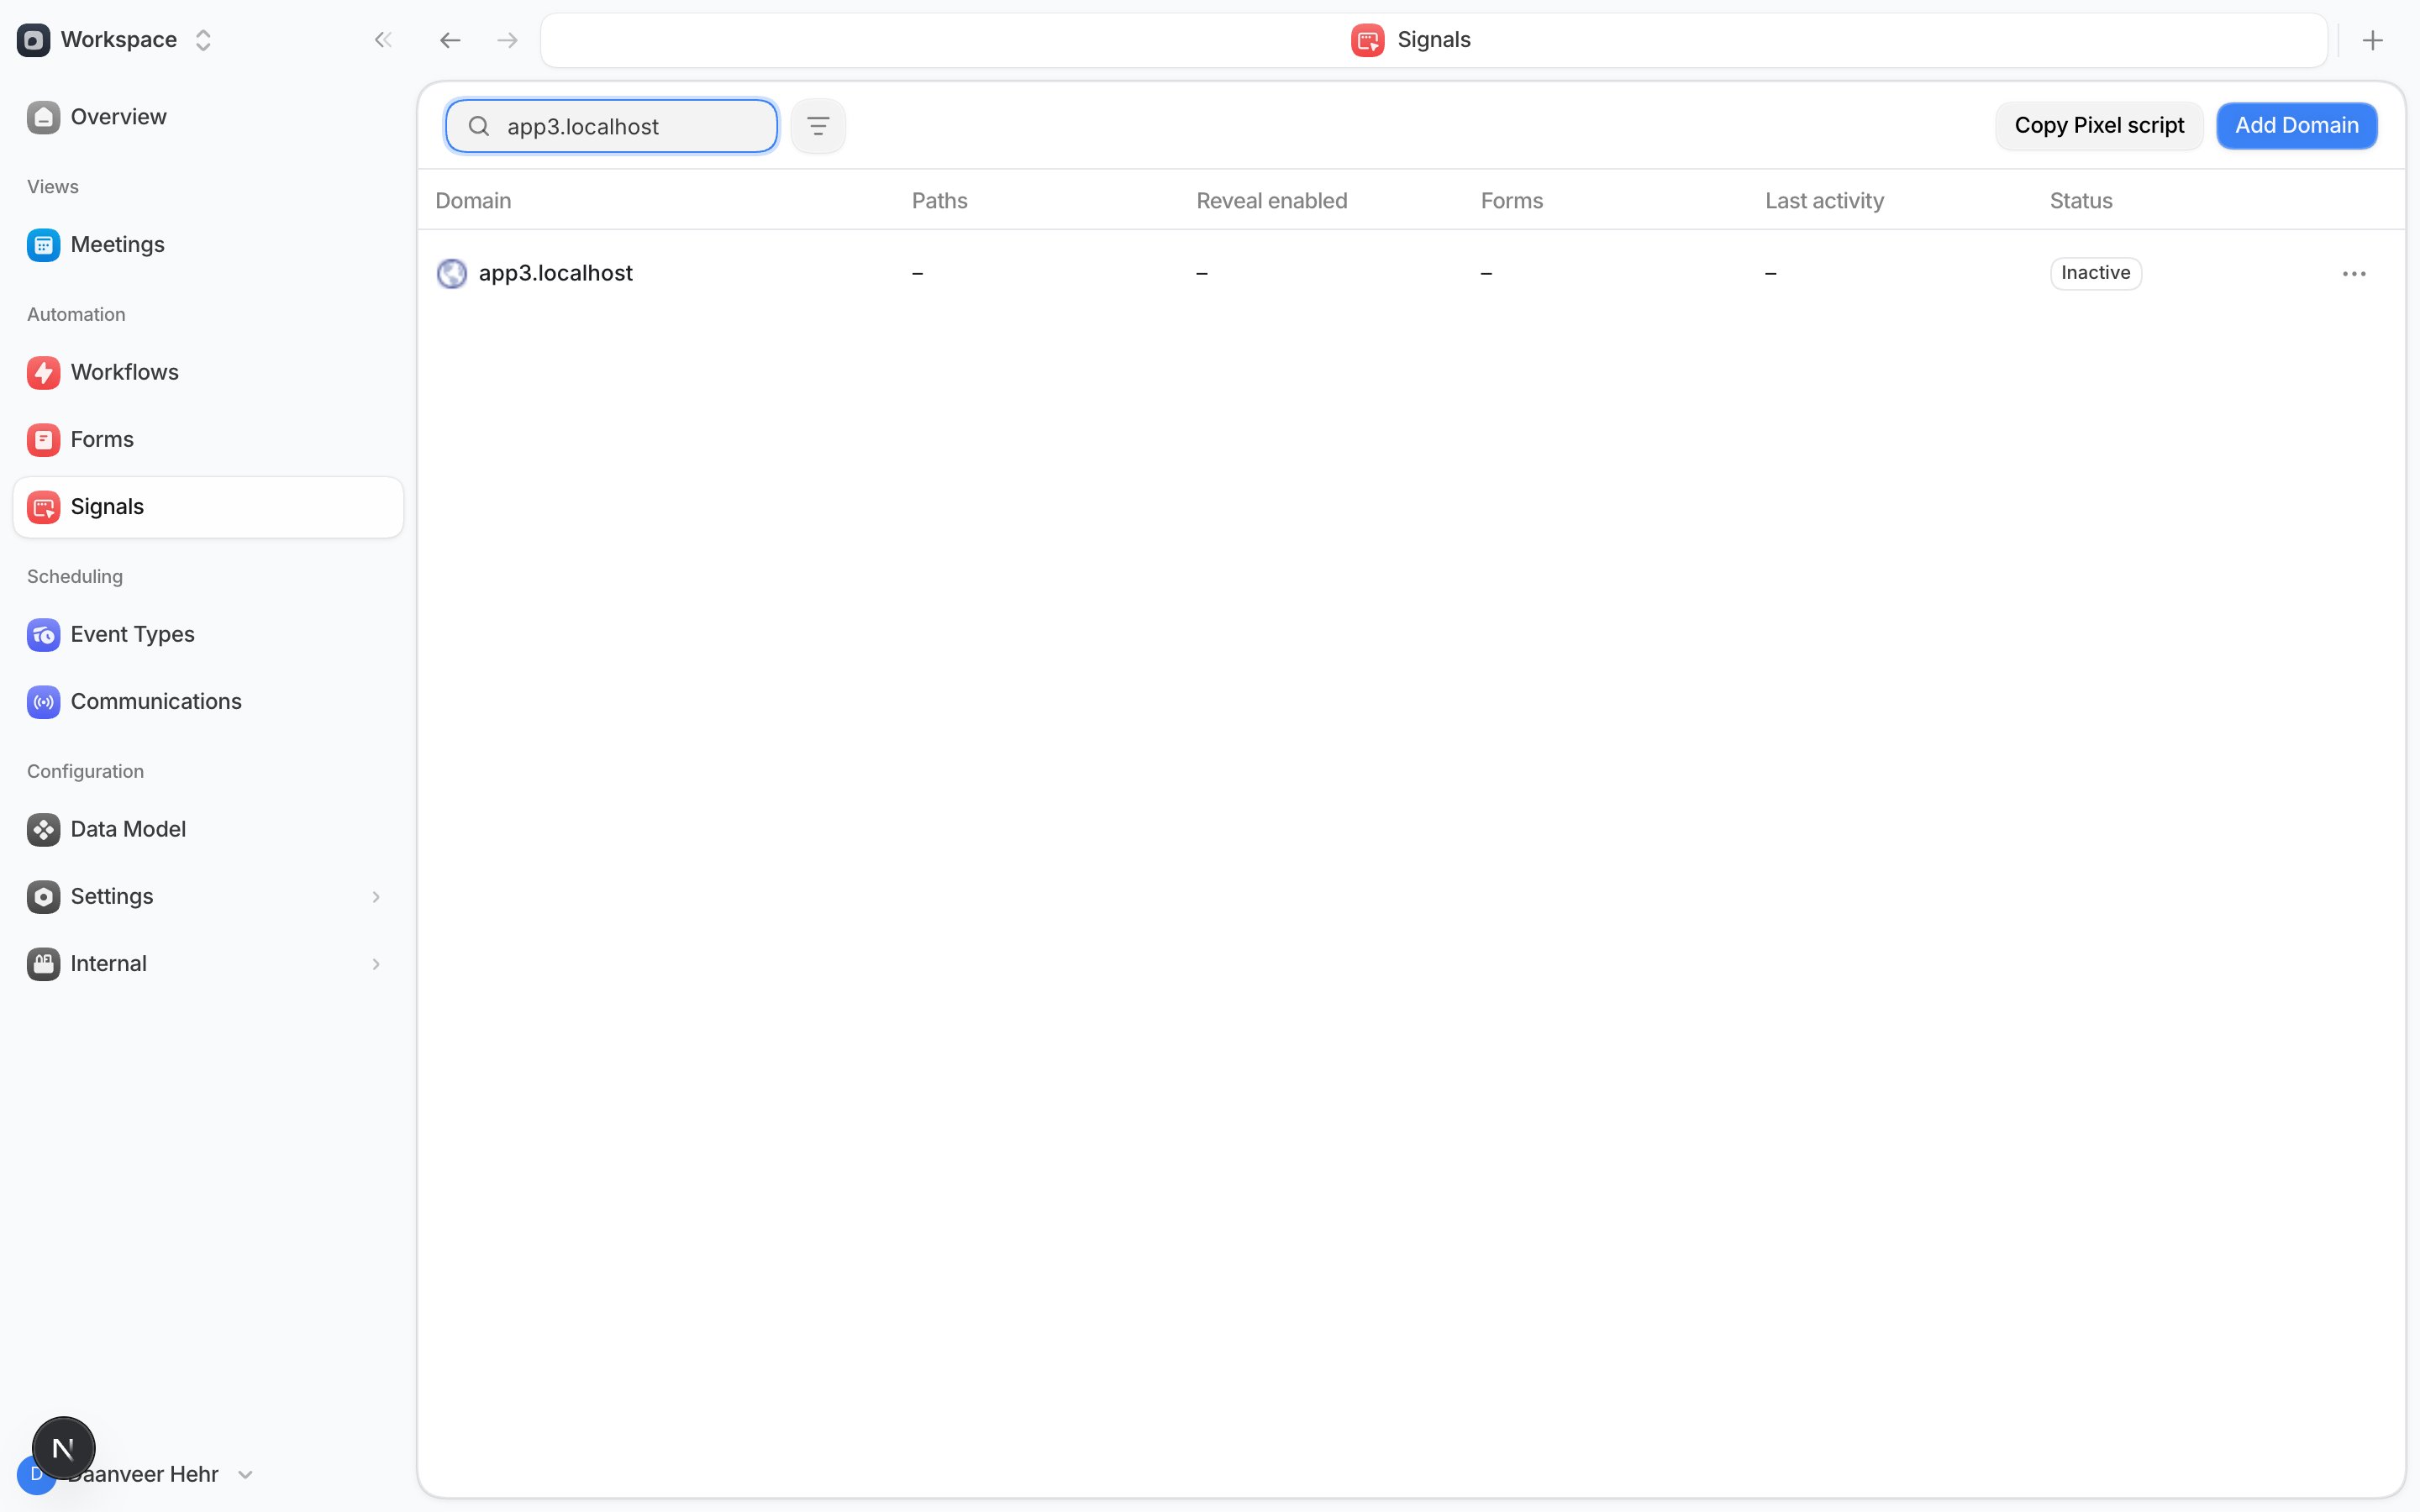
Detect and approve your form
1
Open the page that contains the form
Visit the exact page with the installed Pixel. Use the form normally so Default can detect its
fields.
2
Review the detected form
Open Forms. The new form appears with Awaiting approval status.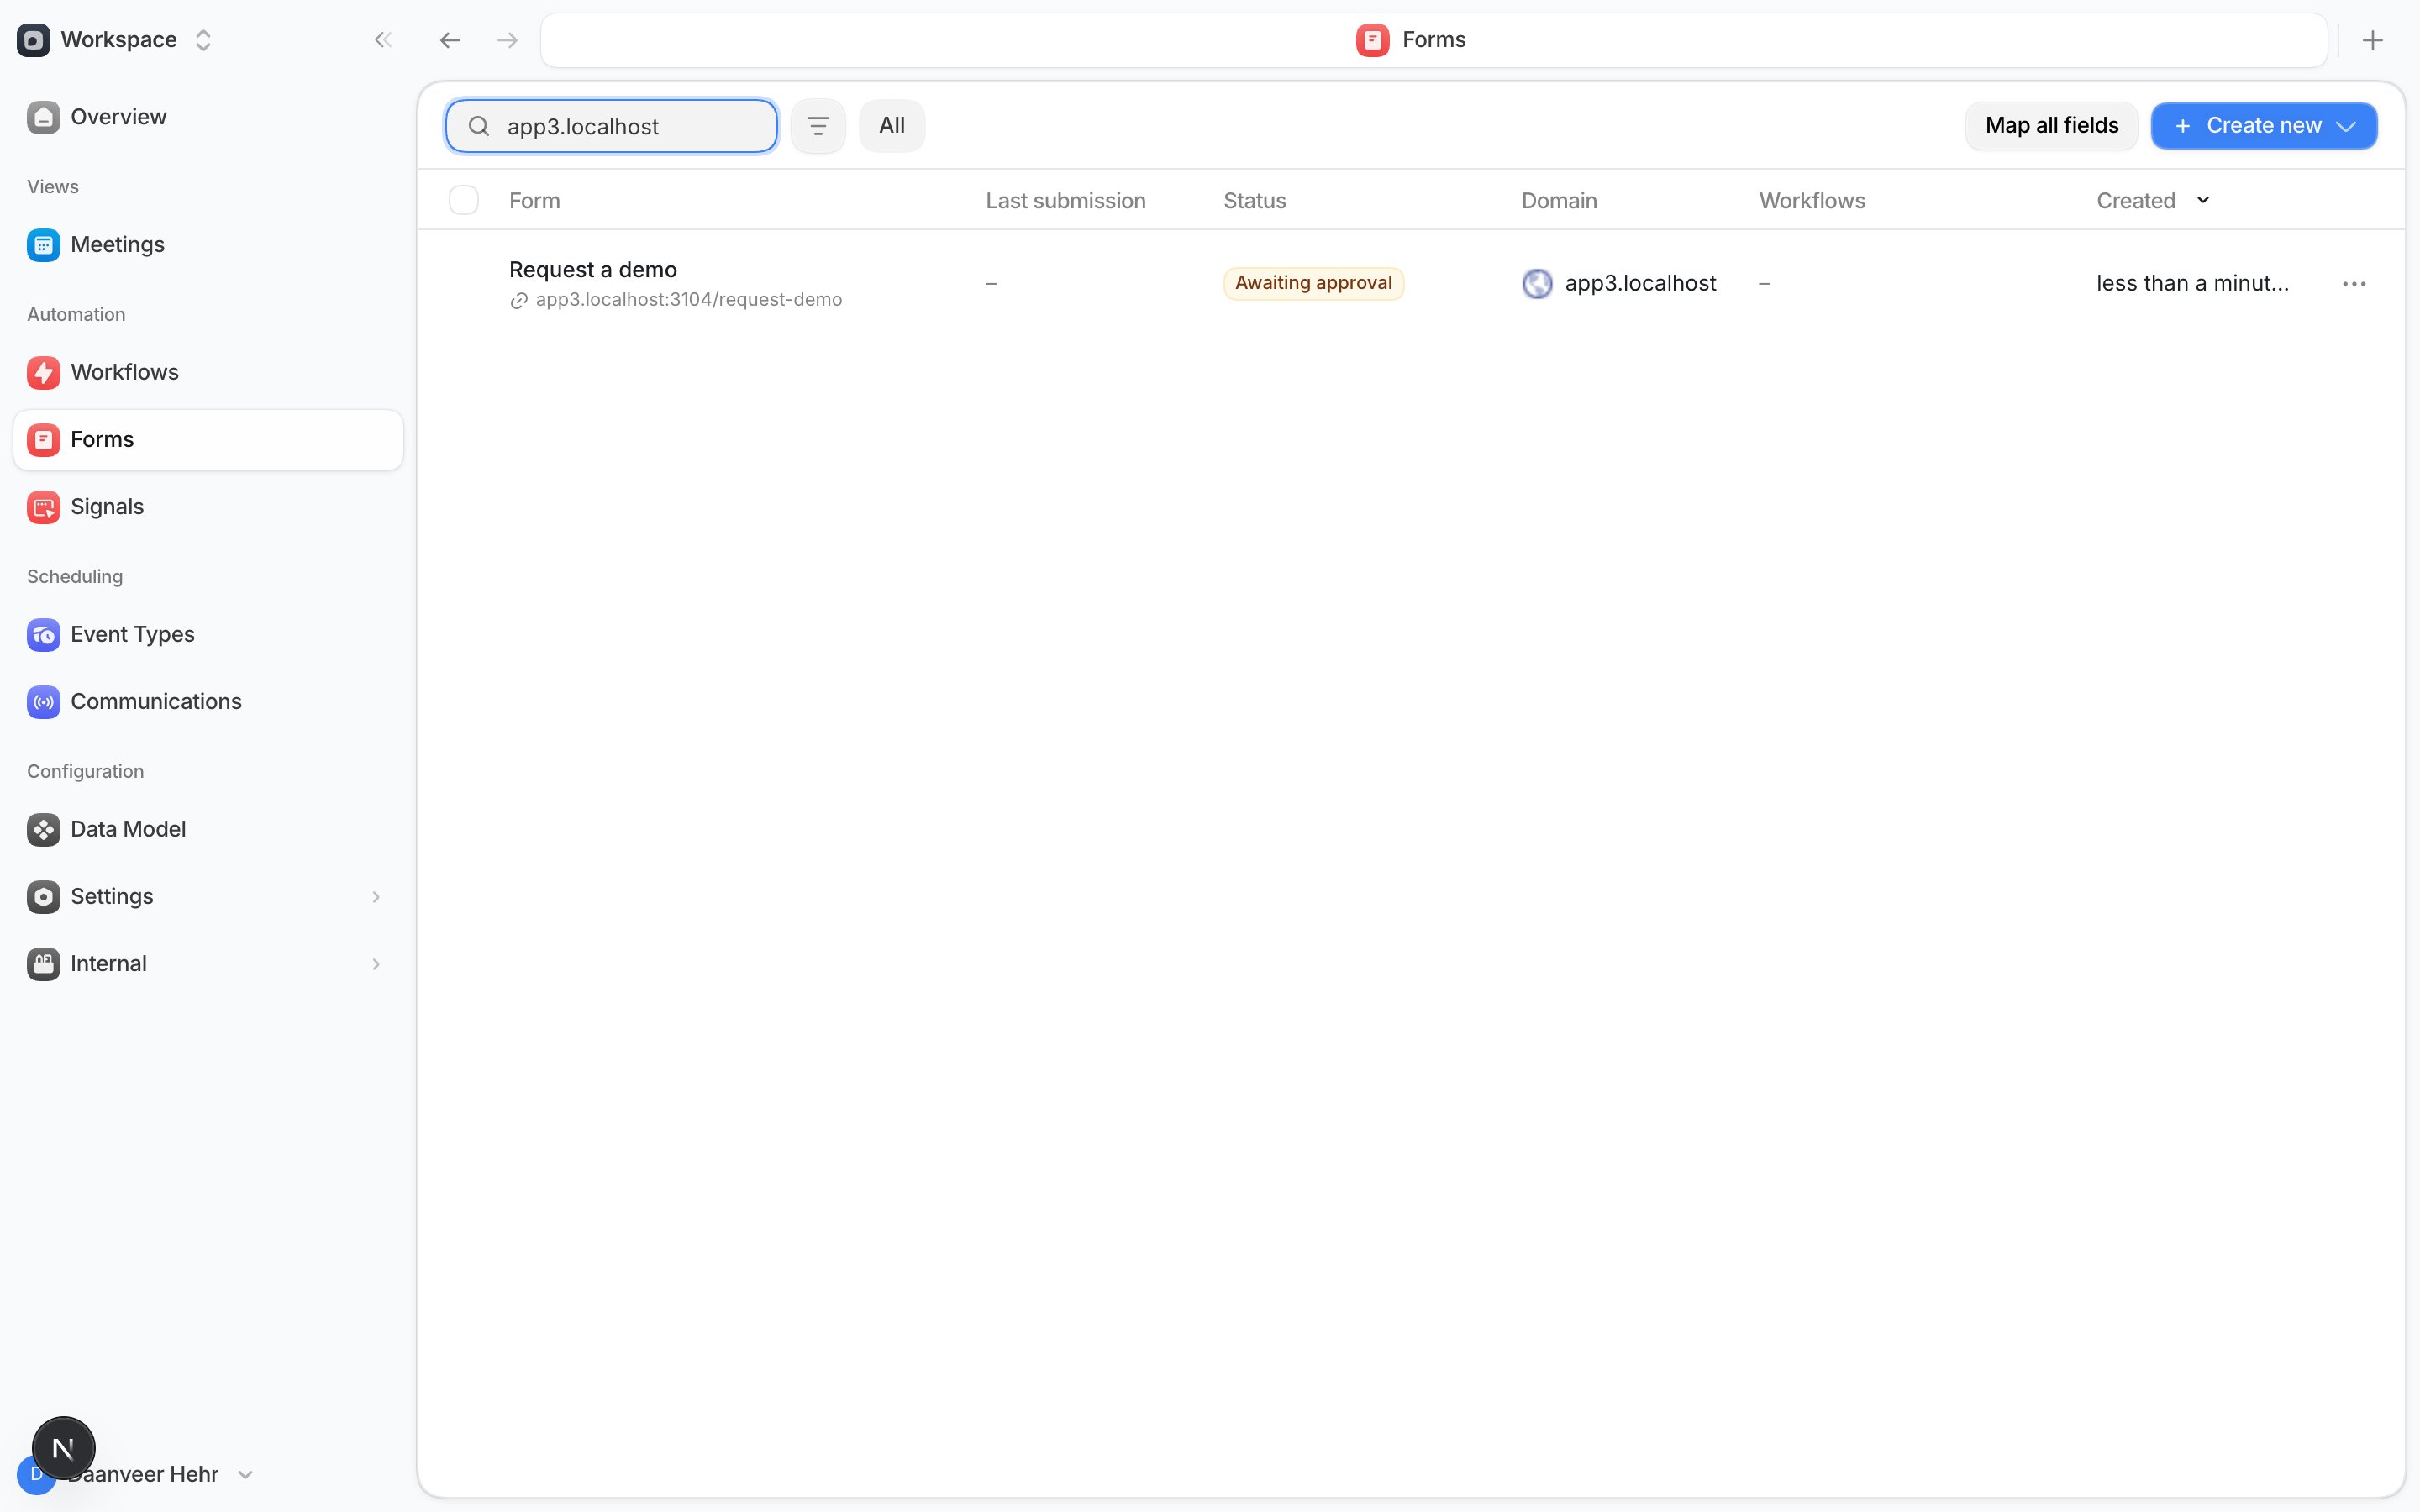
3
Approve the form
Open the form actions and select Review. Confirm the domain, path, form name, and fields.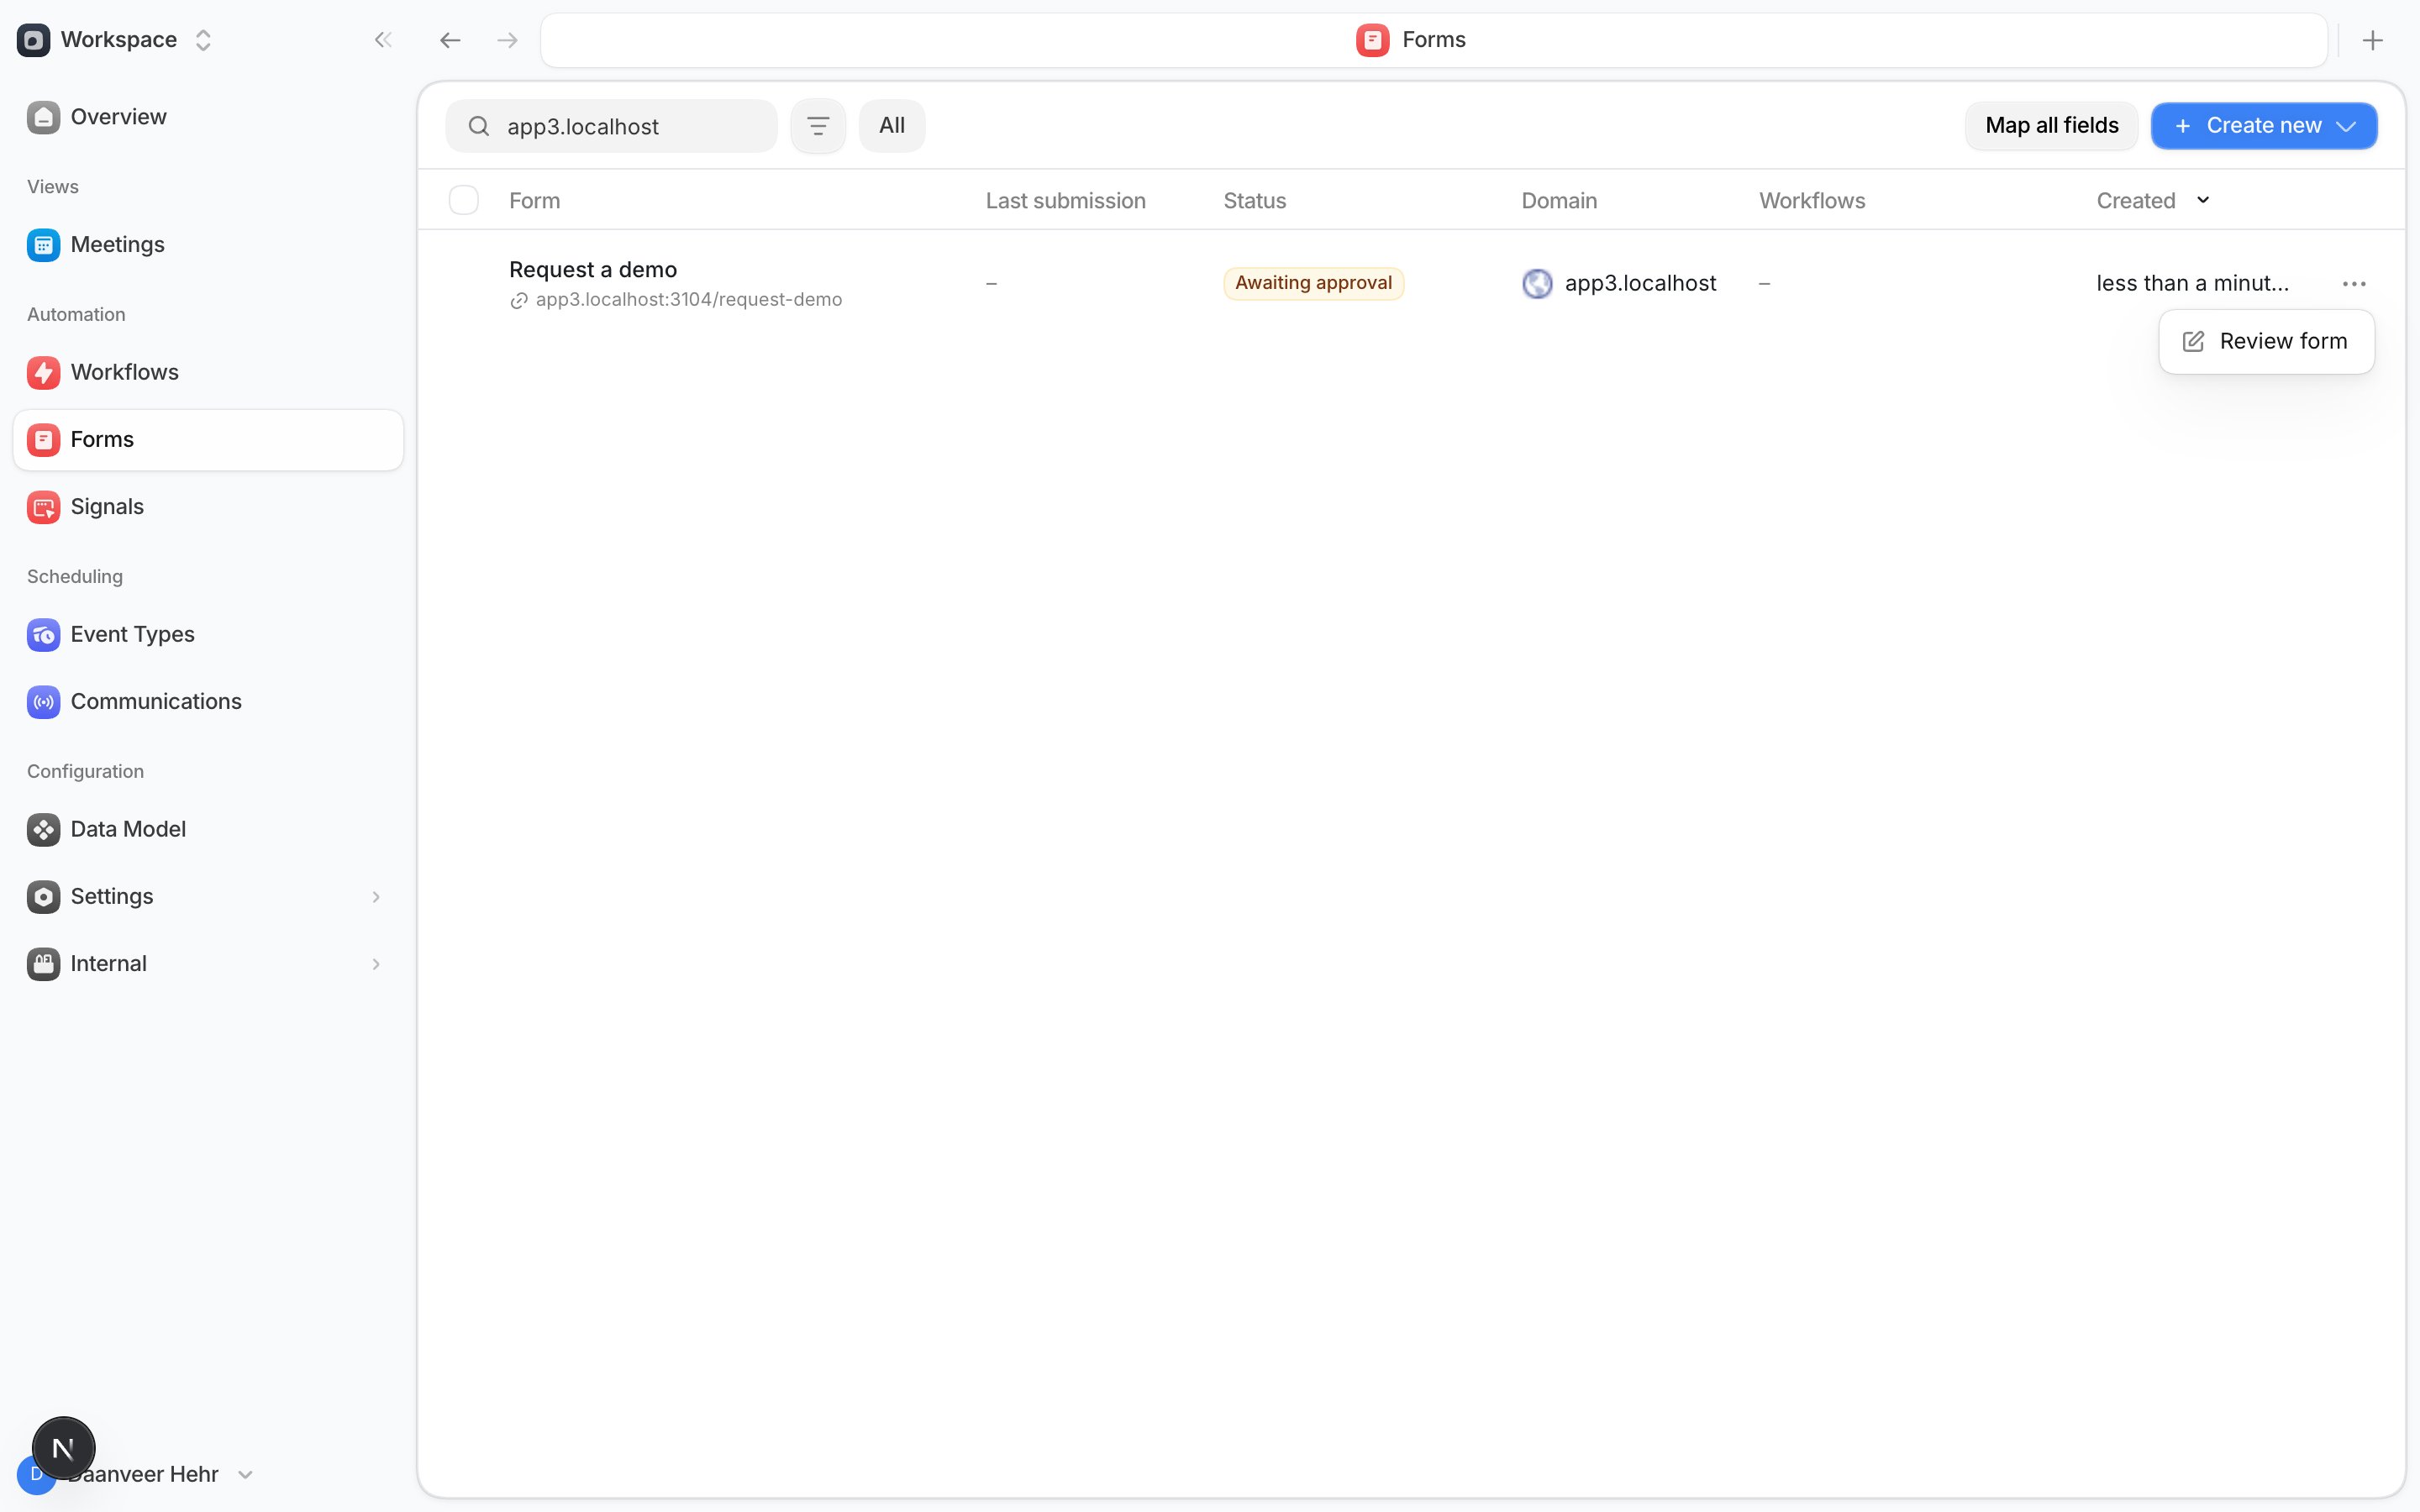
4
Map each detected field
Map every detected field to the correct Default field. Save the mappings before you continue.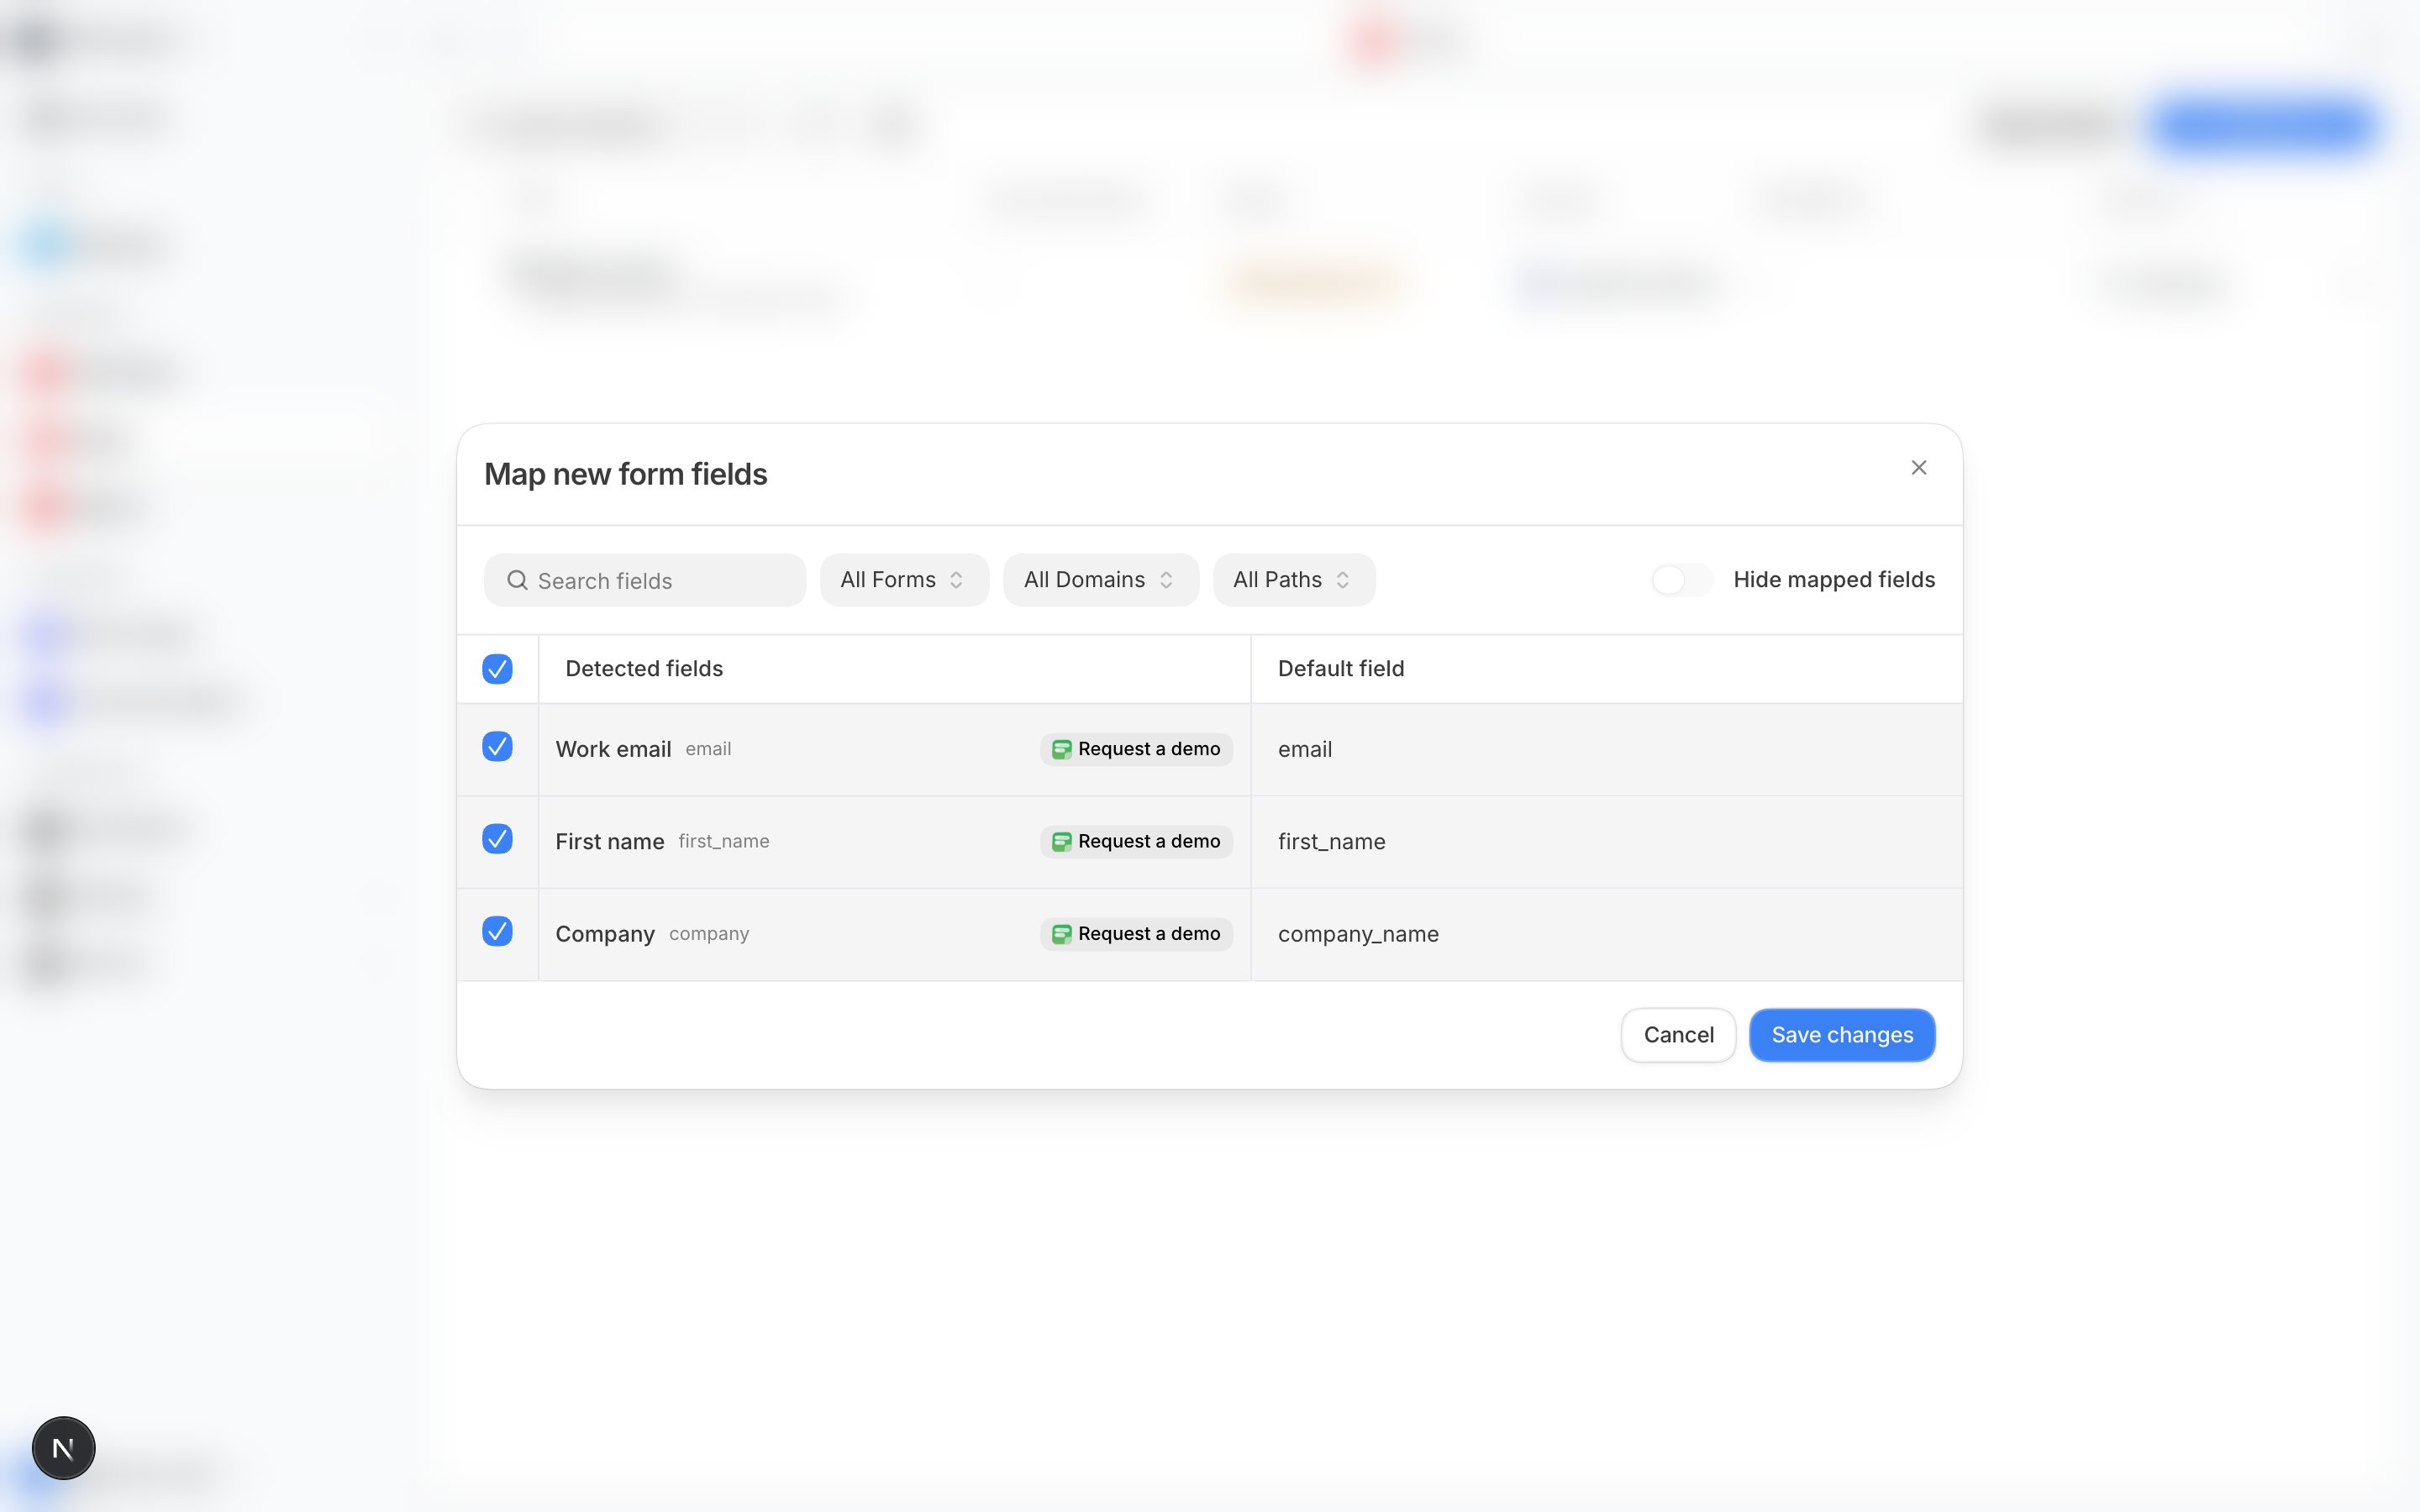
5
Confirm the active form
Open the form detail page and confirm its status is Active. Check the form name before you
install the SDK.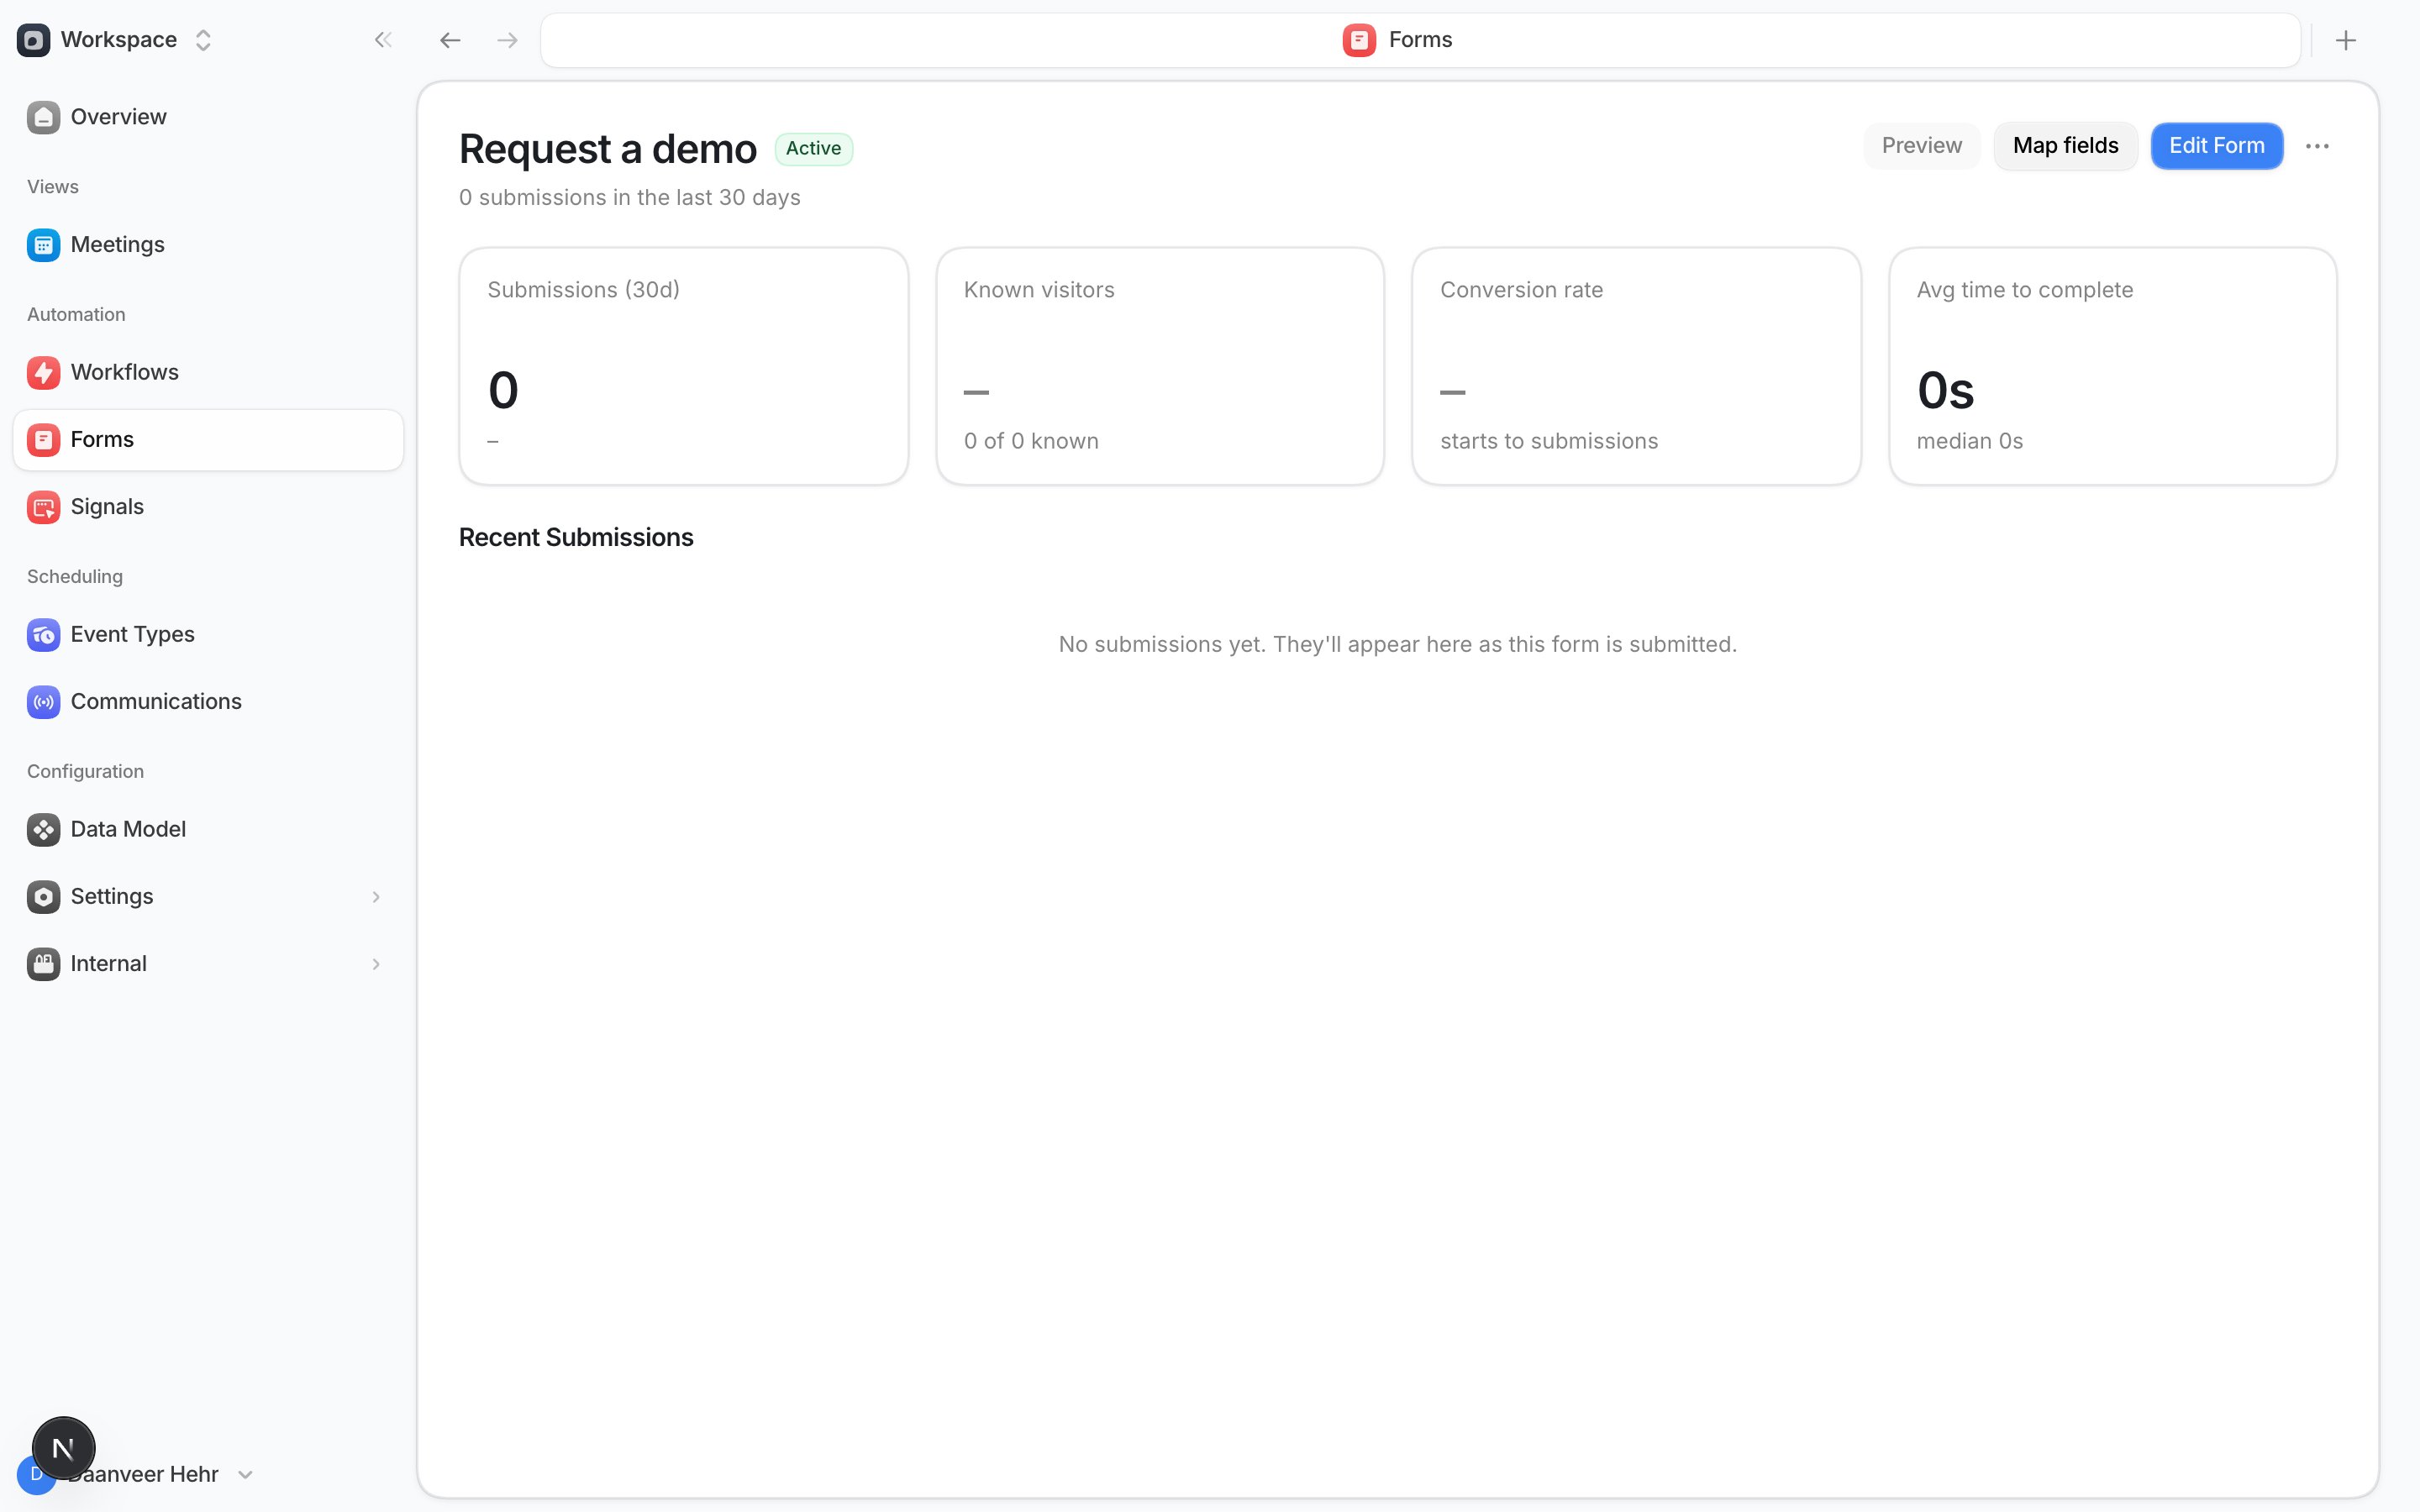
6
Choose the form rules
Open Edit Form → Settings. Turn on the rules that match your intake policy.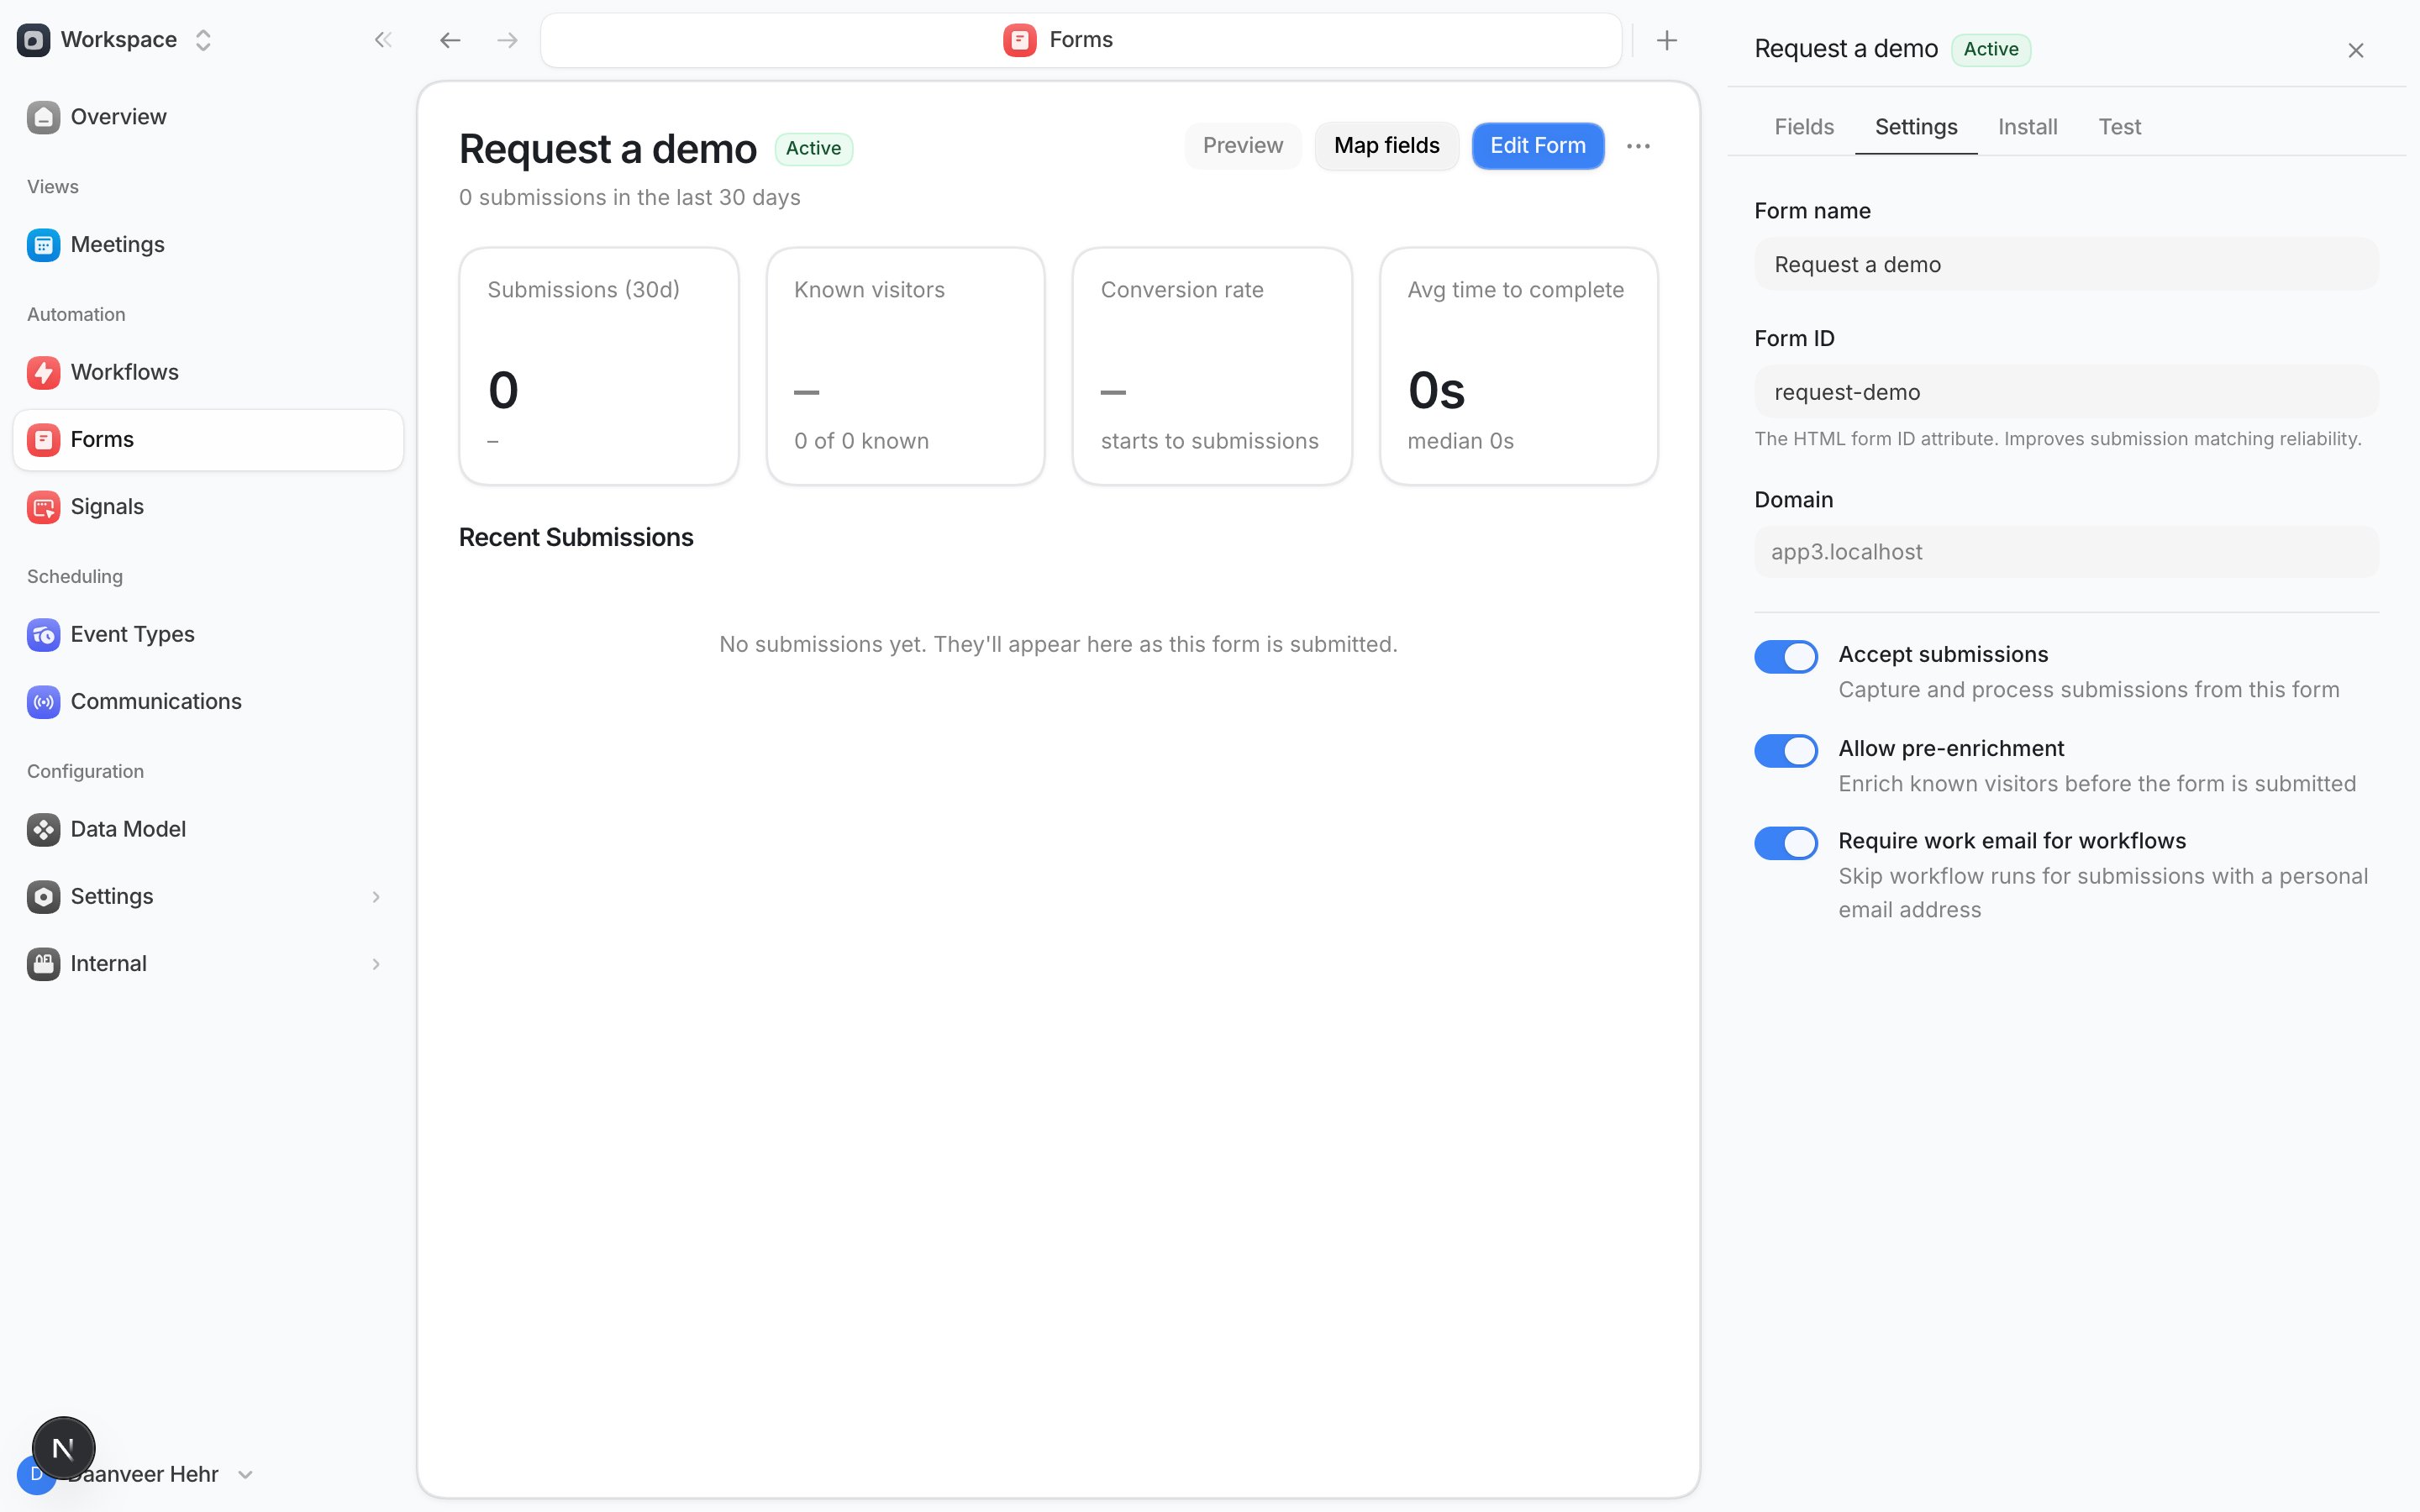
Install the Forms SDK
1
Copy the SDK sample
Open the Install tab. Copy the Use the SDK sample. It includes your public key, Pixel form
UUID, and mapped field names.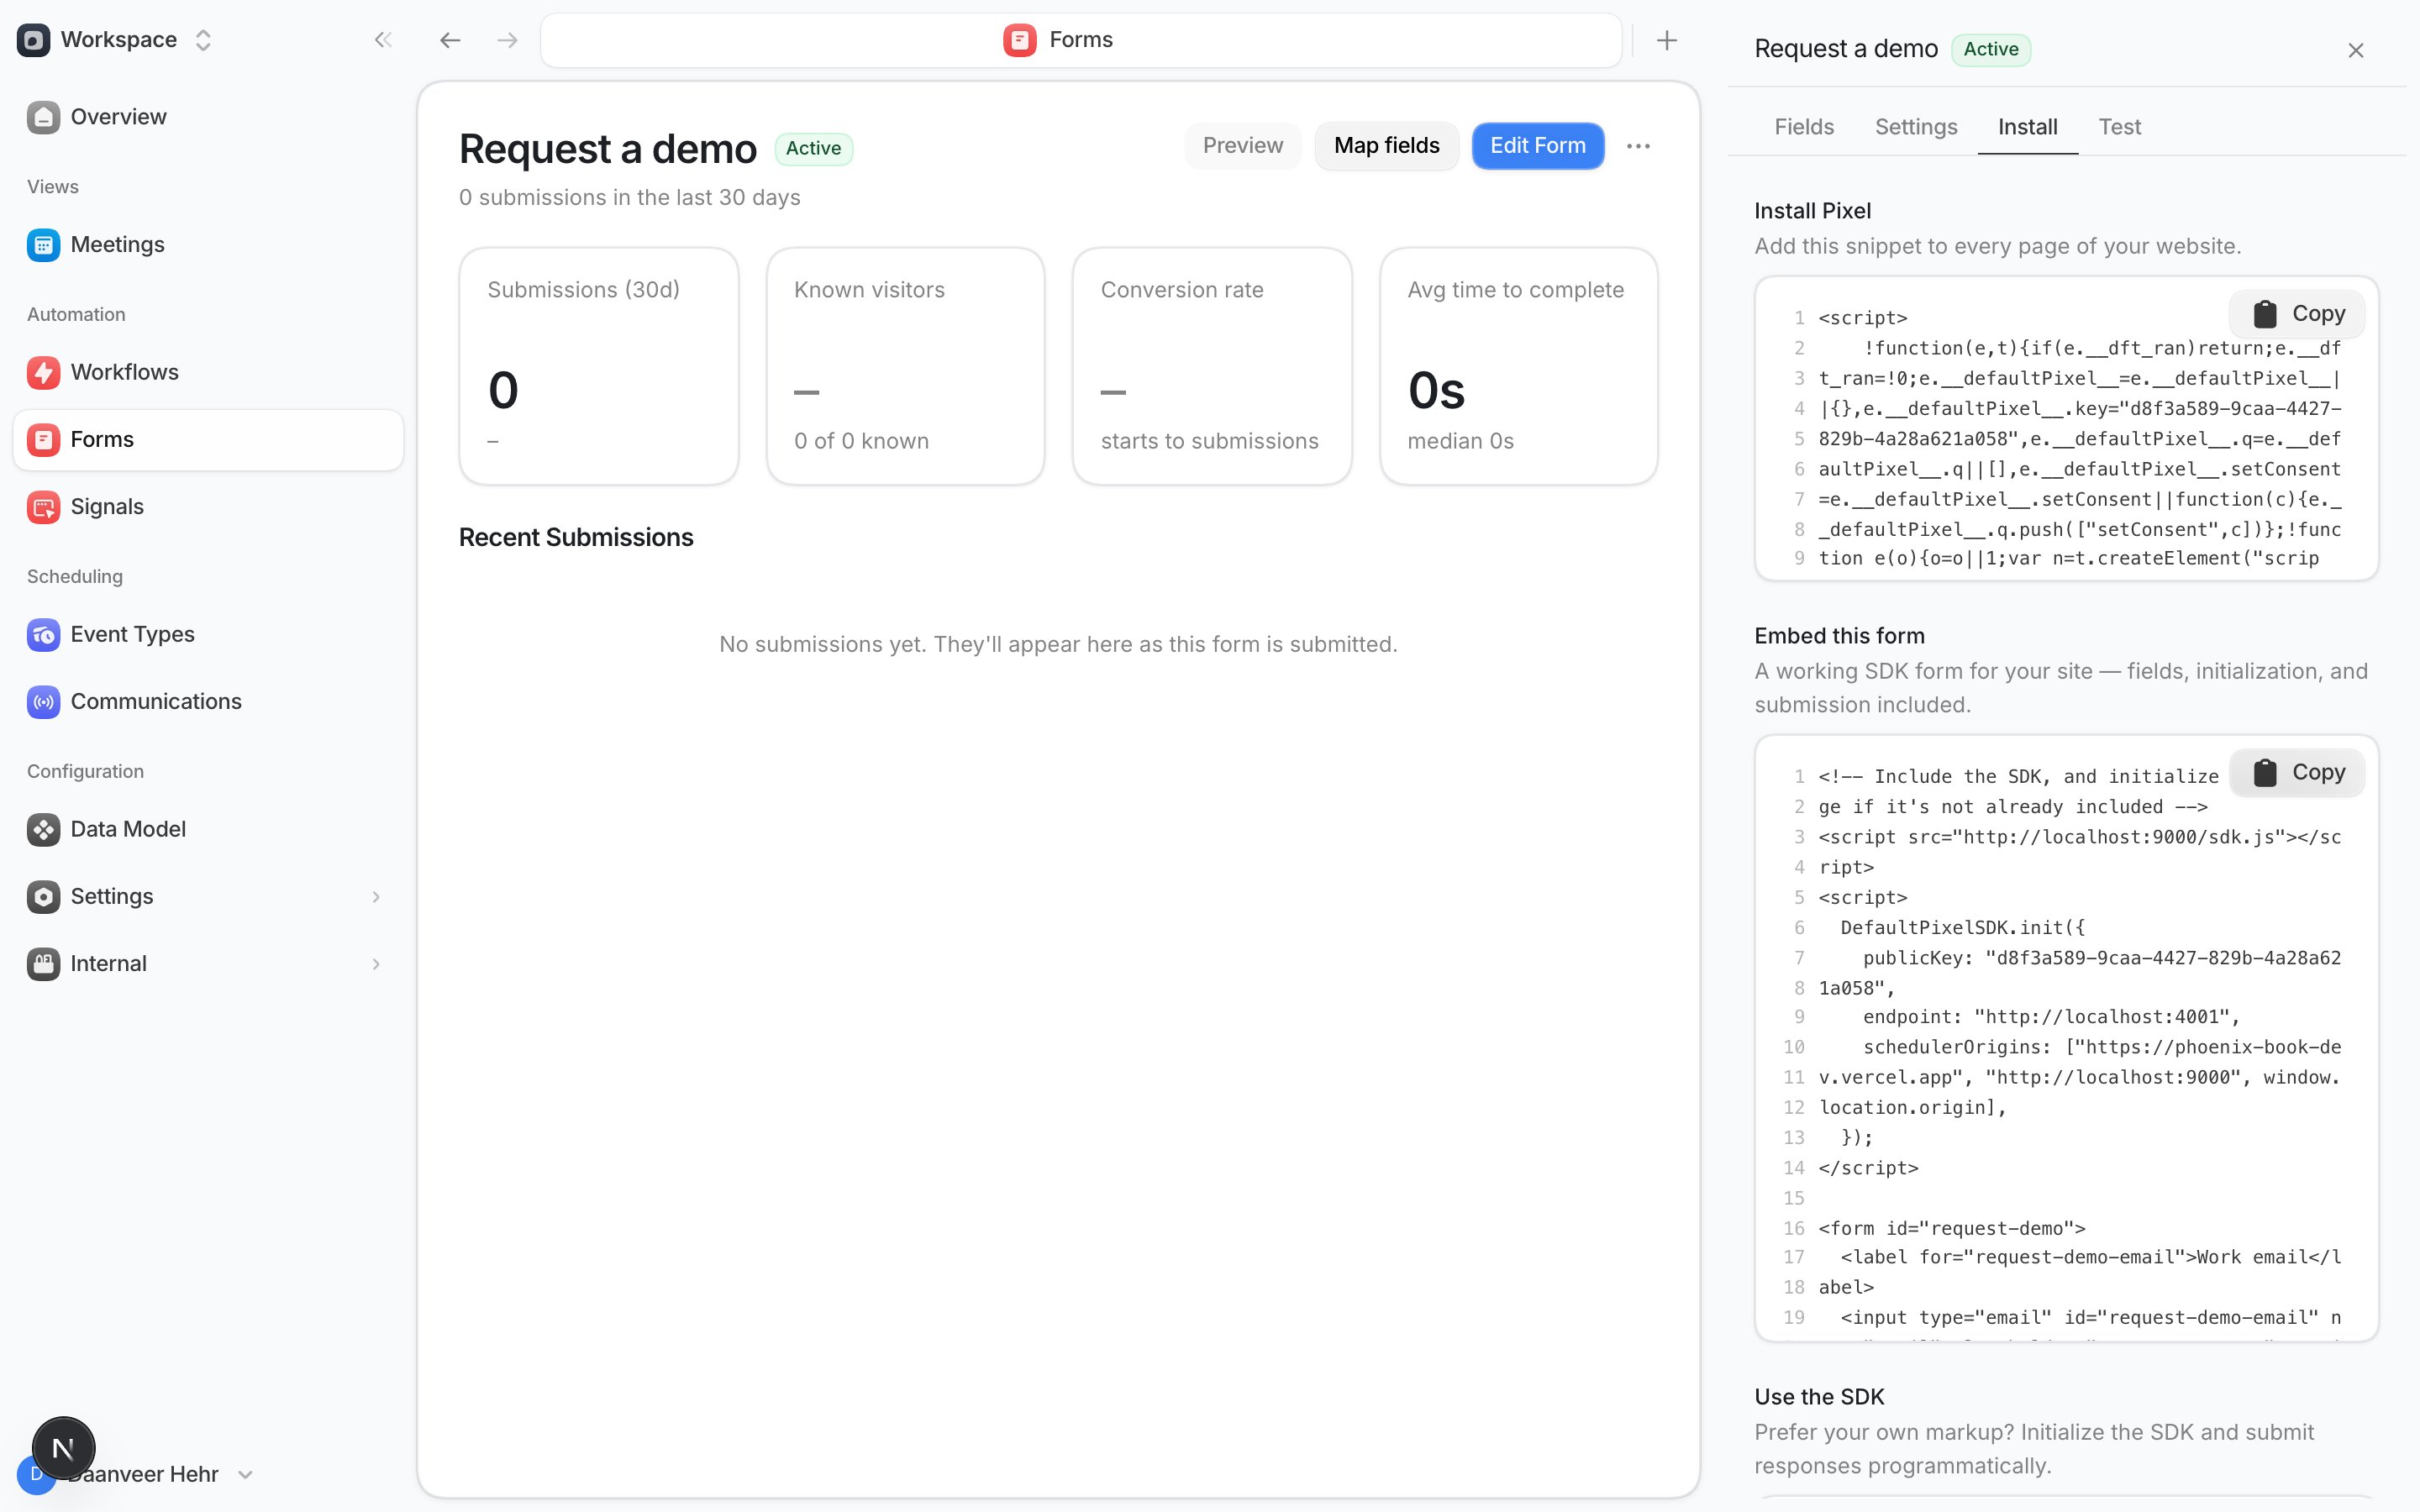
2
Separate initialization from submission
Load and initialize
sdk.js when the page starts. Call submitForm() only inside your form
handler.Use the HTML form ID for recordFormInteraction({ formId }) and submitForm({ formId }). Use the
Pixel form UUID only for submitForm({ pixelFormId }).See Build a reliable Forms SDK flow for a complete example.Verify the result
1
Test the field values
Open the Test tab. Enter synthetic values that match the mapped field types.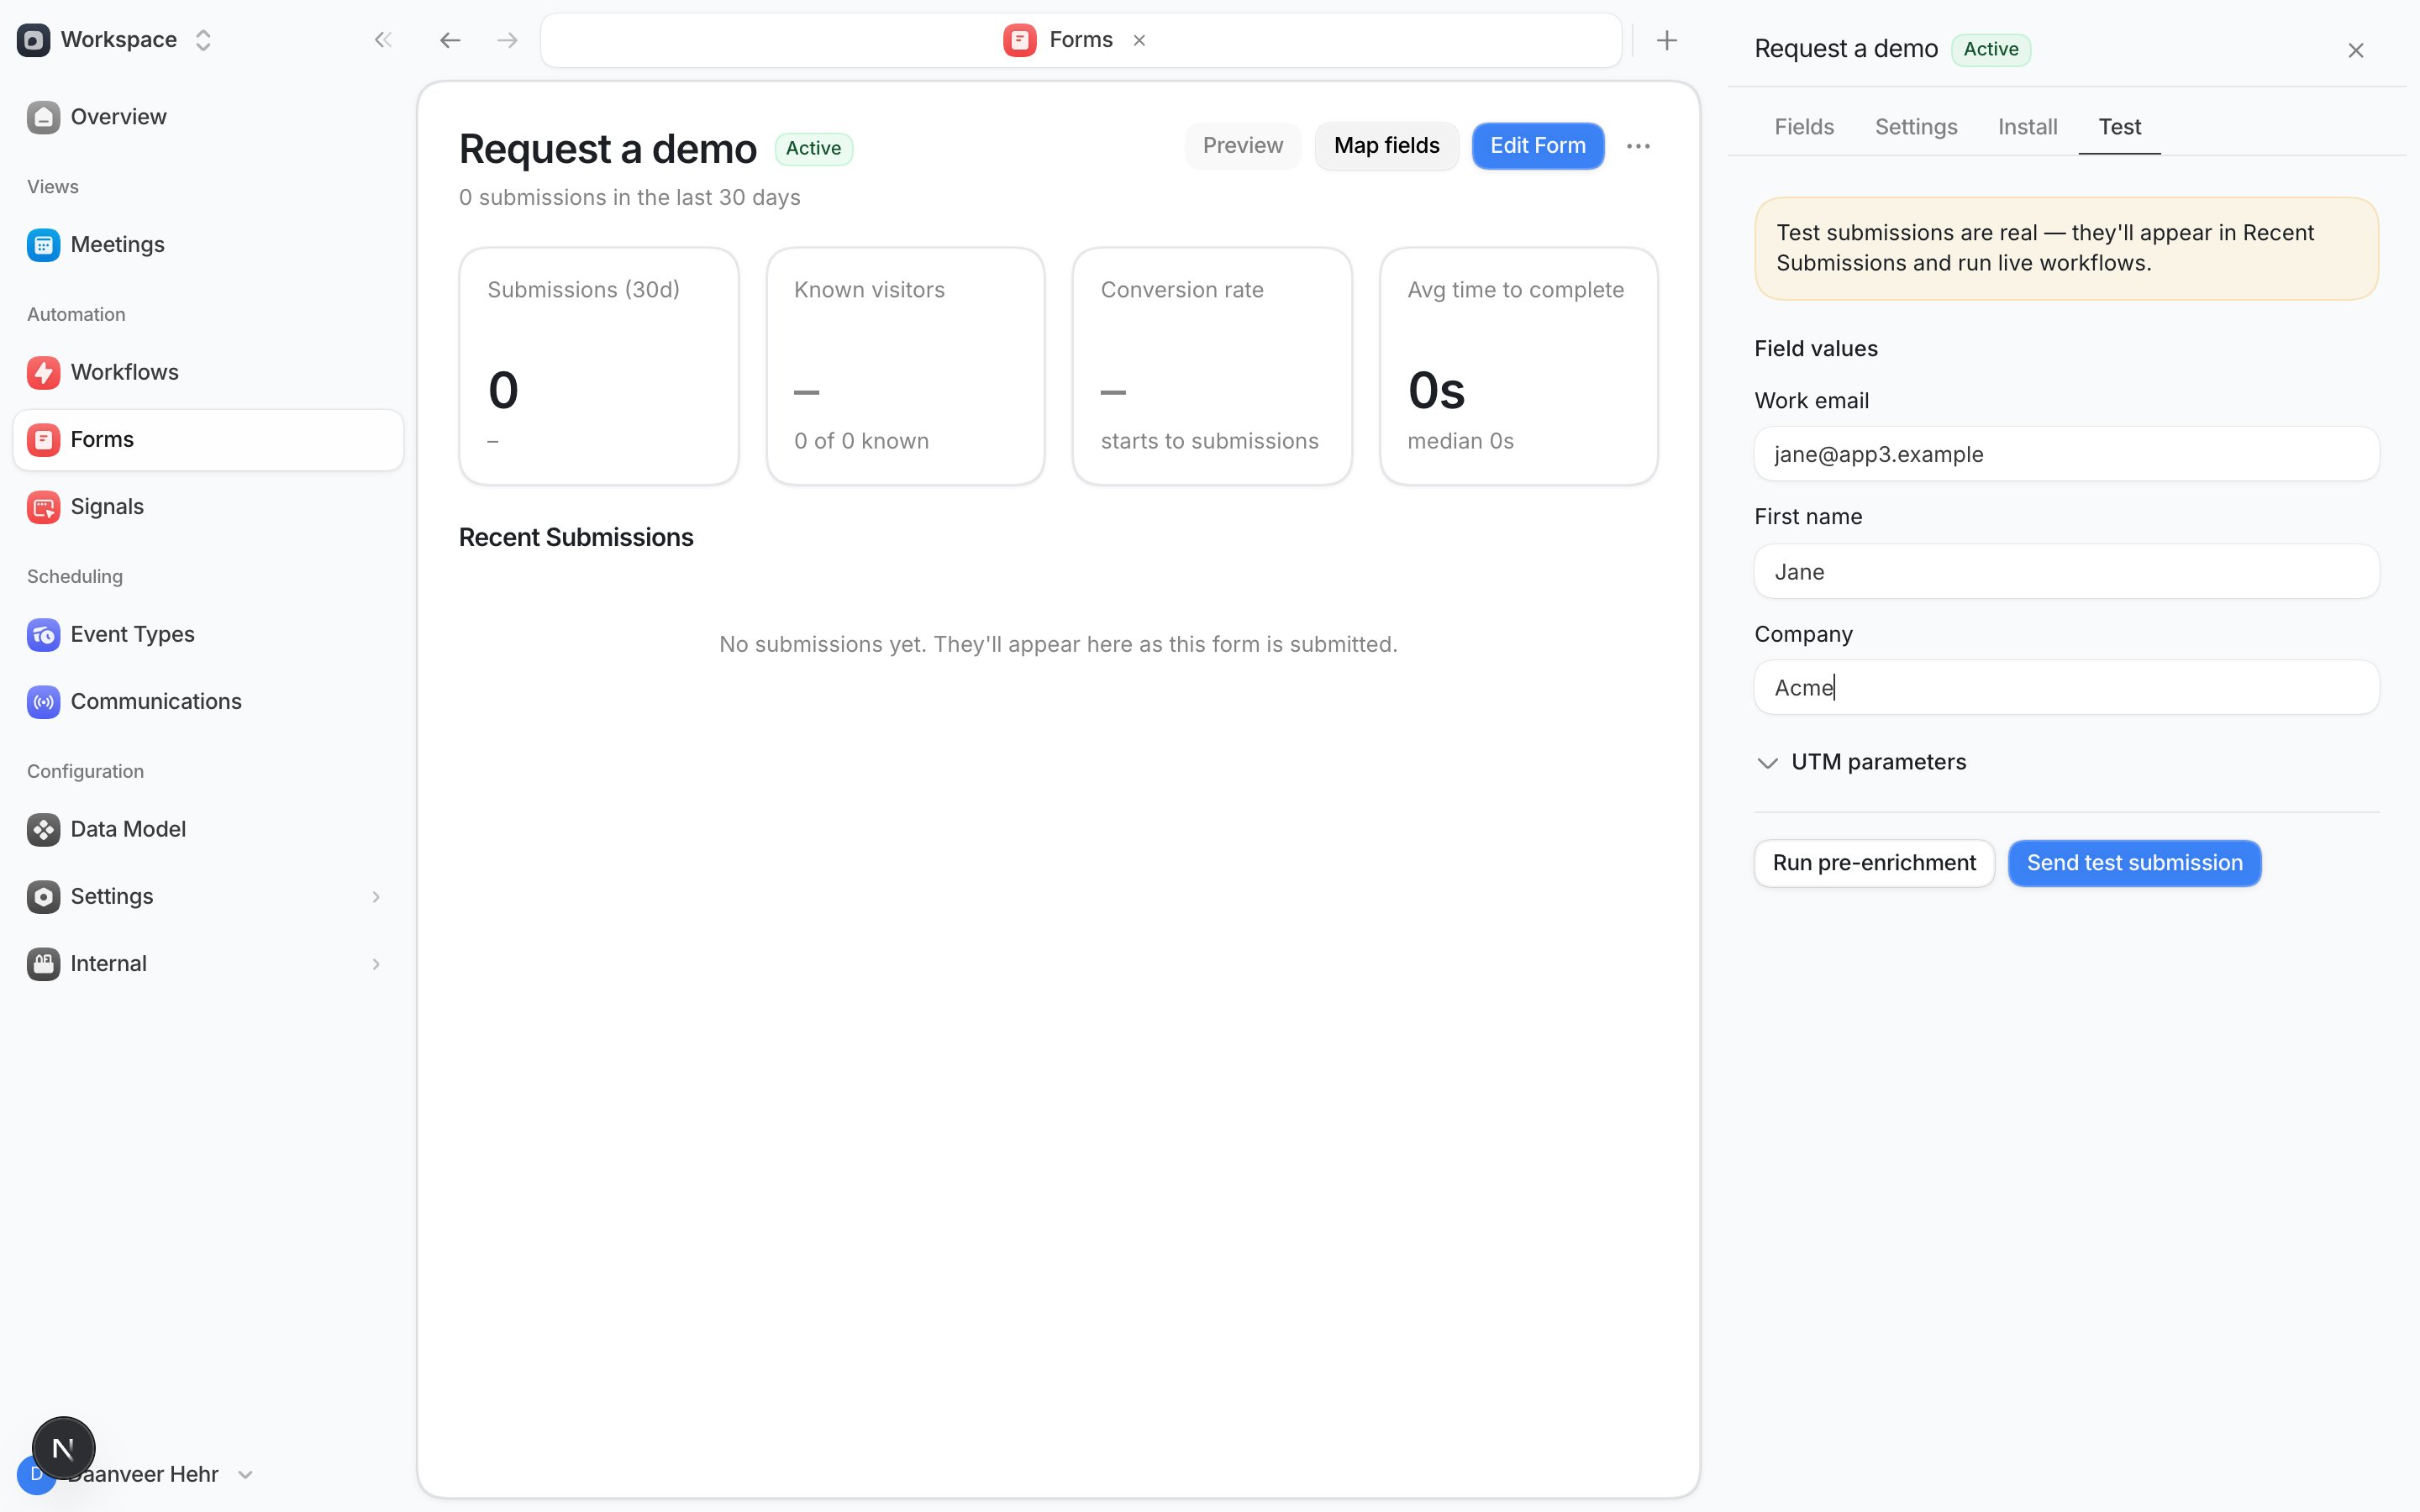
2
Send a test submission
Select Send test submission. Confirm the result has 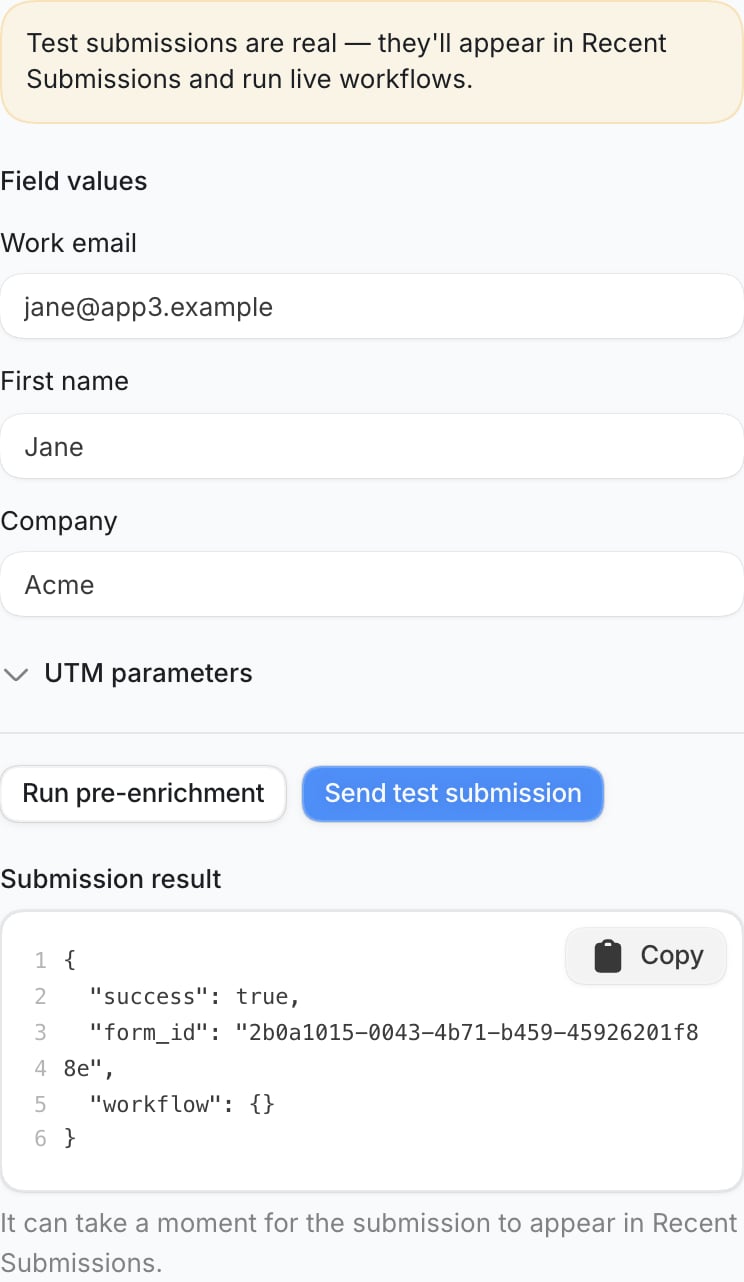
"success": true.3
Create the Form Submission trigger
Create or open a workflow. Add a Form Submission trigger and select the approved form.Add the steps that should run after submission. Publish the workflow before you test those steps.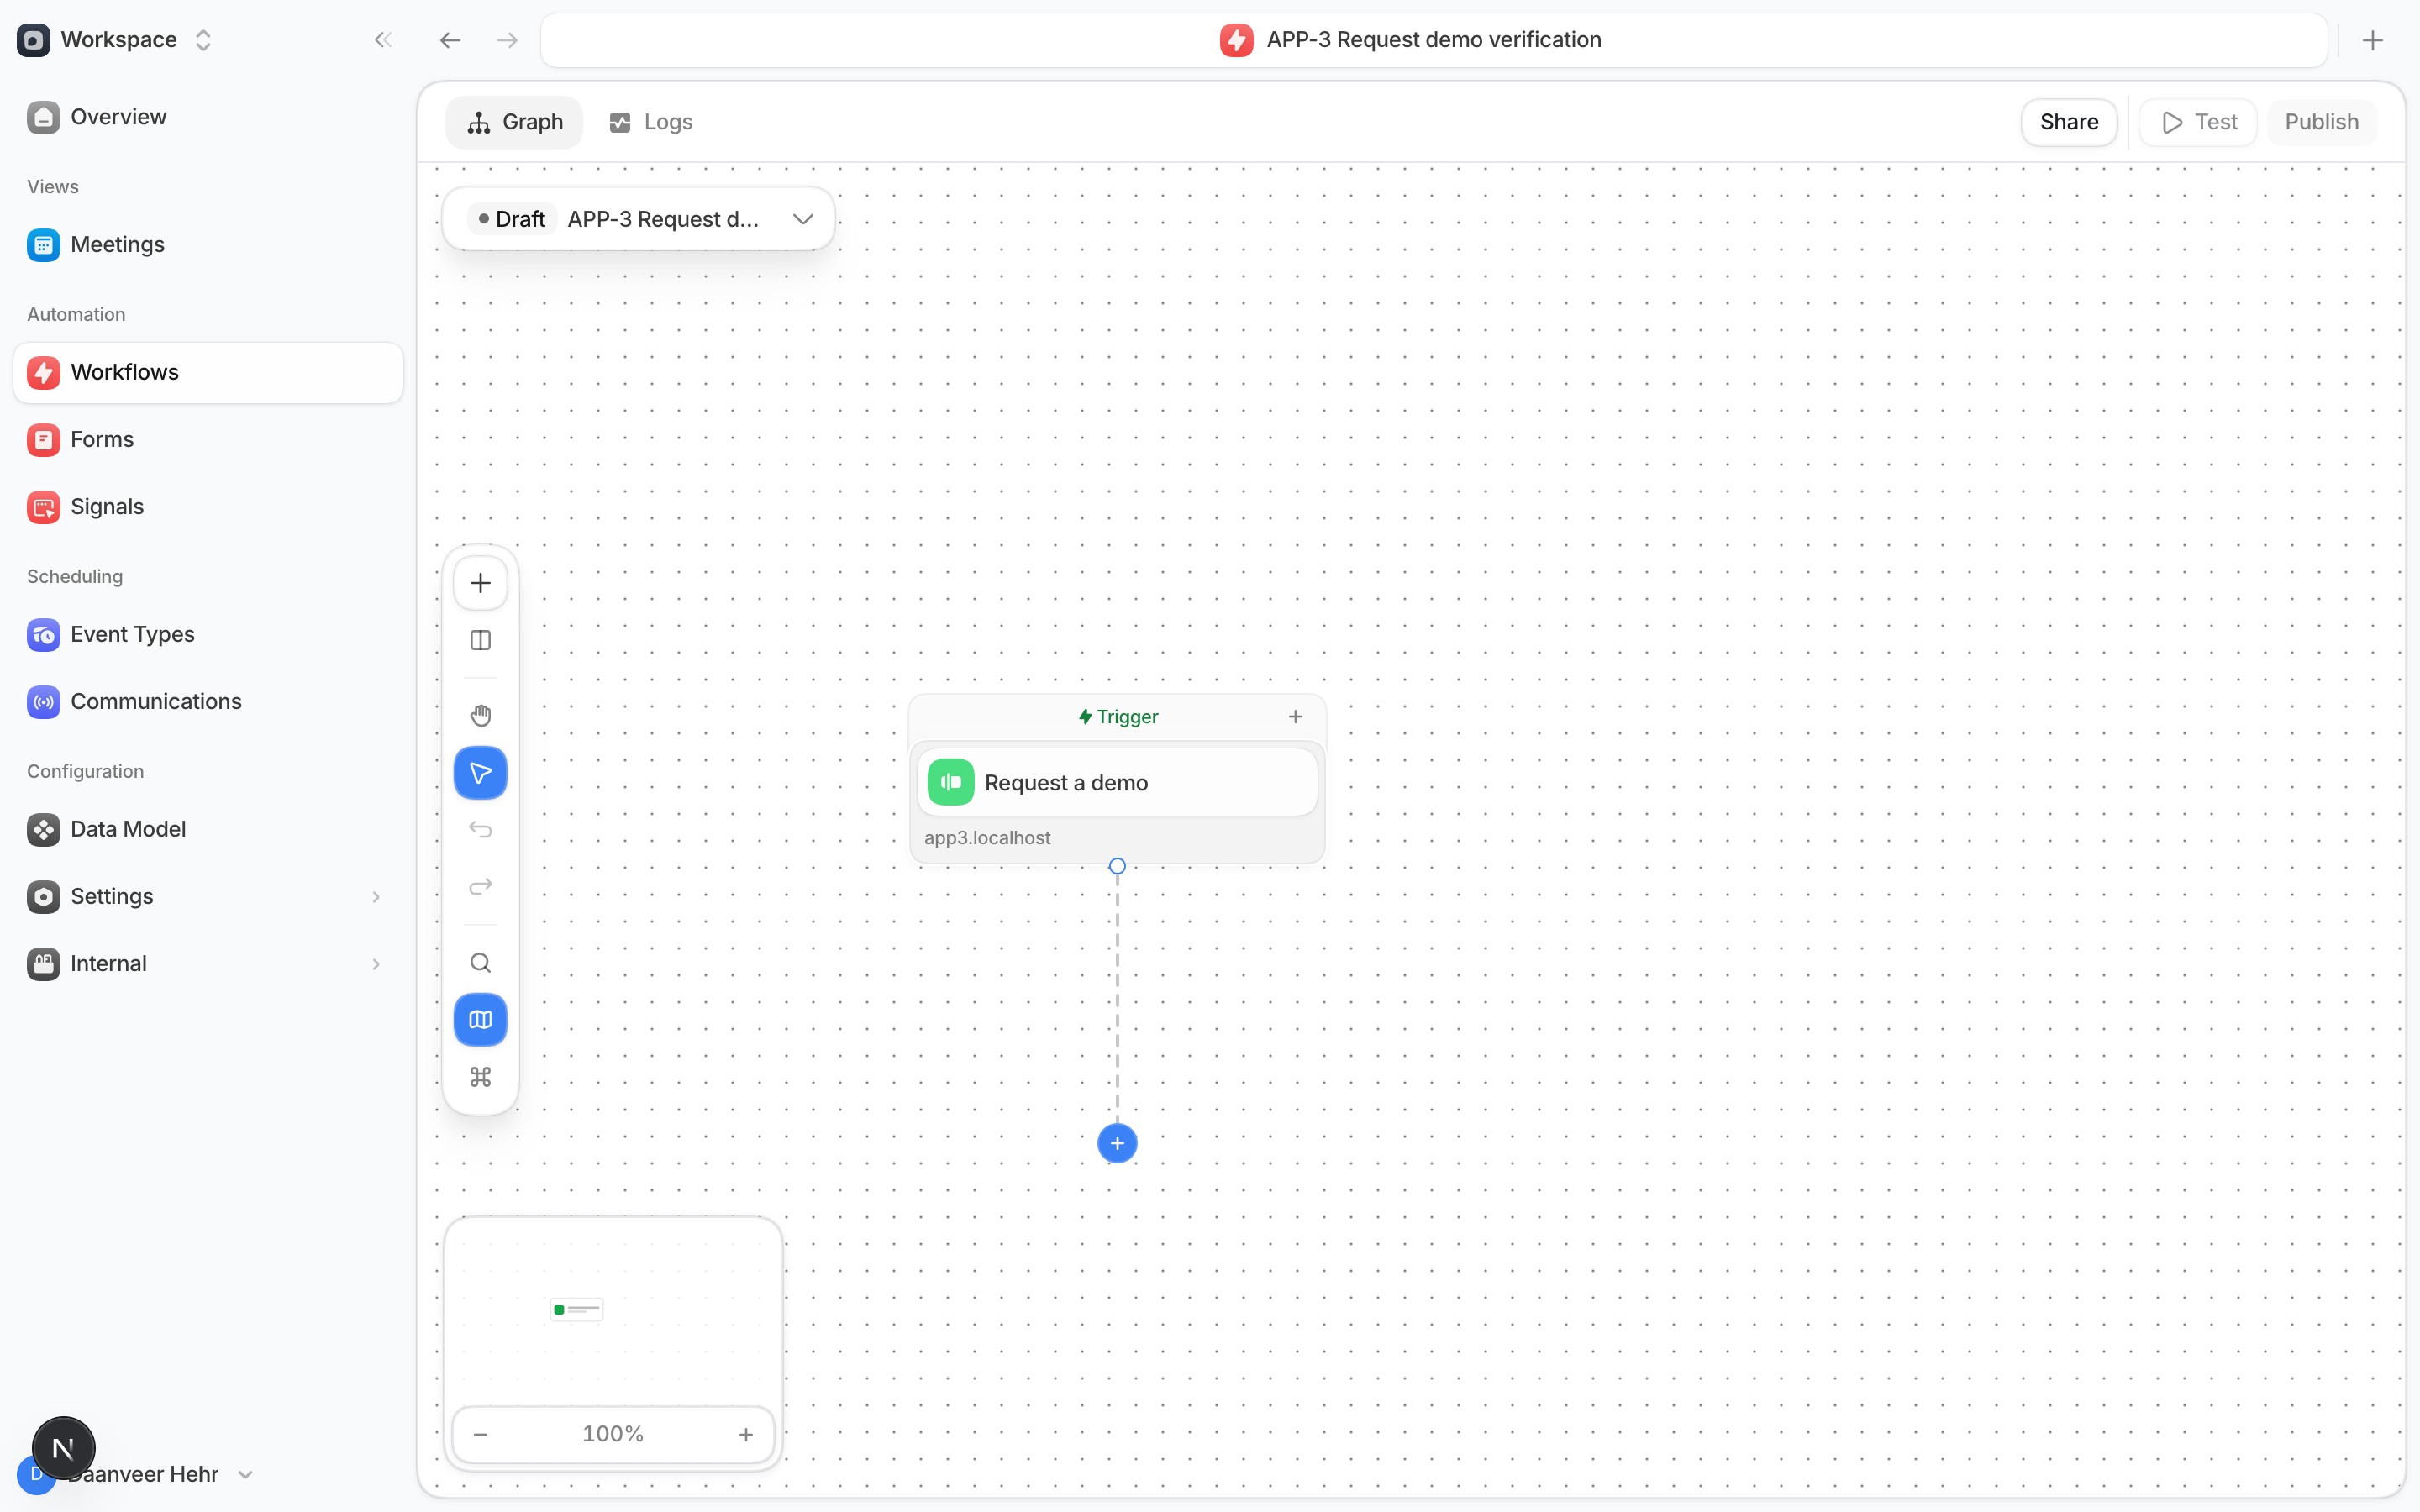
4
Verify the page end to end
Submit the form from its test page with synthetic data. Confirm the submission appears in
Recent Submissions and the published workflow produces the expected result.If the workflow returns a scheduler, confirm it opens in the configured modal, inline target, or
page redirect.
Troubleshooting
Next steps
Build a reliable Forms SDK flow
Add early initialization, pre-enrichment, result handling, and safe scheduler messages.
Understand the full integration
Learn how identity, form capture, workflows, and scheduler handoffs work together.
Use the API reference
Find every configuration option, method, return value, and scheduler event.