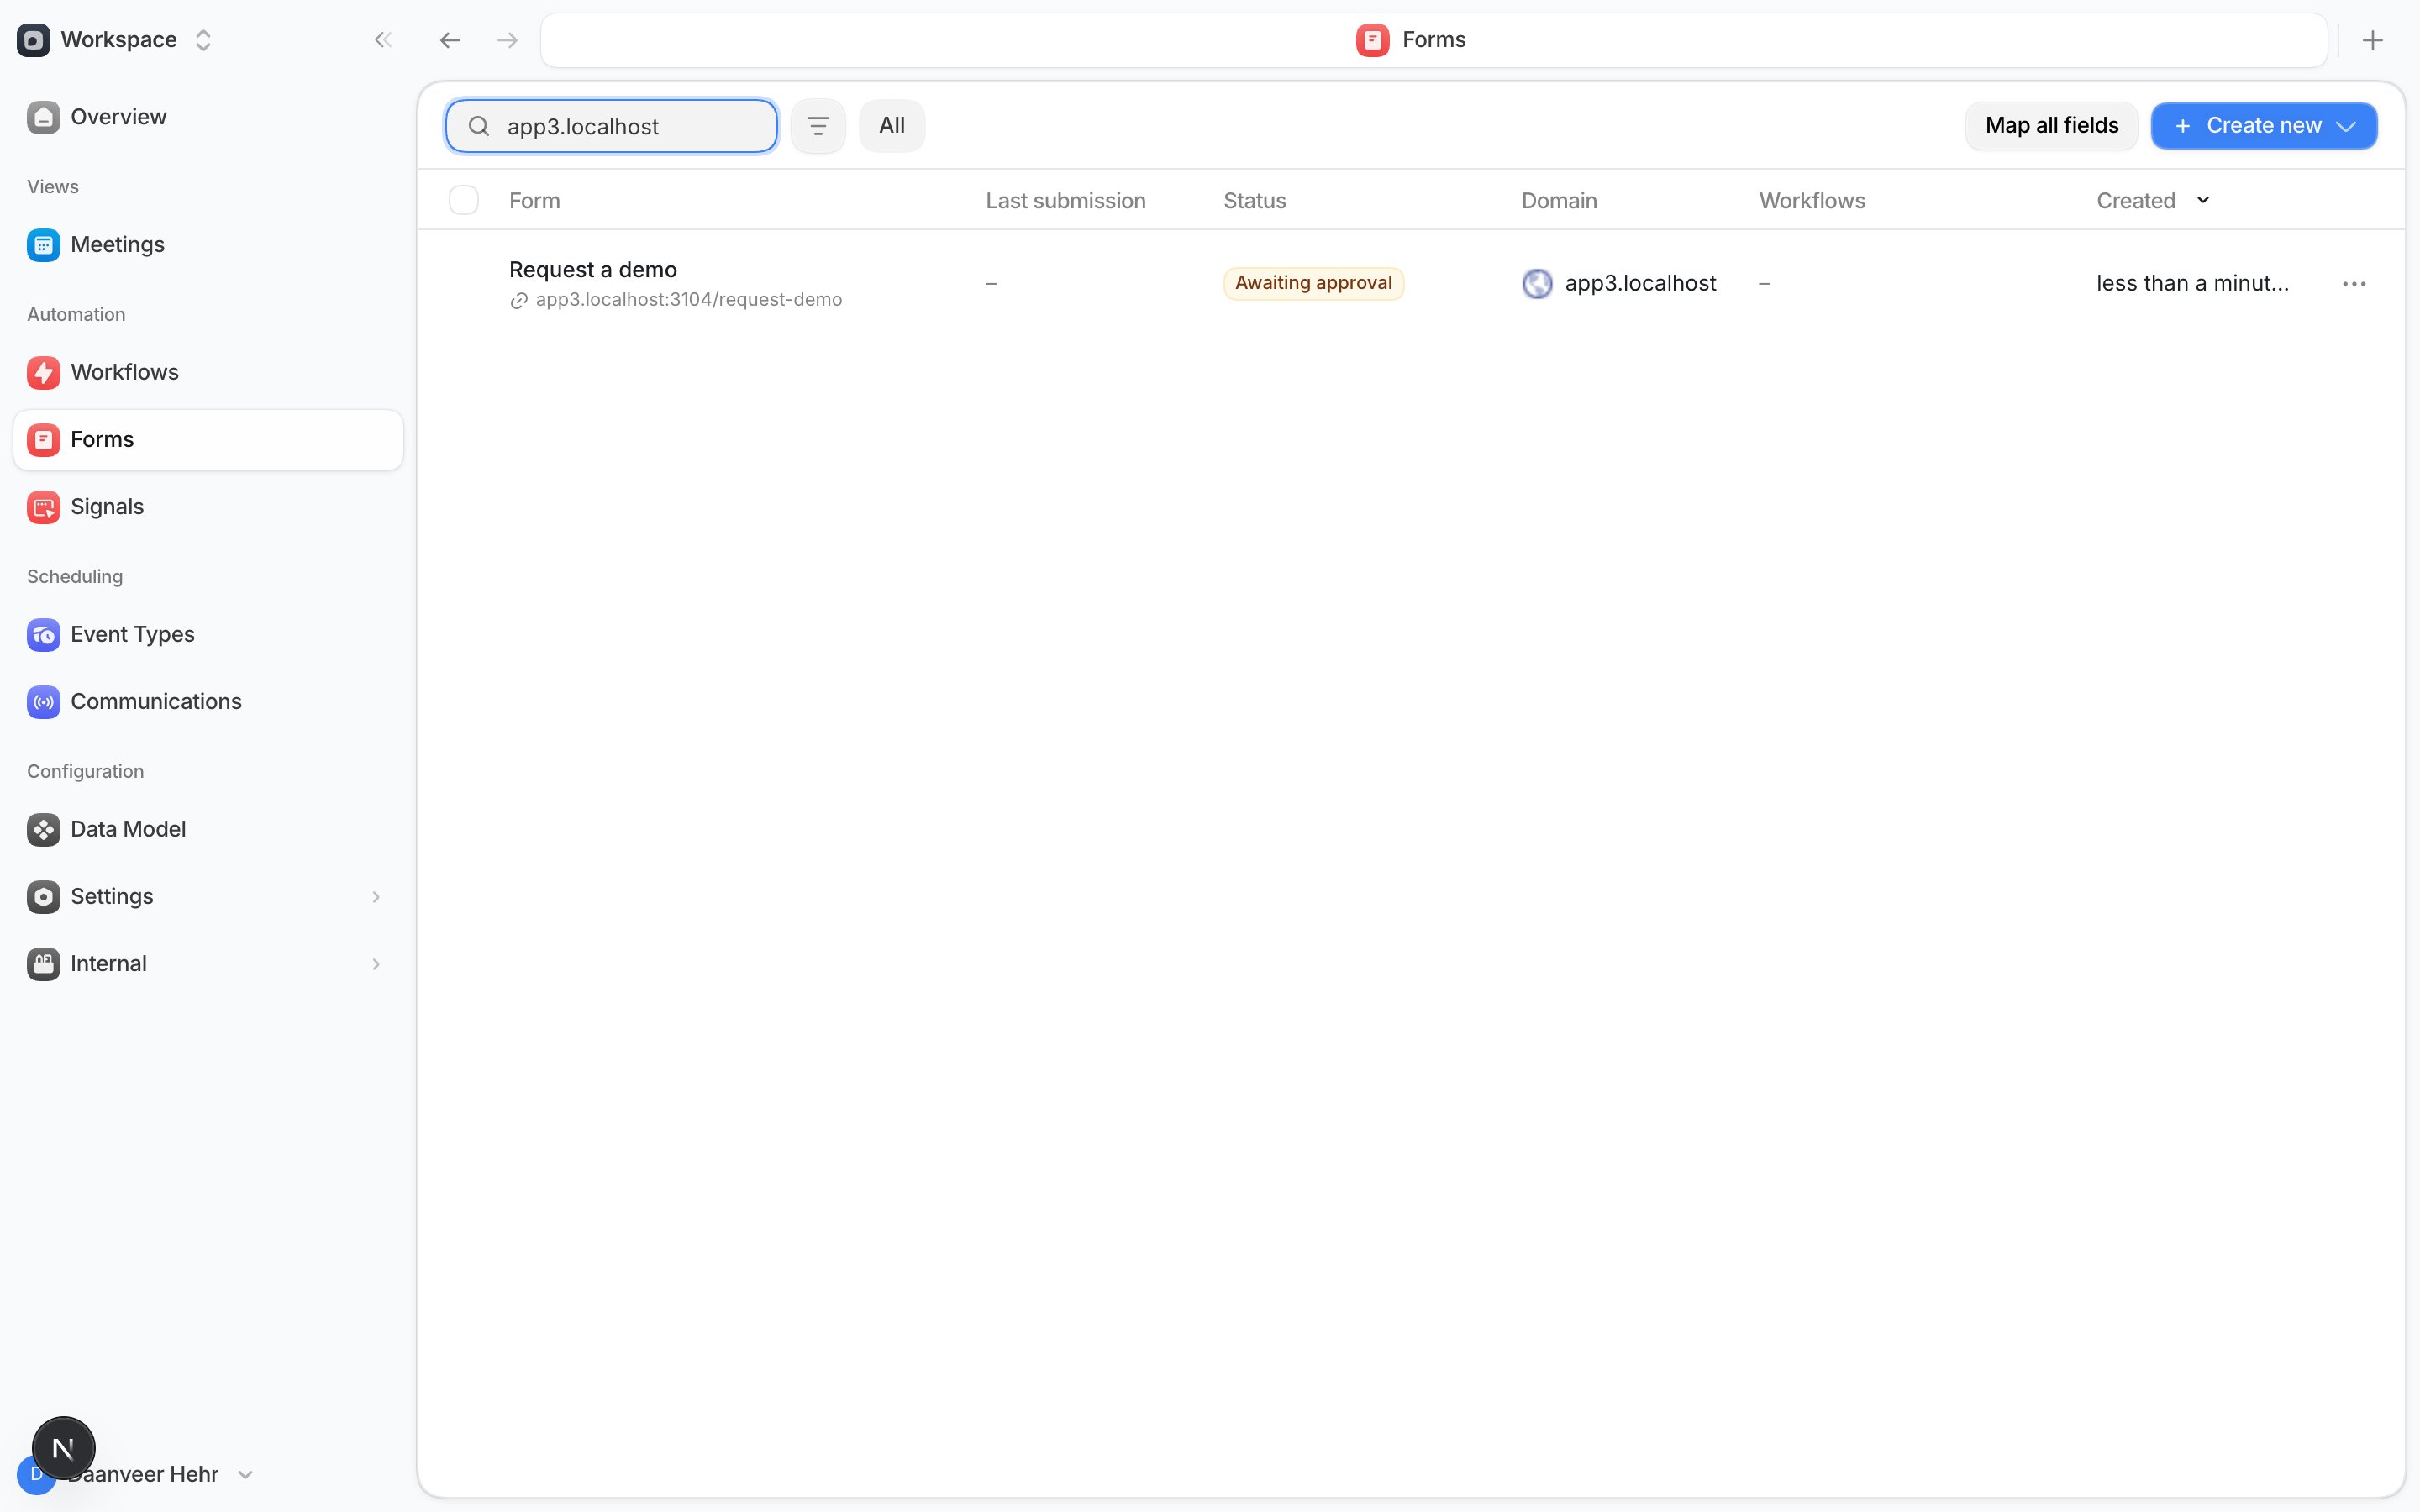
An approved form can also show a Fields changed badge, meaning the Pixel noticed its
fields changed on your site since you approved it. Review it to keep your mappings
accurate.
Add forms from your site
Default doesn’t scan your site on its own. You add a form by opening the page it lives on with Catalog forms, then confirming the form right there on the page. Catalog mode recognizes plain HTML forms as well as embedded HubSpot, Marketo, and Pardot forms.The Pixel must already be installed on the page. If the domain isn’t connected yet, start
with Set up the Pixel and Forms SDK.
1
Open catalog mode from Signals
Go to Forms → Signals, open the domain’s actions menu, and select
Catalog forms.
2
Choose the page
Under Start on, pick a path Default has already seen on the domain, or type one, then
select Open catalog mode. Your site opens in a new tab with catalog mode running. The
link is single-use and expires after 10 minutes, so start on the page where the form lives.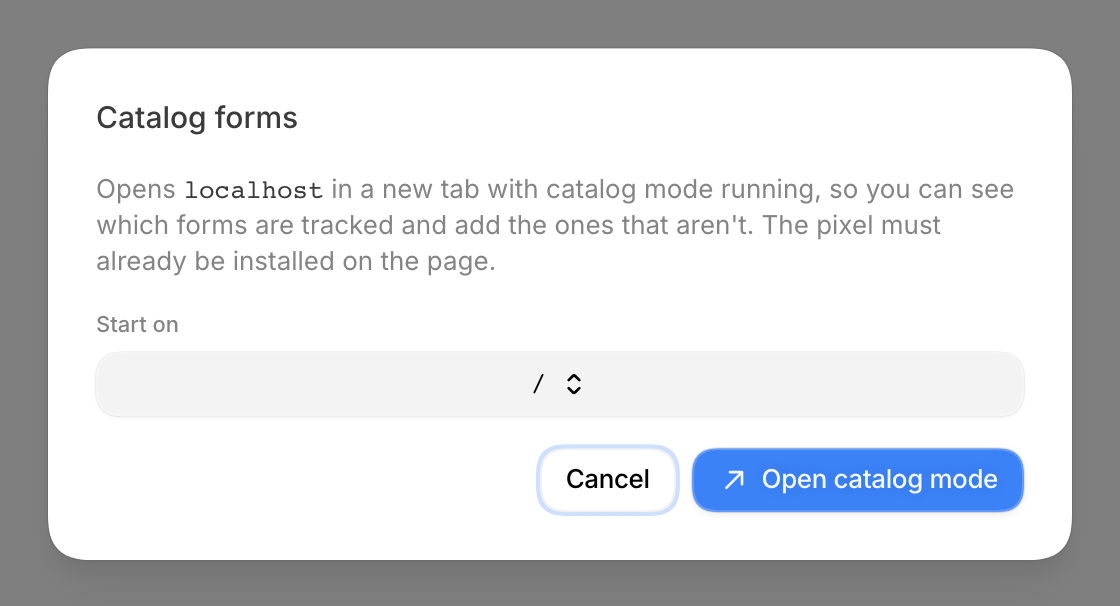
3
Add the form on the page
Every form on the page gets a badge: Not added, Tracked, or Changes detected.
Select Add form on the one you want, give it a name, and confirm. Every field on the
form is catalogued.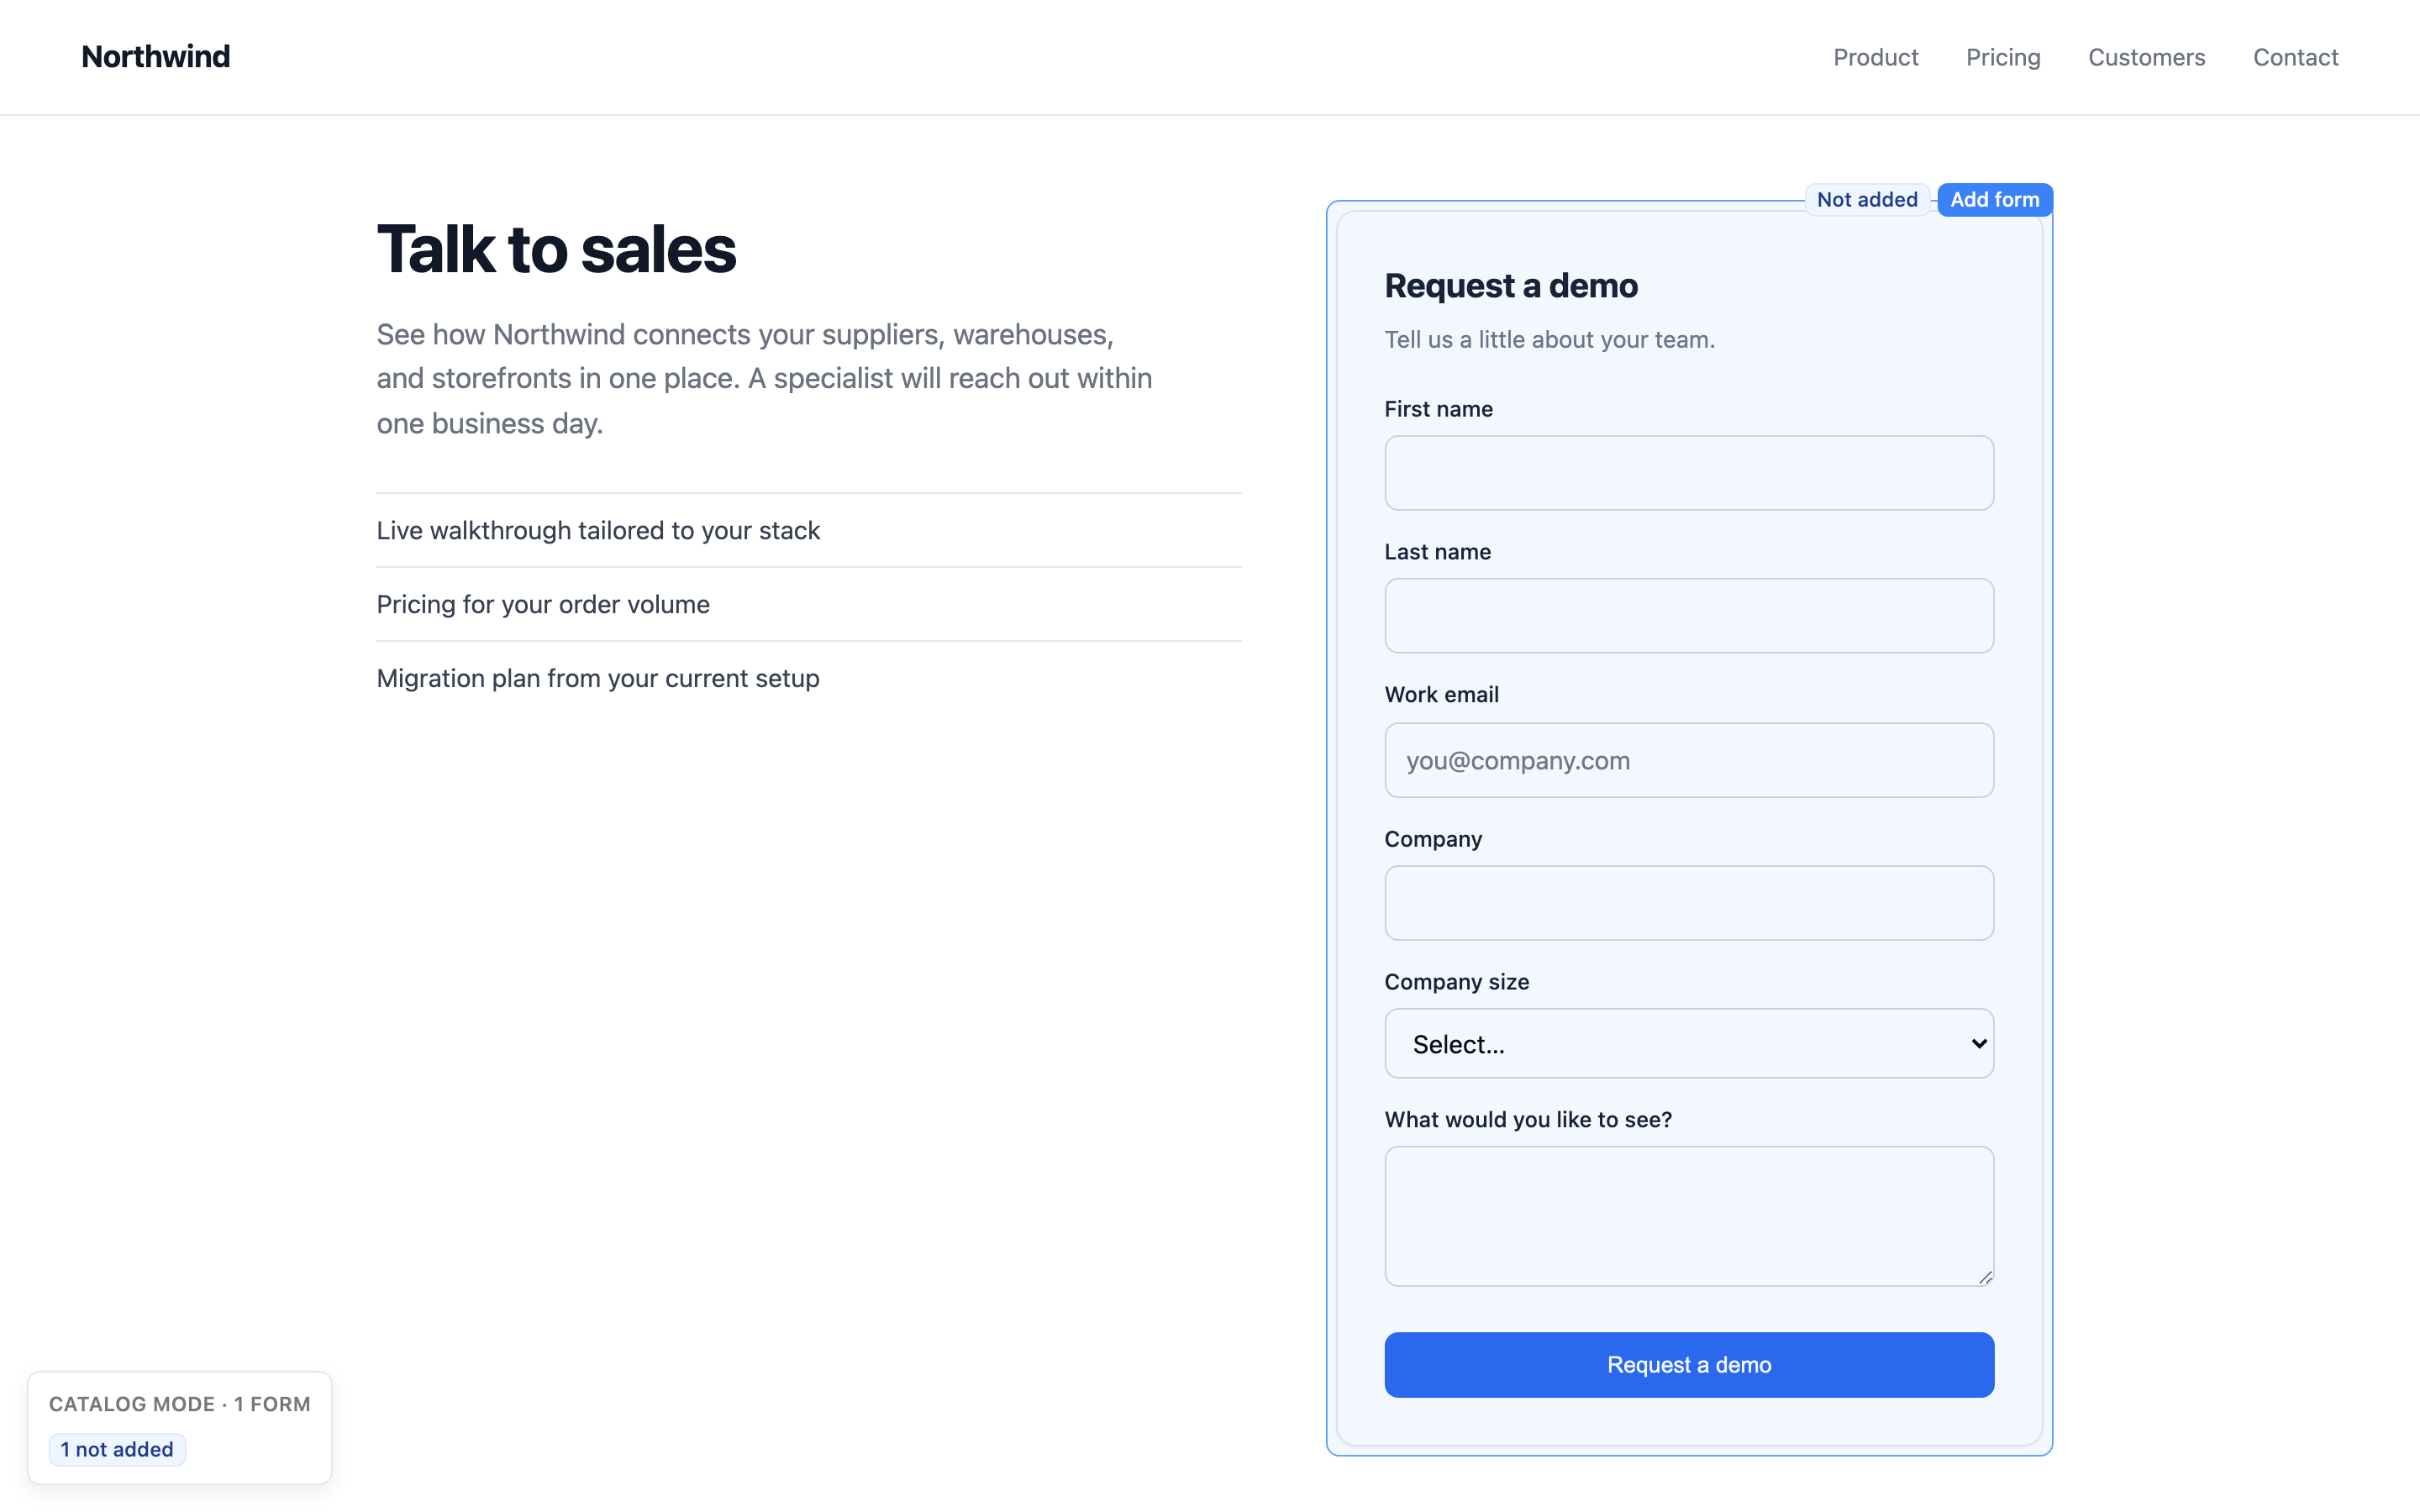
4
Map its fields
The form is active immediately and appears in Forms. Map its fields to Person and
Company fields so submissions land on the right records — see
Map form fields.
Keep catalogued forms in sync
Once a form is catalogued, the Pixel watches it as visitors load the page. If the fields on your site change — a renamed or added field — Default flags the form with a Fields changed badge in Forms. Review it to keep your mappings accurate; your workflows keep receiving the shape you approved until you do. You can also run catalog mode again on that page. A form whose fields drifted shows Changes detected, and Re-catalog updates Default’s copy to match the page.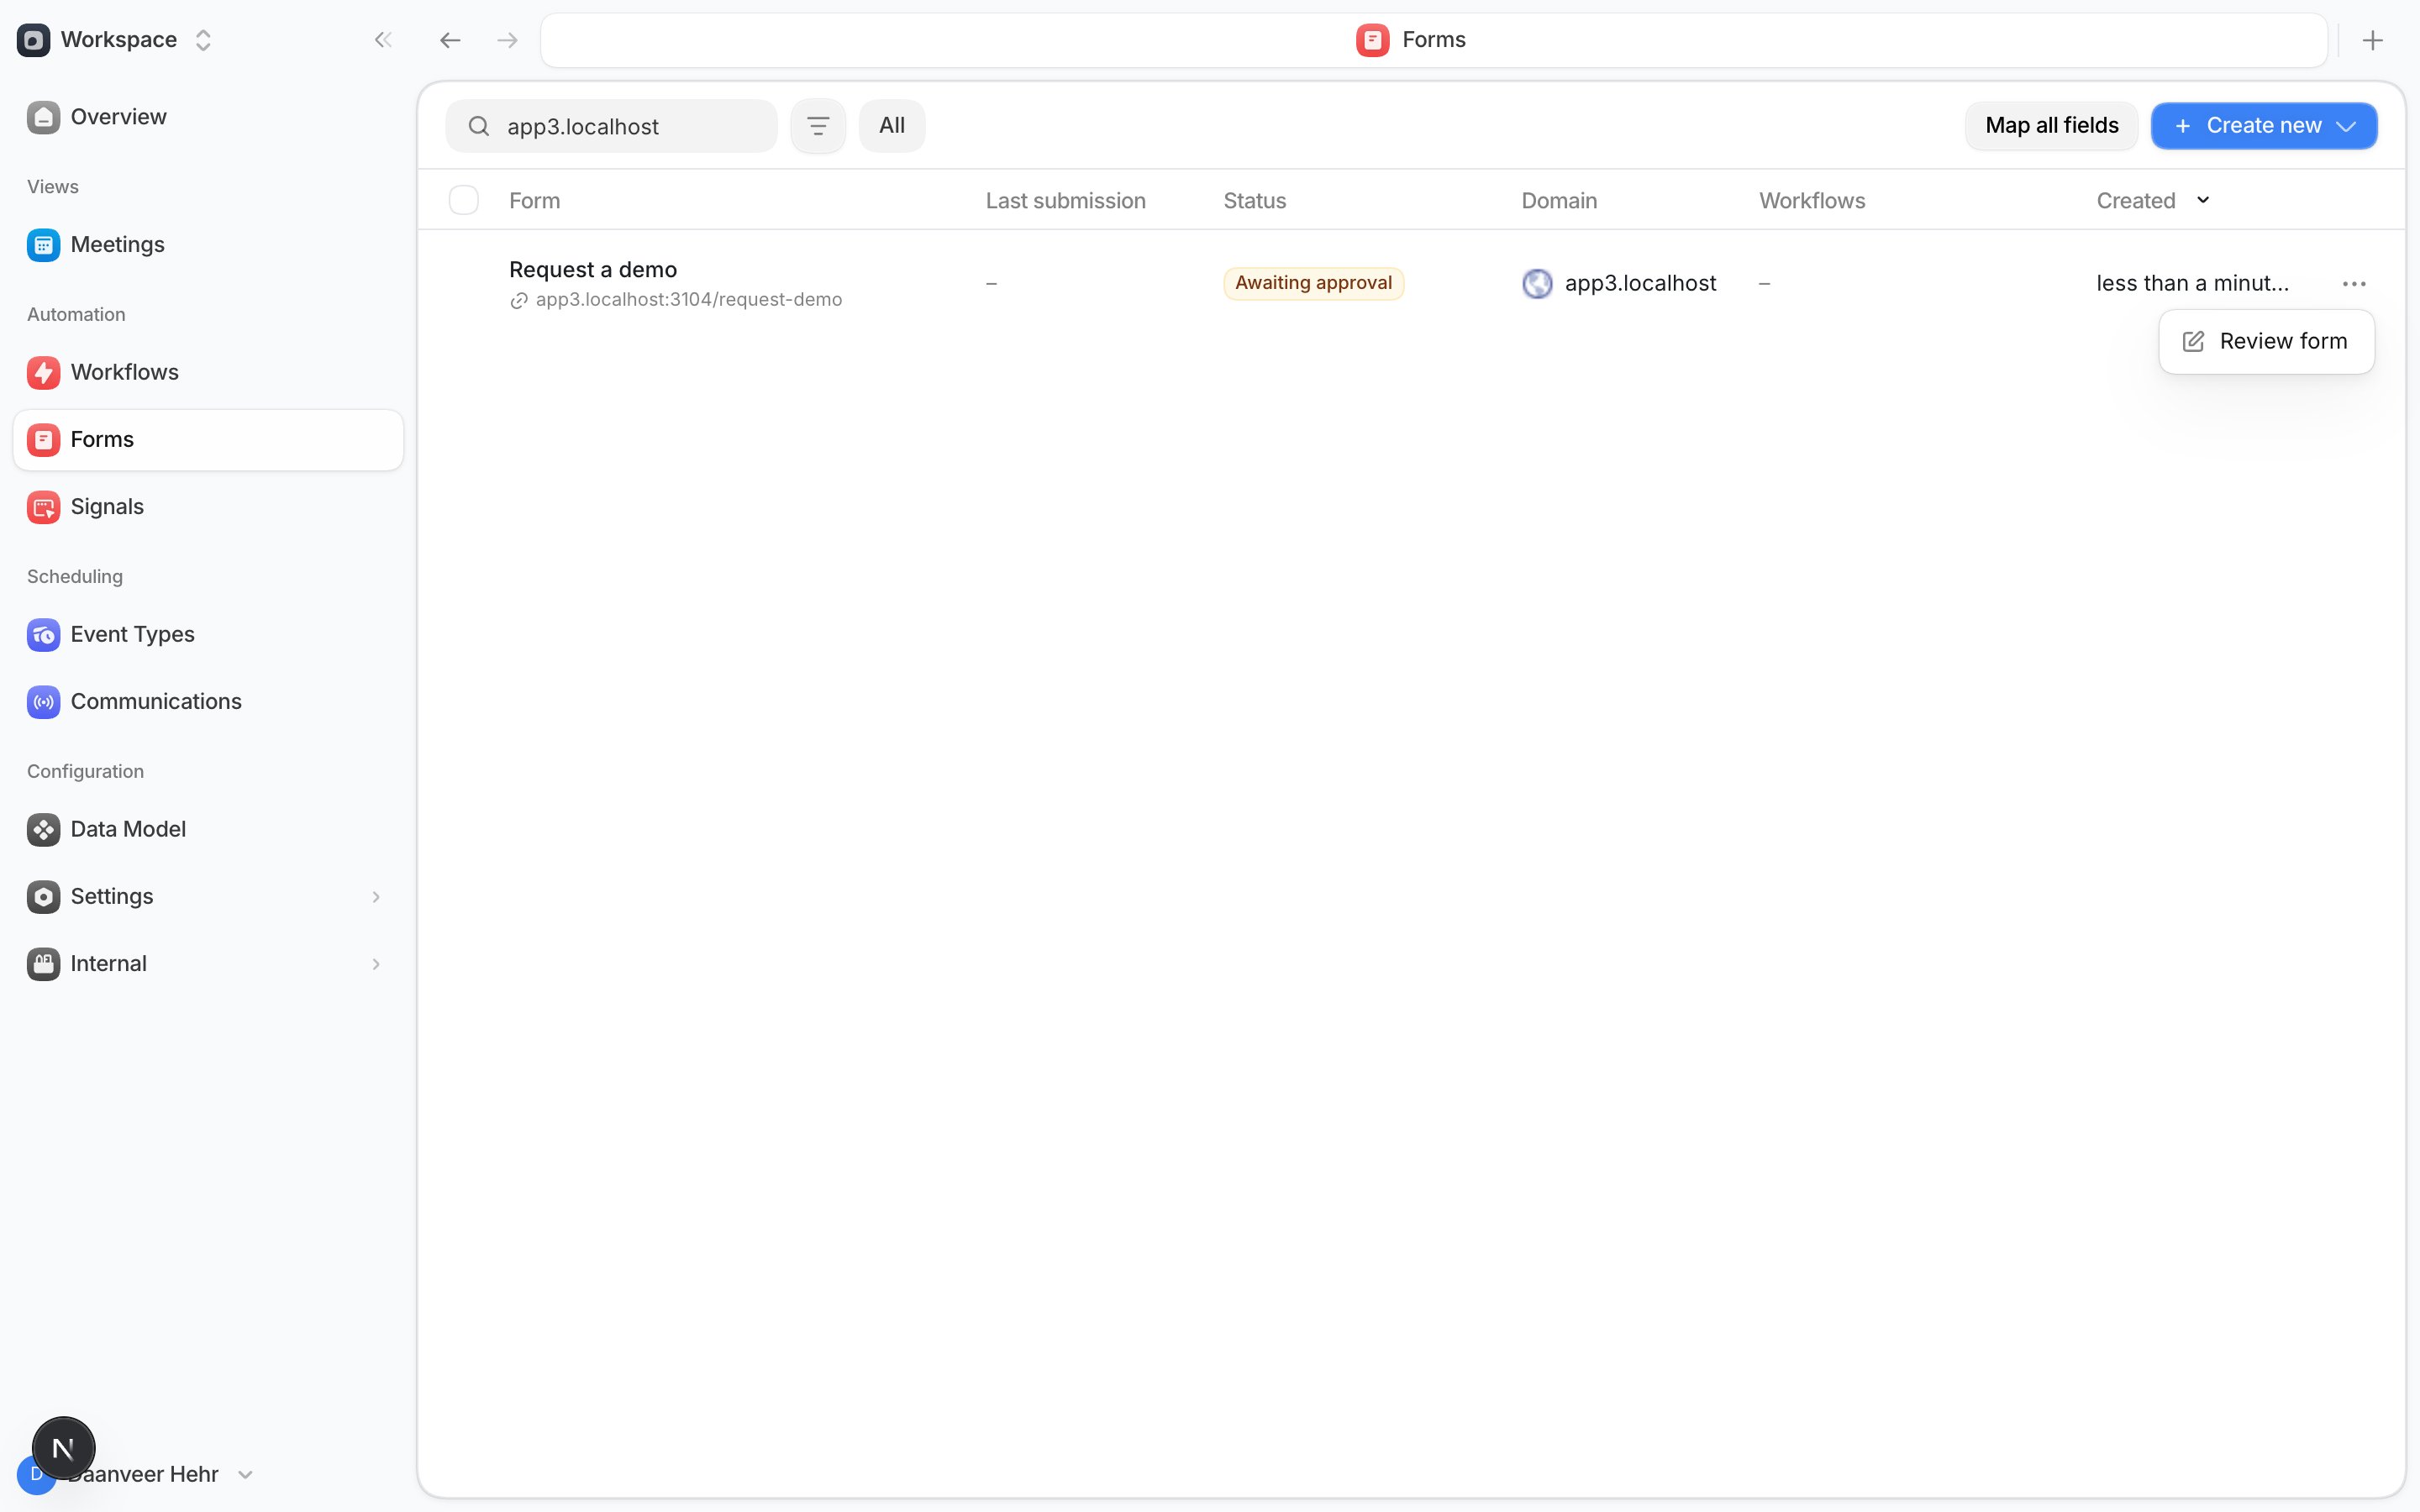
Building a form natively
Instead of cataloguing a form from your site, select Create Form to build one directly in Default. You get a blank form with a single starter field, opened straight into the editor. The editor has four tabs:1
Fields
Add, reorder, and configure the fields you want to collect. Each field has a type
(String, Email, Number, Boolean, Picklist, or Textarea), a name, a label, placeholder
text, an optional Required toggle, and a Maps to property — see
Map form fields.
2
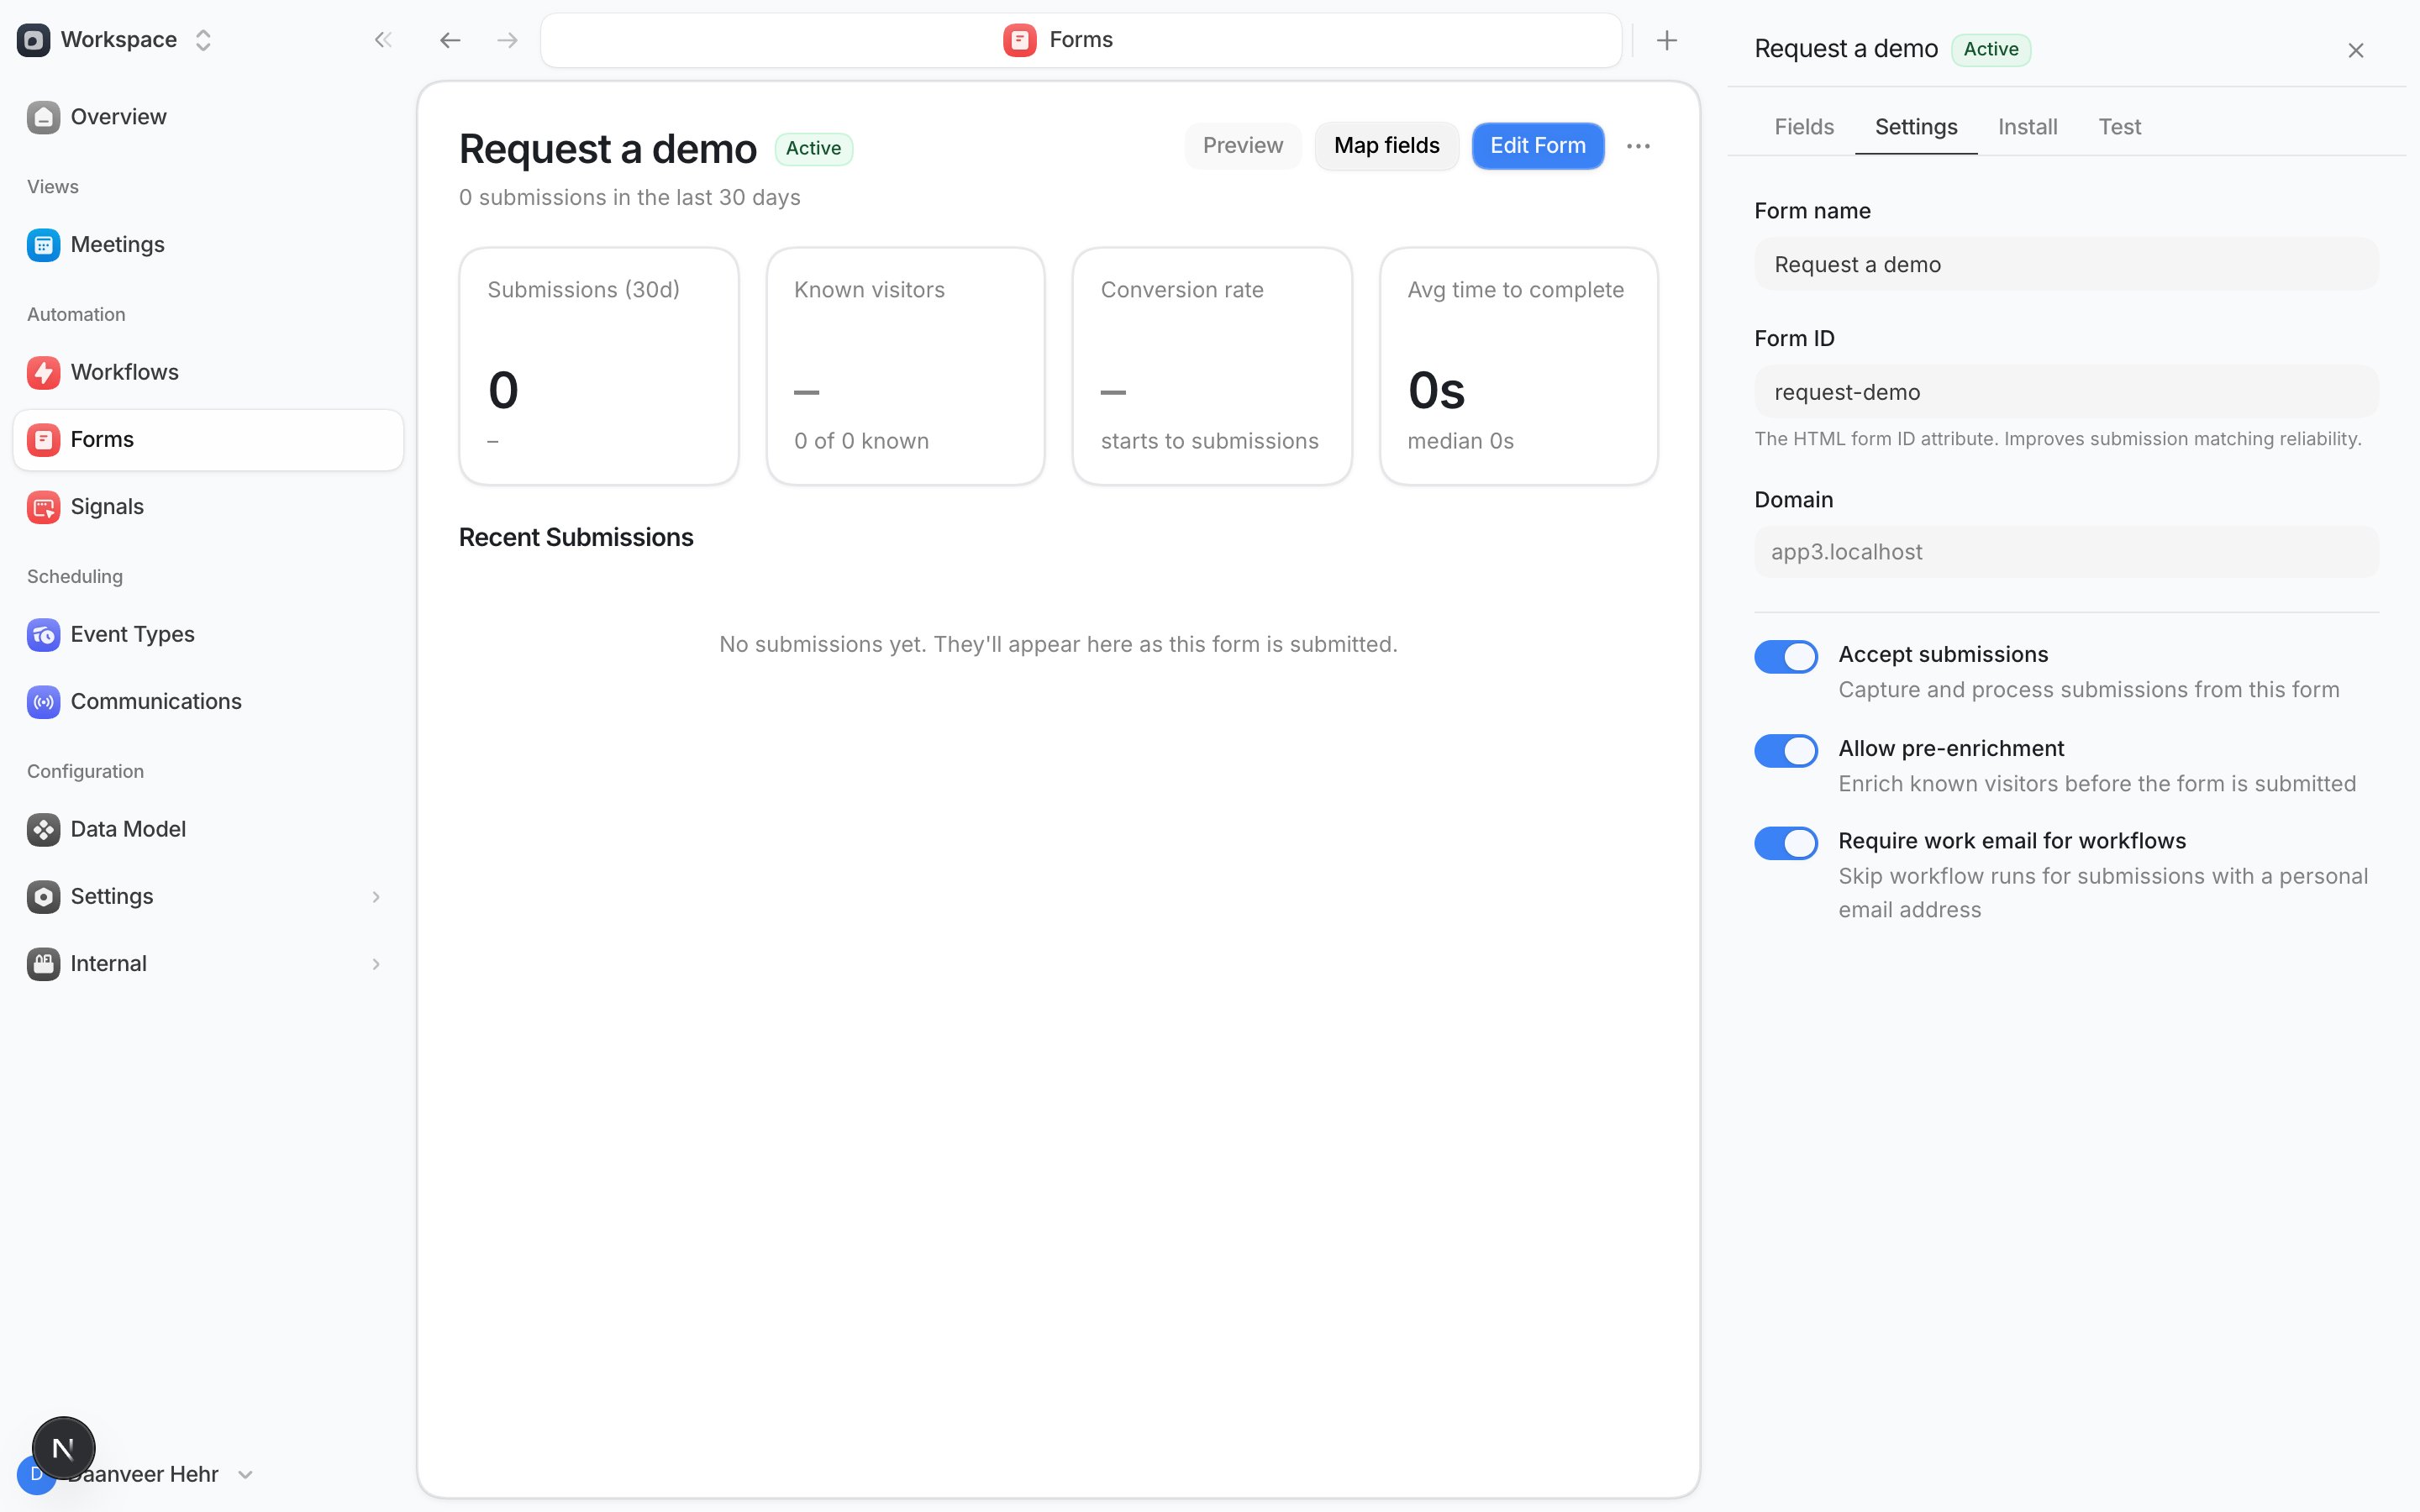
Settings
Name the form and turn Accept submissions, Allow pre-enrichment, and
Require work email for workflows on or off.
3
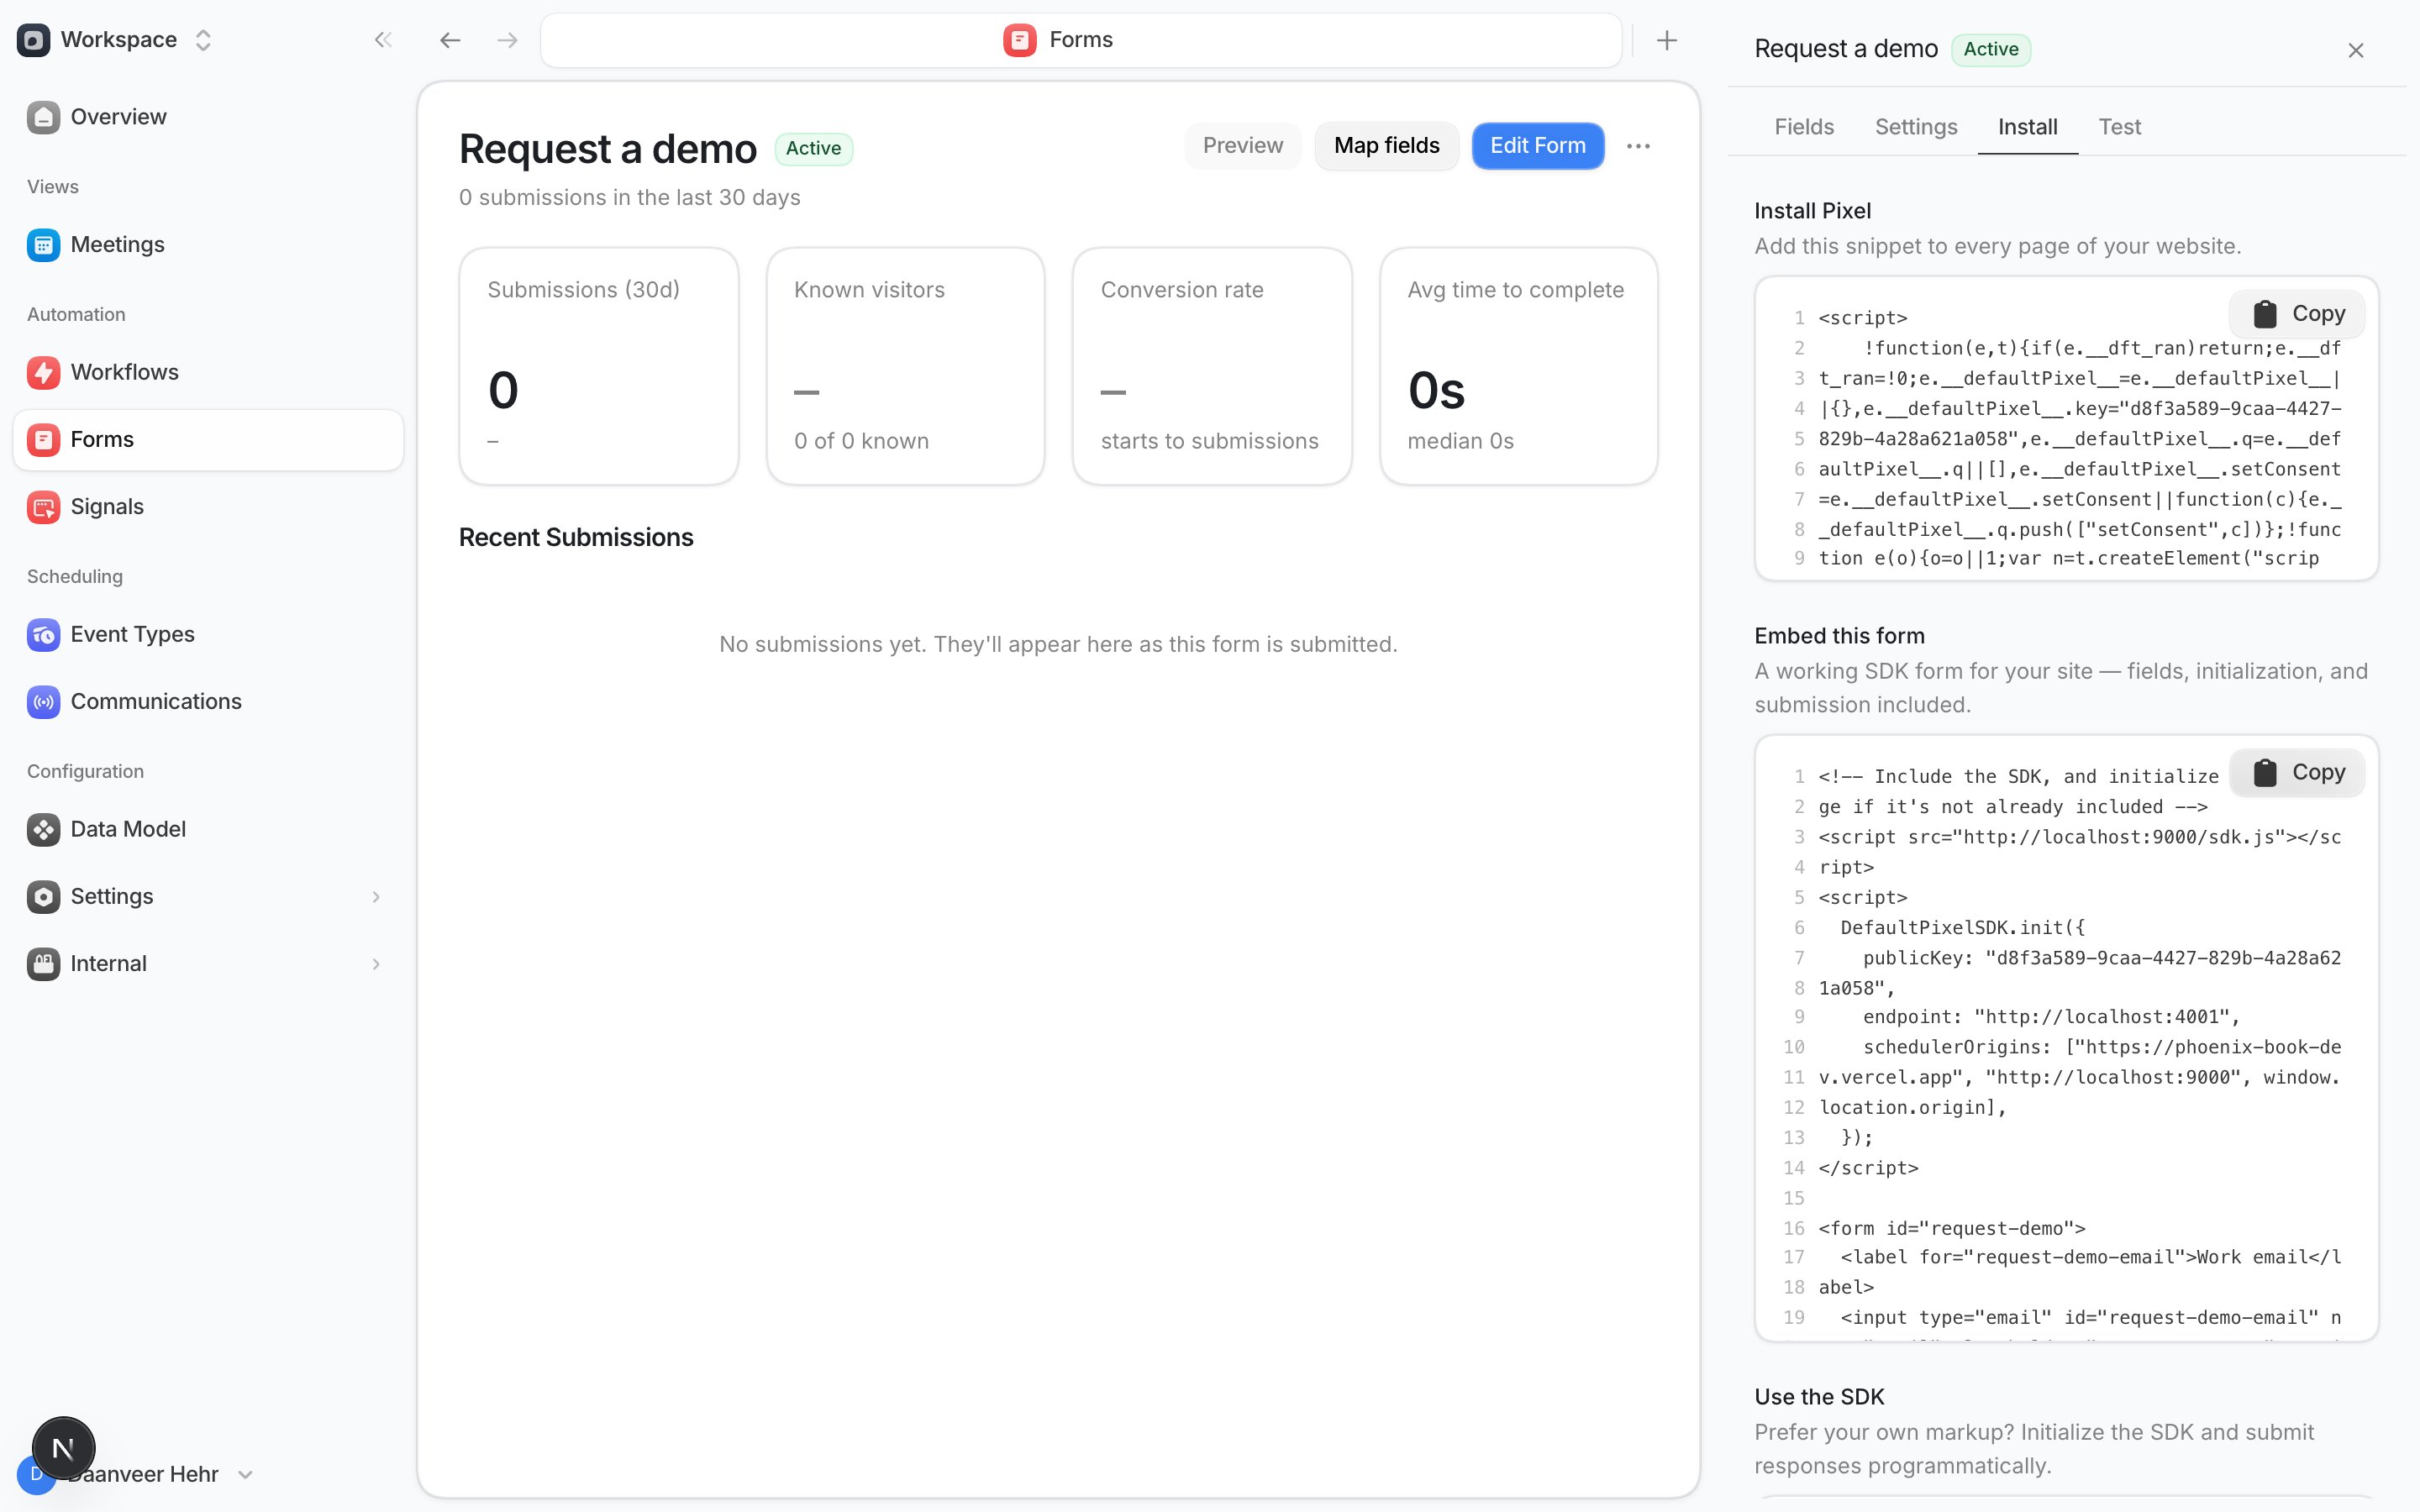
Install
Get the code: the Pixel install snippet, a ready-to-paste HTML embed for this specific
form, or an SDK sample for submitting it yourself. See
Set up the Pixel and Forms SDK for the SDK path.
4
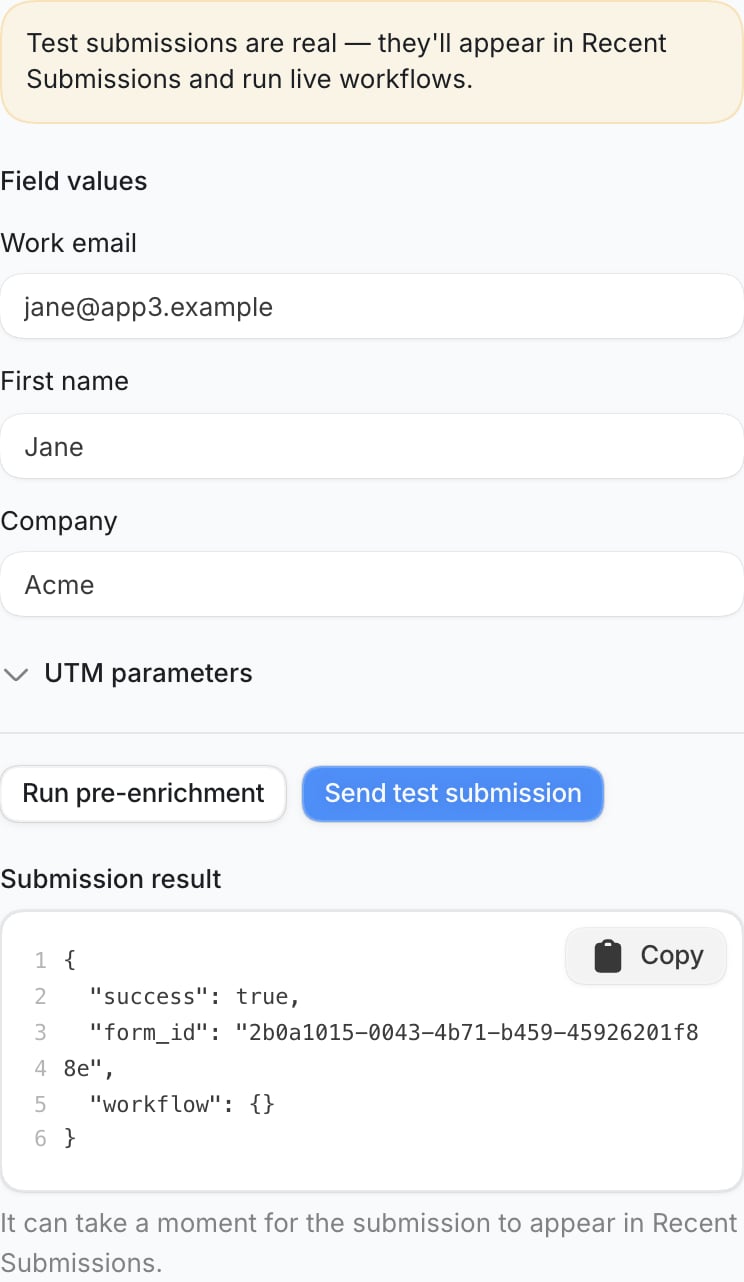
Test
Send a real submission through the form without leaving the editor. Fill in field
values, optionally set UTM parameters, then Run pre-enrichment to preview
enrichment for an email, or Send test submission to submit for real.
A form built in Default still needs the Pixel installed on its domain to collect
submissions and pre-fill known visitors. The Fields tab links straight to that
domain if you haven’t set it up yet.
The form detail page
Select an approved form to see how it’s performing — submission volume, how many submissions came from visitors Default already recognized, conversion rate, and average time to complete — along with its recent submissions.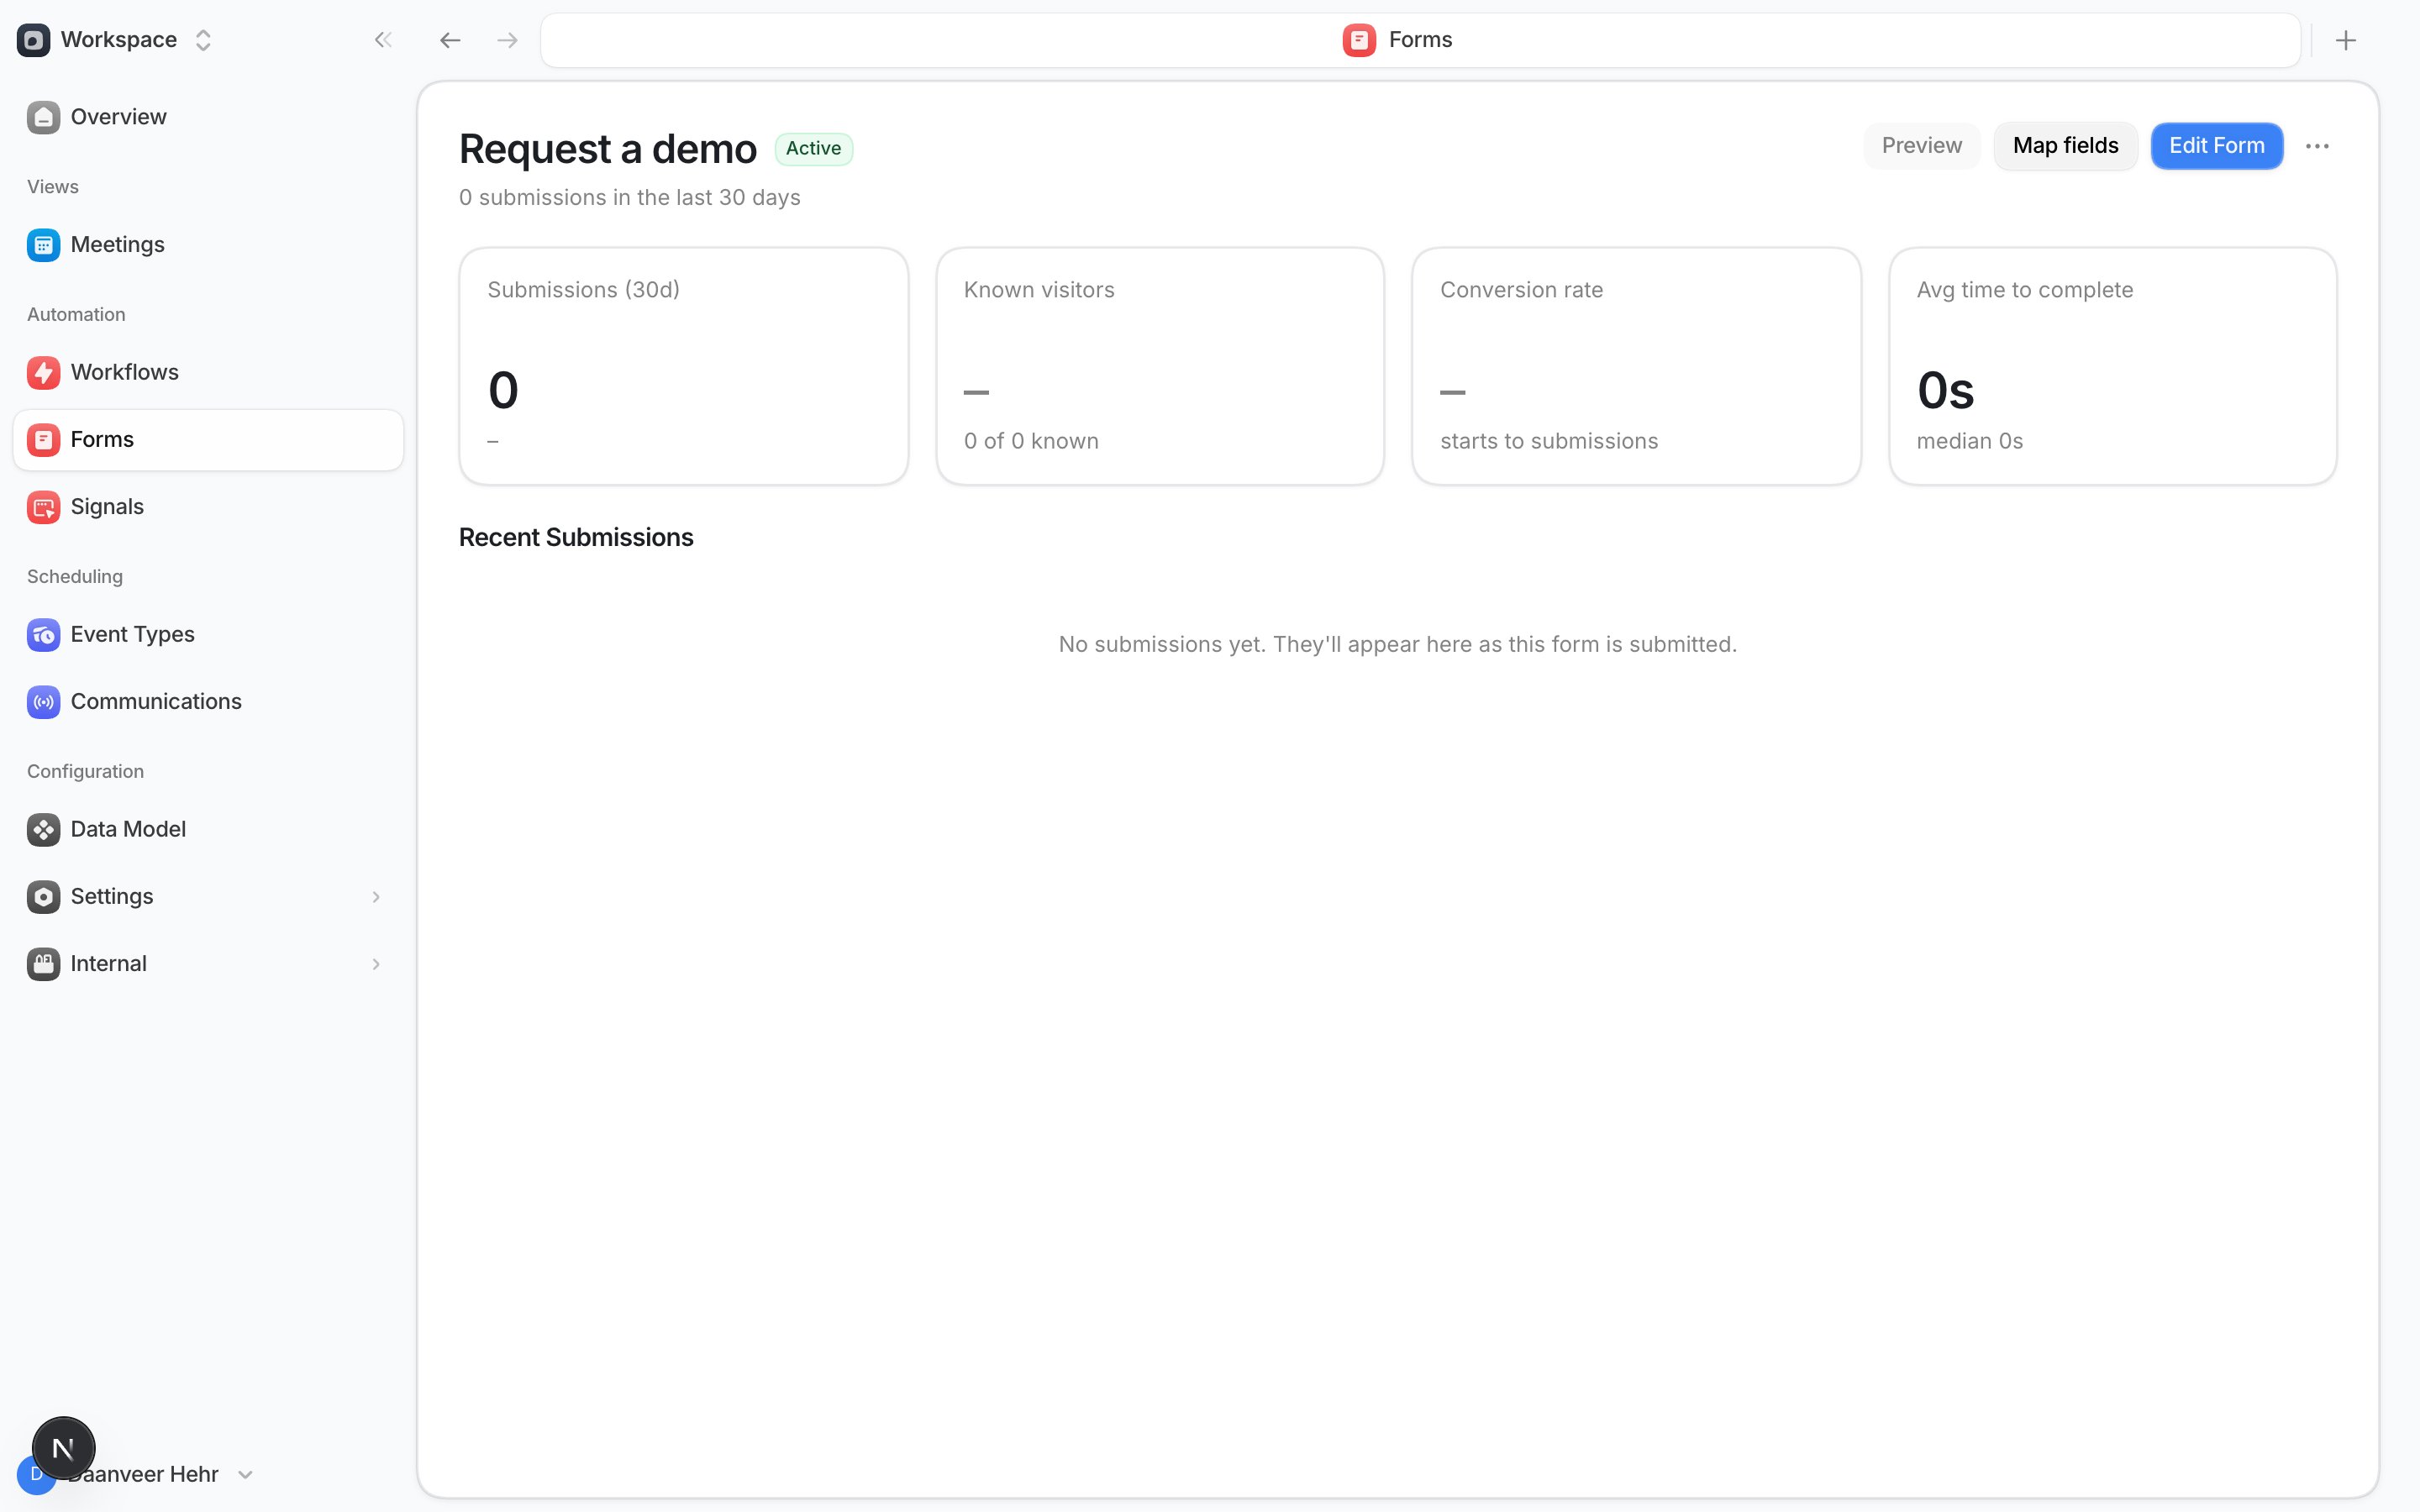
Reviewing detected changes
If the form’s fields change on your site, a banner appears with Review changes. It shows what changed and lets you map any new fields. Select Approve changes to update Default’s copy, or Dismiss to leave it as is. Your live form is untouched either way.Managing forms in bulk
From the Forms table, a row’s menu sets a form active or inactive, or deletes it. Select several rows at once to do the same to all of them.Map form fields
Your form names its fields whatever your site calls them —email_address, cmp_name.
The Default data layer knows Person and Company fields by their own names.
Mapping connects the two, so a submission lands on the right record.
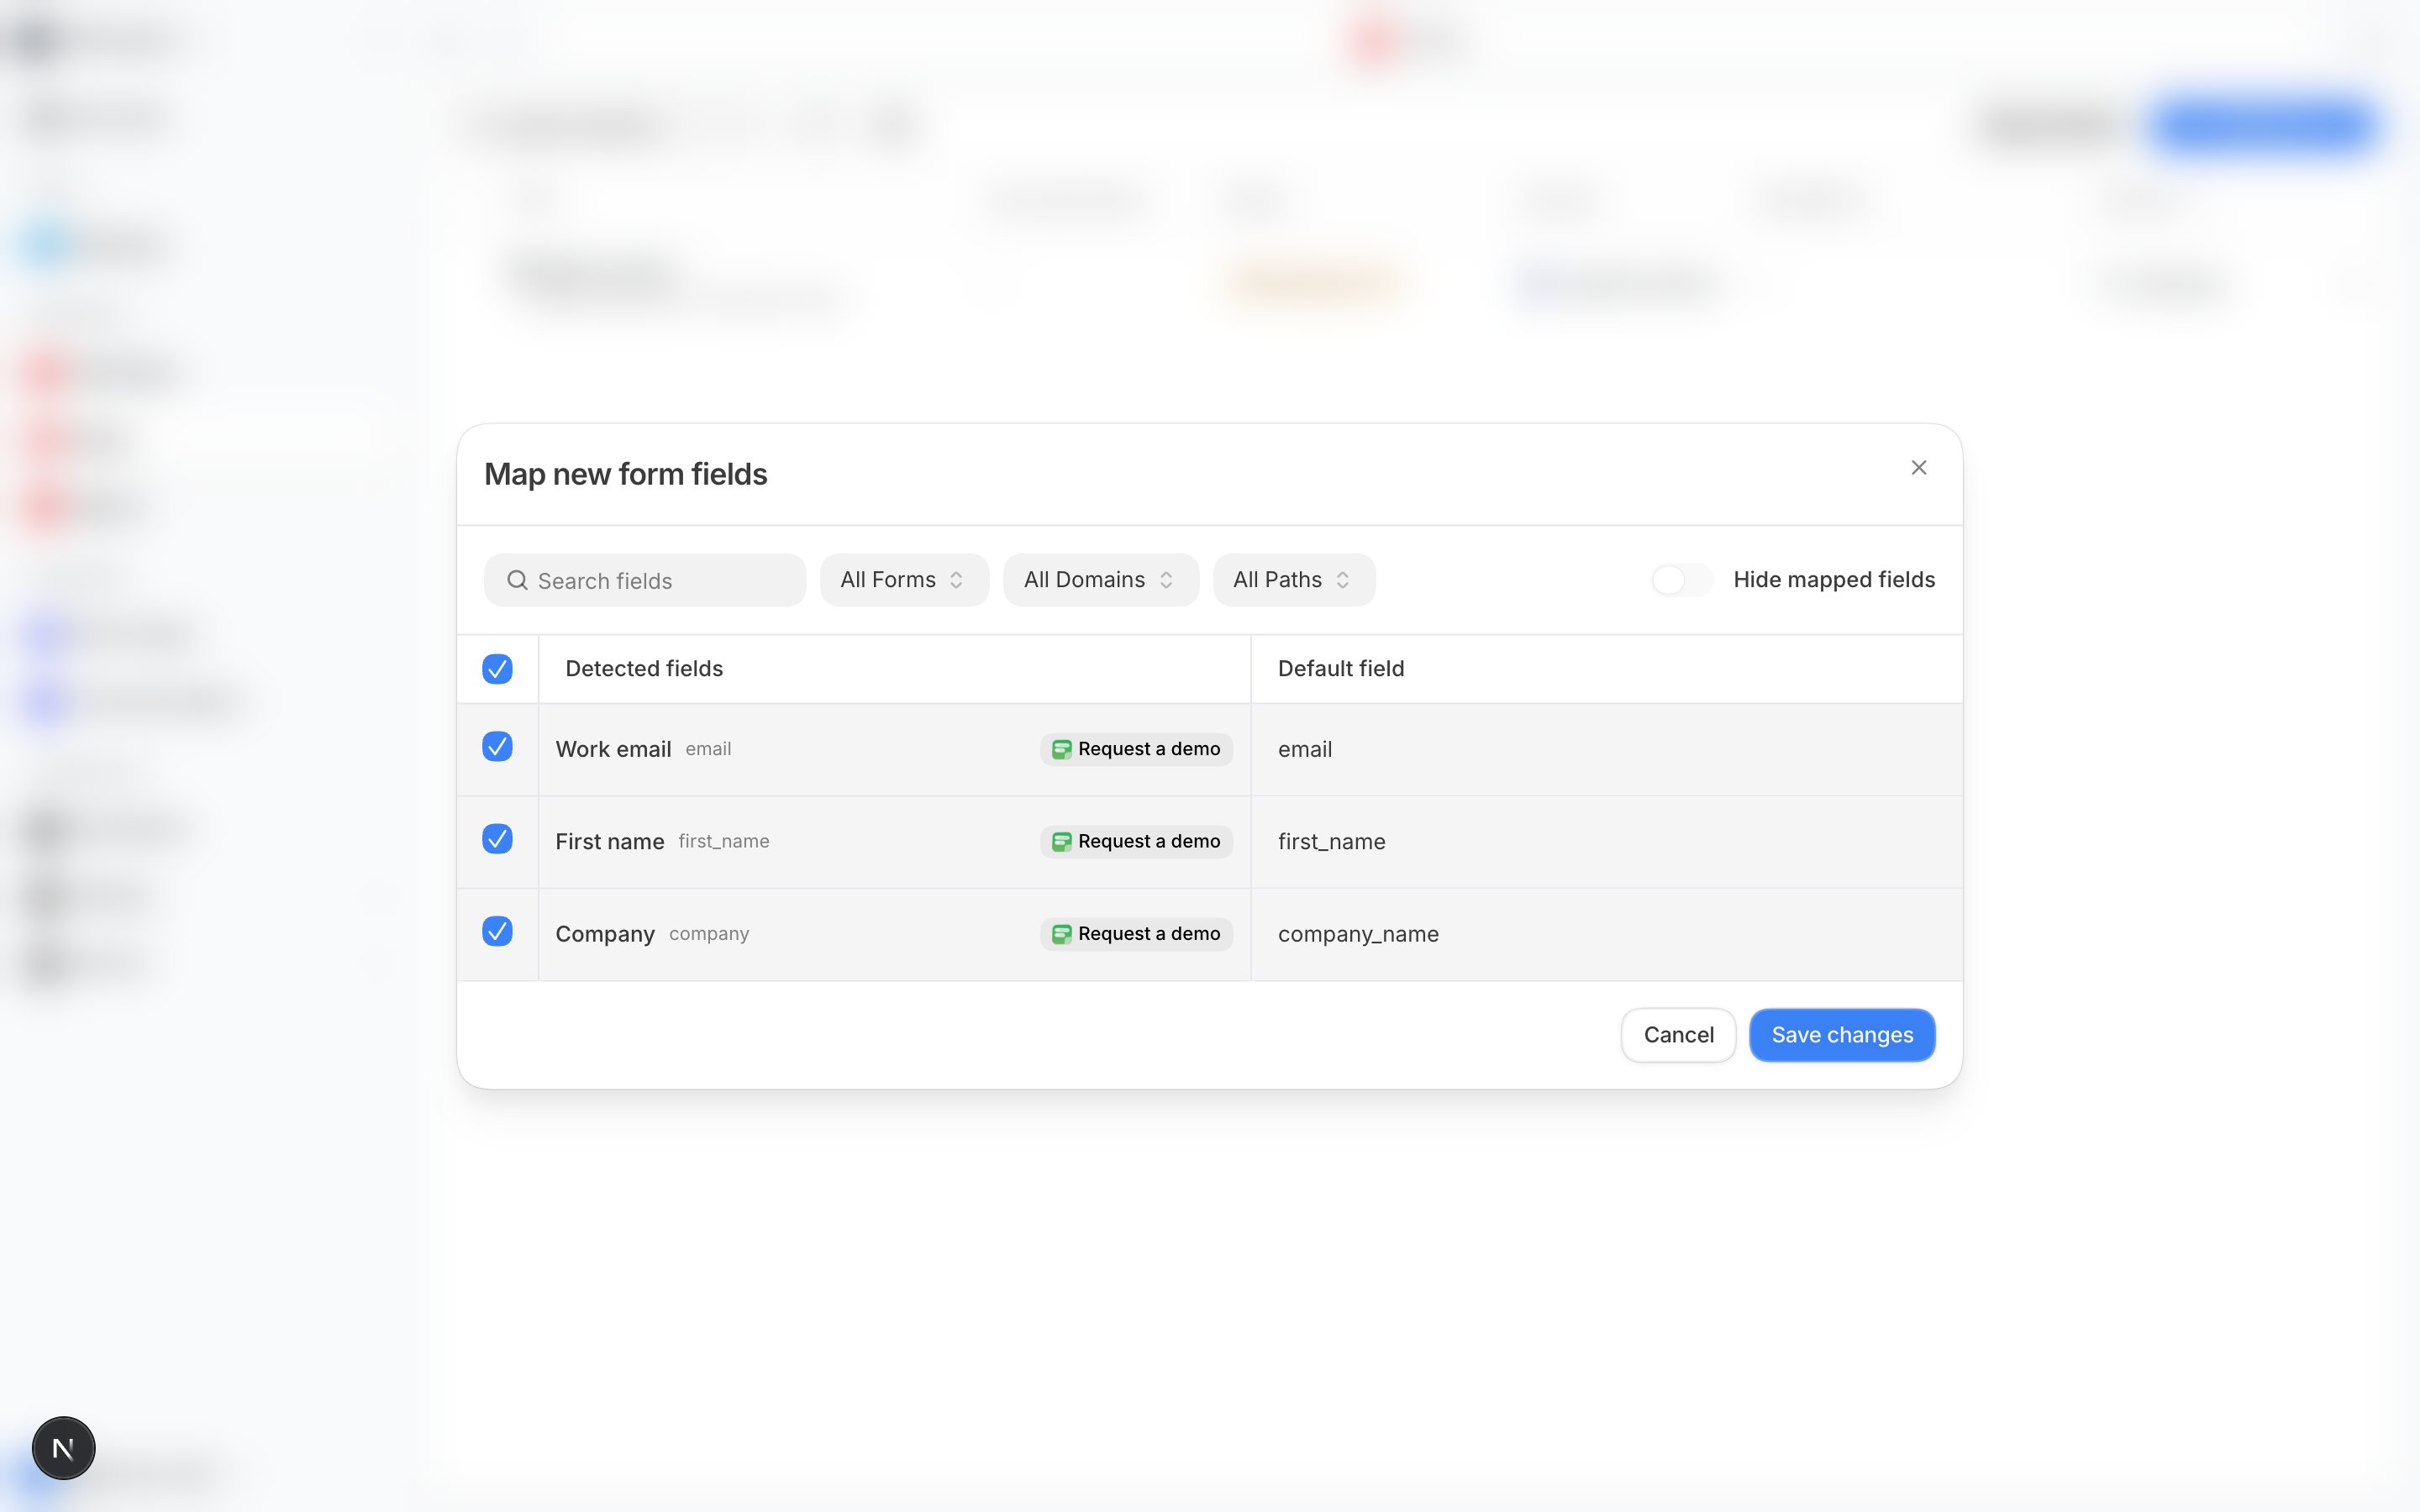
Reviewing a form walks you through its fields. To work across every form at once, select
Map all fields in the Forms toolbar. For each field, pick the Person or Company field
it belongs to, then select Save changes.
Map the fields you want to act on — email, name, company, whatever drives your routing —
and leave the rest. Unmapped fields are still captured and visible on the submission; they
just aren’t written to records. You can come back and map more at any time.
Mapping applies to new submissions, not past ones.
Use a form in a workflow
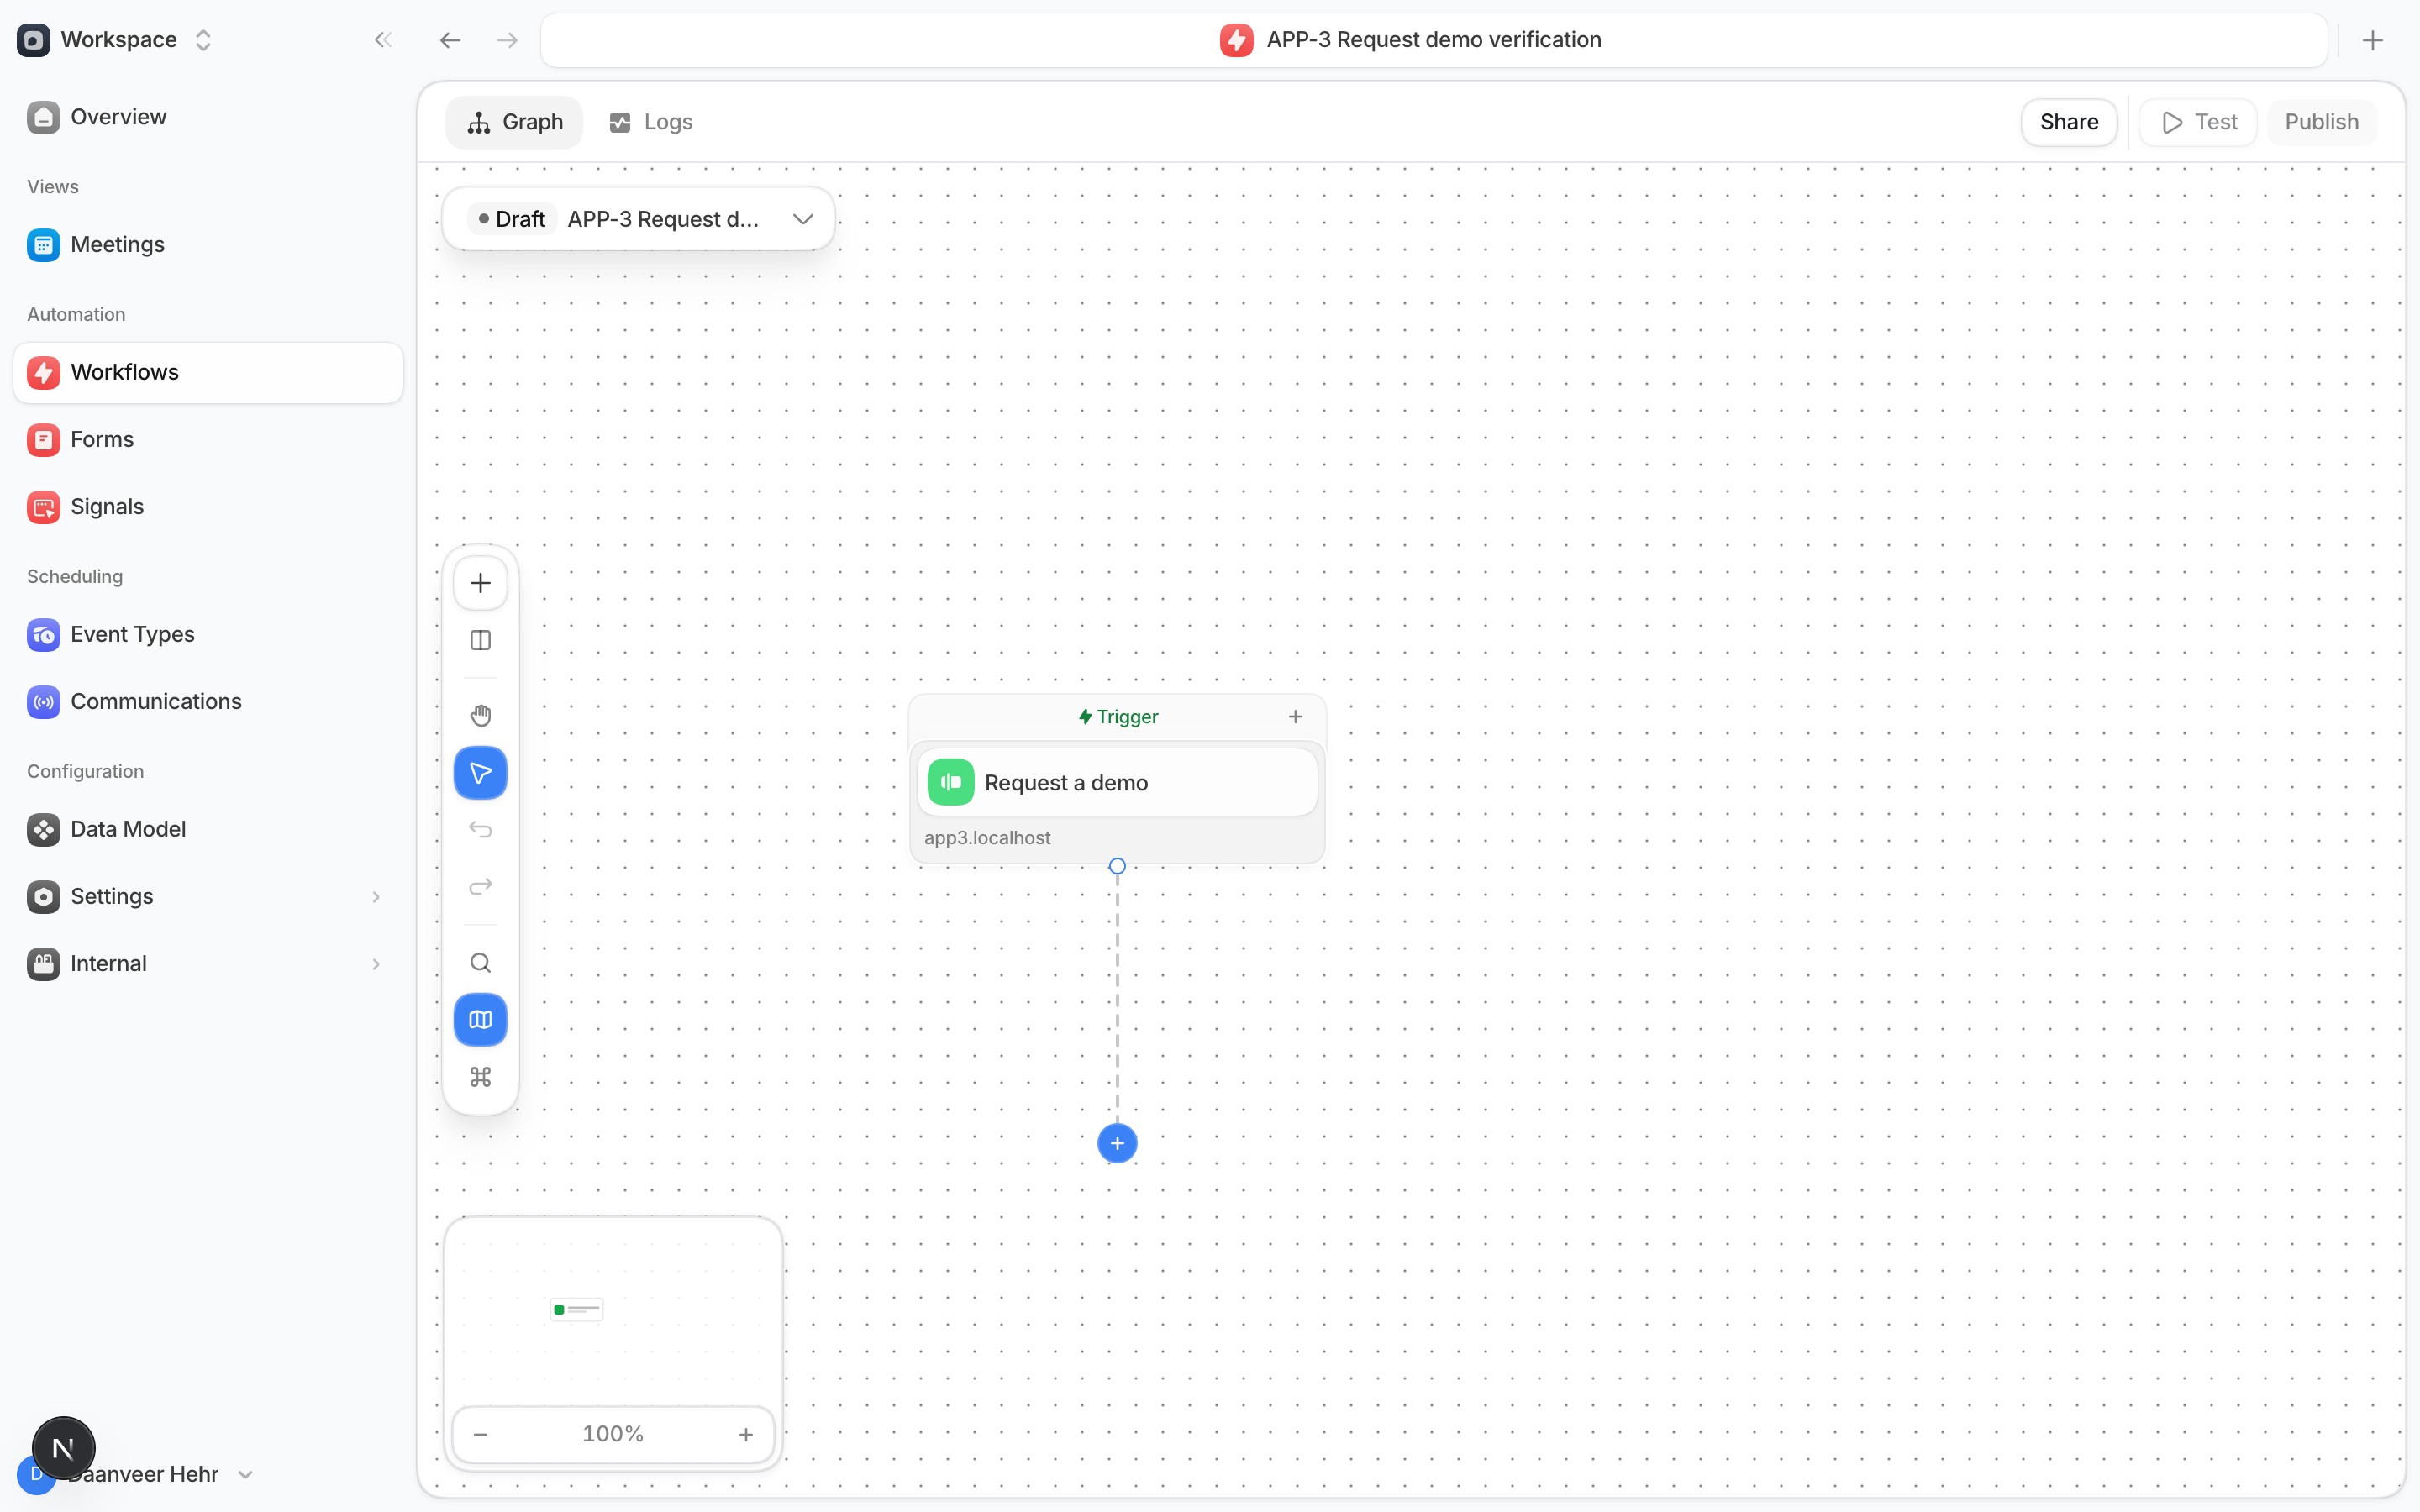
Once a form is approved and mapped, it’s available in Workflows as a target for the Form Submission trigger. Create a workflow, add a Form Submission trigger, and choose your form. Everything a visitor submits then runs through that workflow for routing, enrichment, scoring, and scheduling — see Connect a scheduler to your form.