
Open Settings from the Dock (the app bar at the bottom of the screen), then select
Users under Workspace Settings. Admin access is required to invite members, change
roles, or remove users.
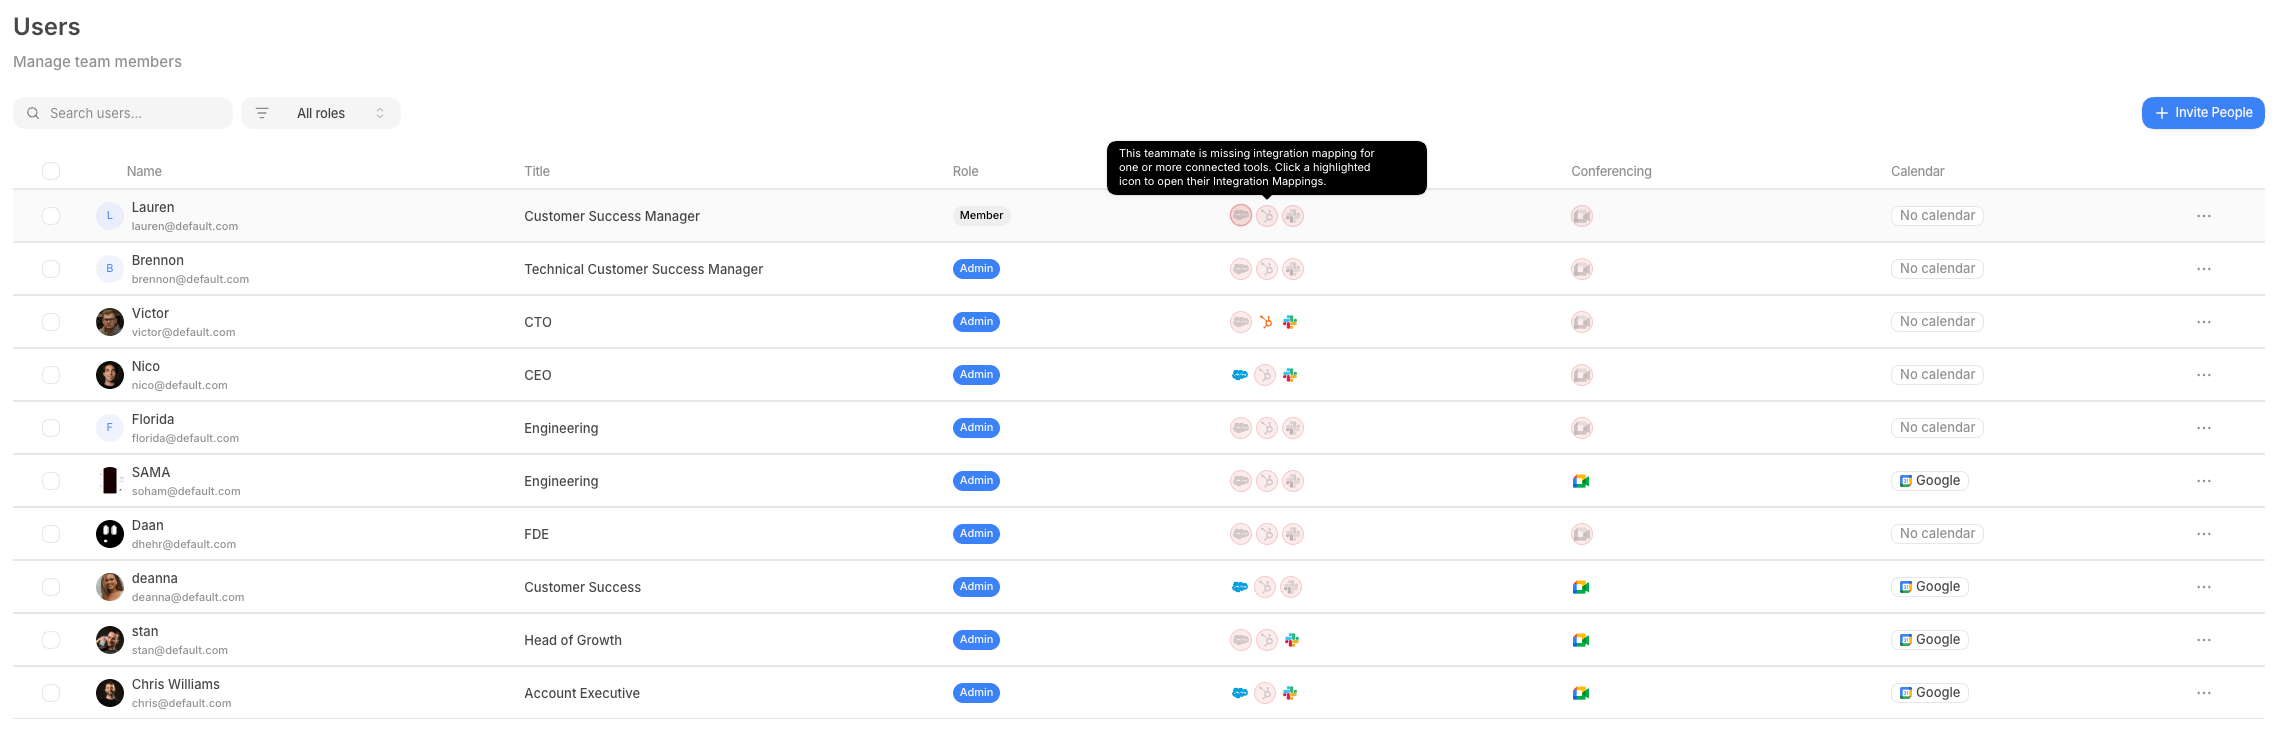
Toolbar
The toolbar sits above the members table and has three controls.Inviting a teammate
1
Open the invite dialog
Select Invite People in the toolbar. The Invite to workspace dialog opens.
2
Enter an email address
Type the person’s email address into the input field, for example,
newrep@acme.com. Default validates the address before letting you proceed.3
Send the invitation or copy a link
Choose how to deliver the invite:
- Select Send to email the invitation directly. Default confirms with “Invitation sent successfully.”
- Select Copy link to copy the invite URL to your clipboard and share it manually, useful for Slack or other channels.
4
Close the dialog
Select Done when you’re finished. The new member appears in the table once they
accept the invitation.
Members table
The table lists every workspace member with their profile details and integration status. Each row shows:
Select the three-dot menu on any row you have permission to edit and choose Edit to
open that member’s detail page.
The table paginates at 10, 20, or 50 rows per page. Use the Previous and Next
buttons, or change the rows per page selector, at the bottom of the table.
Bulk actions
Select one or more members using the checkboxes in the table to reveal the bulk-action bar. The bar shows how many members are selected and offers two actions:
Selections persist across pages, so you can navigate to page 2, add more checkboxes, and
act on the combined set.
Member detail pages
Selecting Edit from a member’s row opens their detail page. The page has two main sections: User Details and a User Settings nav list that links to three sub-pages.User details
The User Details section lets you view and, if you’re an admin editing another member, update that member’s profile.Admins editing another member’s profile see an “Editing as admin” banner at the top of
the page. If that member has no calendar connected, a warning appears prompting you to ask
them to connect one.
User settings nav
Below User Details, a User Settings nav list links to three sub-pages for the member. The links appear in this order:- Integrations: maps the member’s Default user to their IDs in connected third-party tools.
- Availability & OOO: manages the member’s working hours and out-of-office blocks.
- User Notifications: manages the member’s notification channel and type preferences.
Integrations
The Integrations sub-page shows an Integration Mappings form. Each card represents a connected workspace integration and lets you map the Default user to their corresponding ID in that system.
Only providers your workspace has connected appear. For integrations that support it,
a searchable picker populates from the live user list in that system, for example, you
can search Salesforce users by name rather than entering a raw ID. Default validates the
mapping value on blur and shows an error if the ID can’t be found.
The Integrations sub-page is for mapping CRM and sequencing identities. It is not
where a member’s calendar or conferencing OAuth connection is set up. Calendar connections
(Google Calendar, Outlook) and the active conferencing provider (Zoom, Google Meet) are
configured at the workspace level under Workspace Settings → Integrations, and the
member’s active conferencing preference is set in the Conferencing Setup field on the
Edit page.